Mount Bijia Ridge Hike
Shihding District, New Taipei City
A nice hike along a ridge from Shihding to Ergeshan. There is lots of tree cover on the ridge and only a couple of exposed outcropings. Most of the hike is spent going up and down along the ridge.
Access: take bus 666 from Muzha or Jingmei MRT Stations and get off at the Shihding bus stop 石碇 in the small riverside town of Shihding. Link for bus 666 schedule:
http://www.shinbus.com.tw/lane666.htm (left column is weekday departures, right column is weekend departures from Jingmei MRT Station)
Length: 9.5km, about 5.5 hours
Difficulty Level: 4/5
Trail Conditions: narrow dirt trail all the way with lots of ropes and steep drop offs, very steep climb to the top of the ridge
The Hike
The bus stop is located on the side of the river next to two bridges. There is an OK Mart across from the bus stop and public washrooms a little further straight down the road (don’t cross the river). Cross the first bridge and turn left for Shihding’s short ‘old street’.
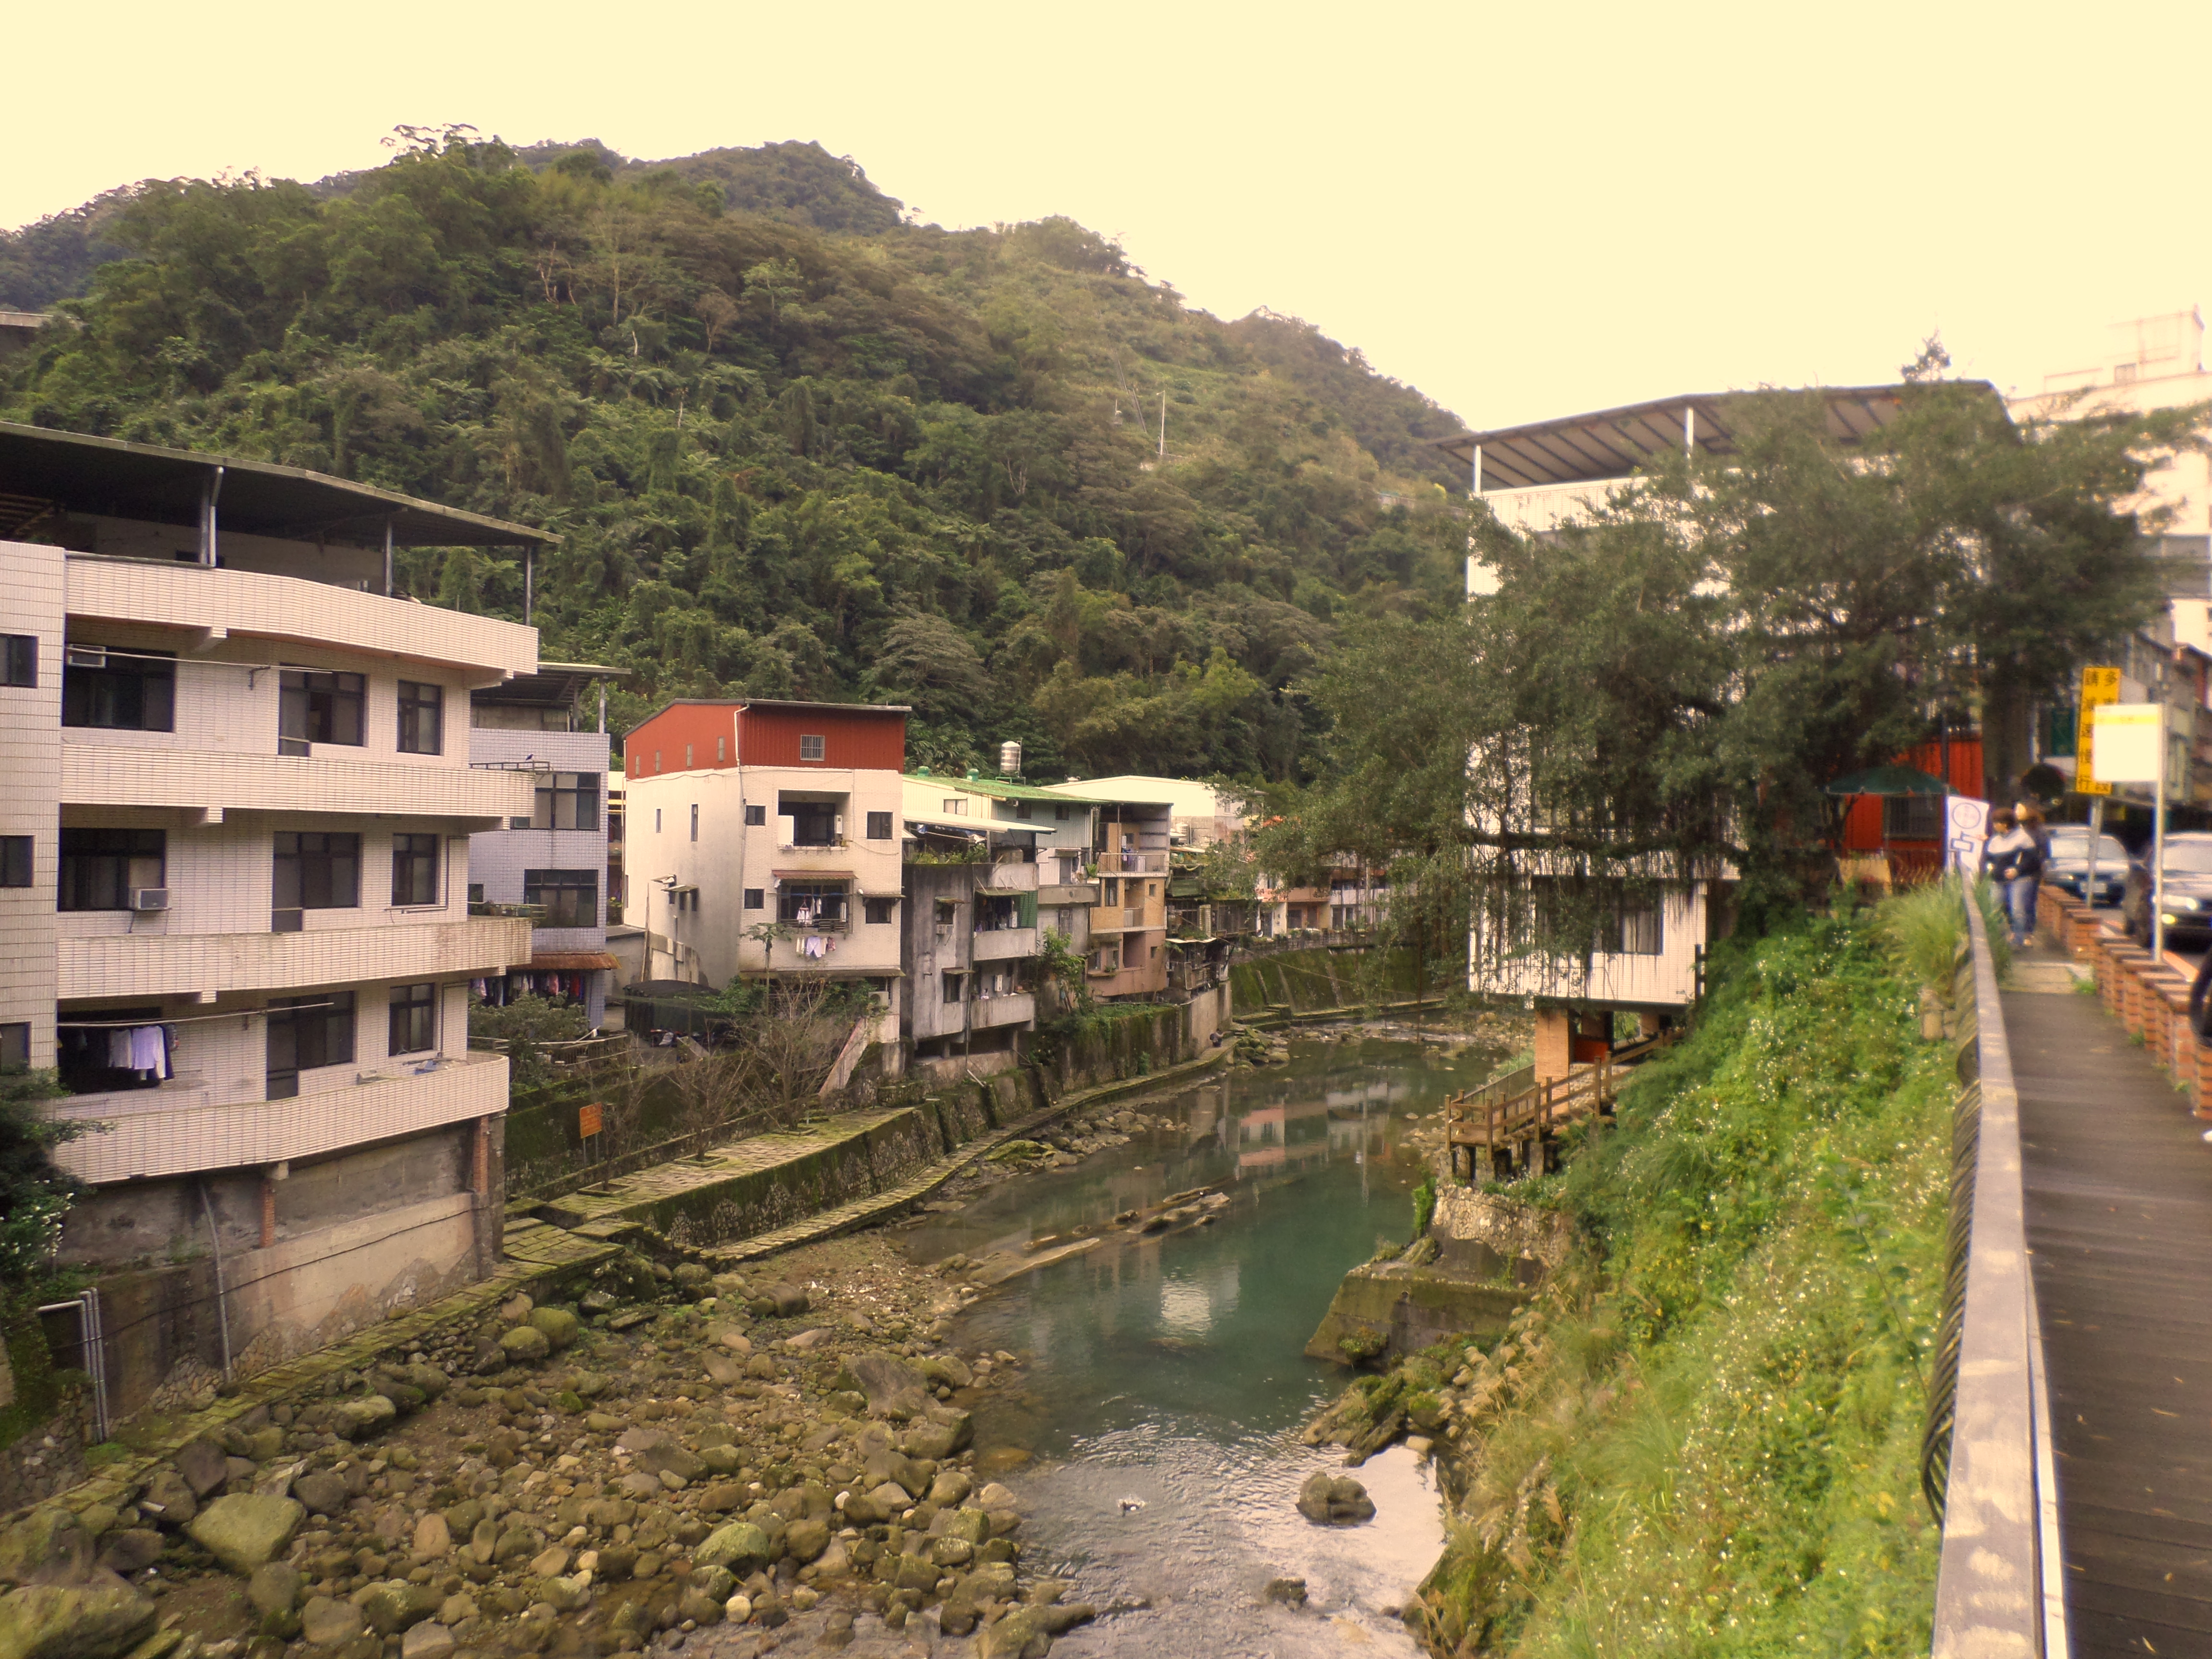 Shihding |
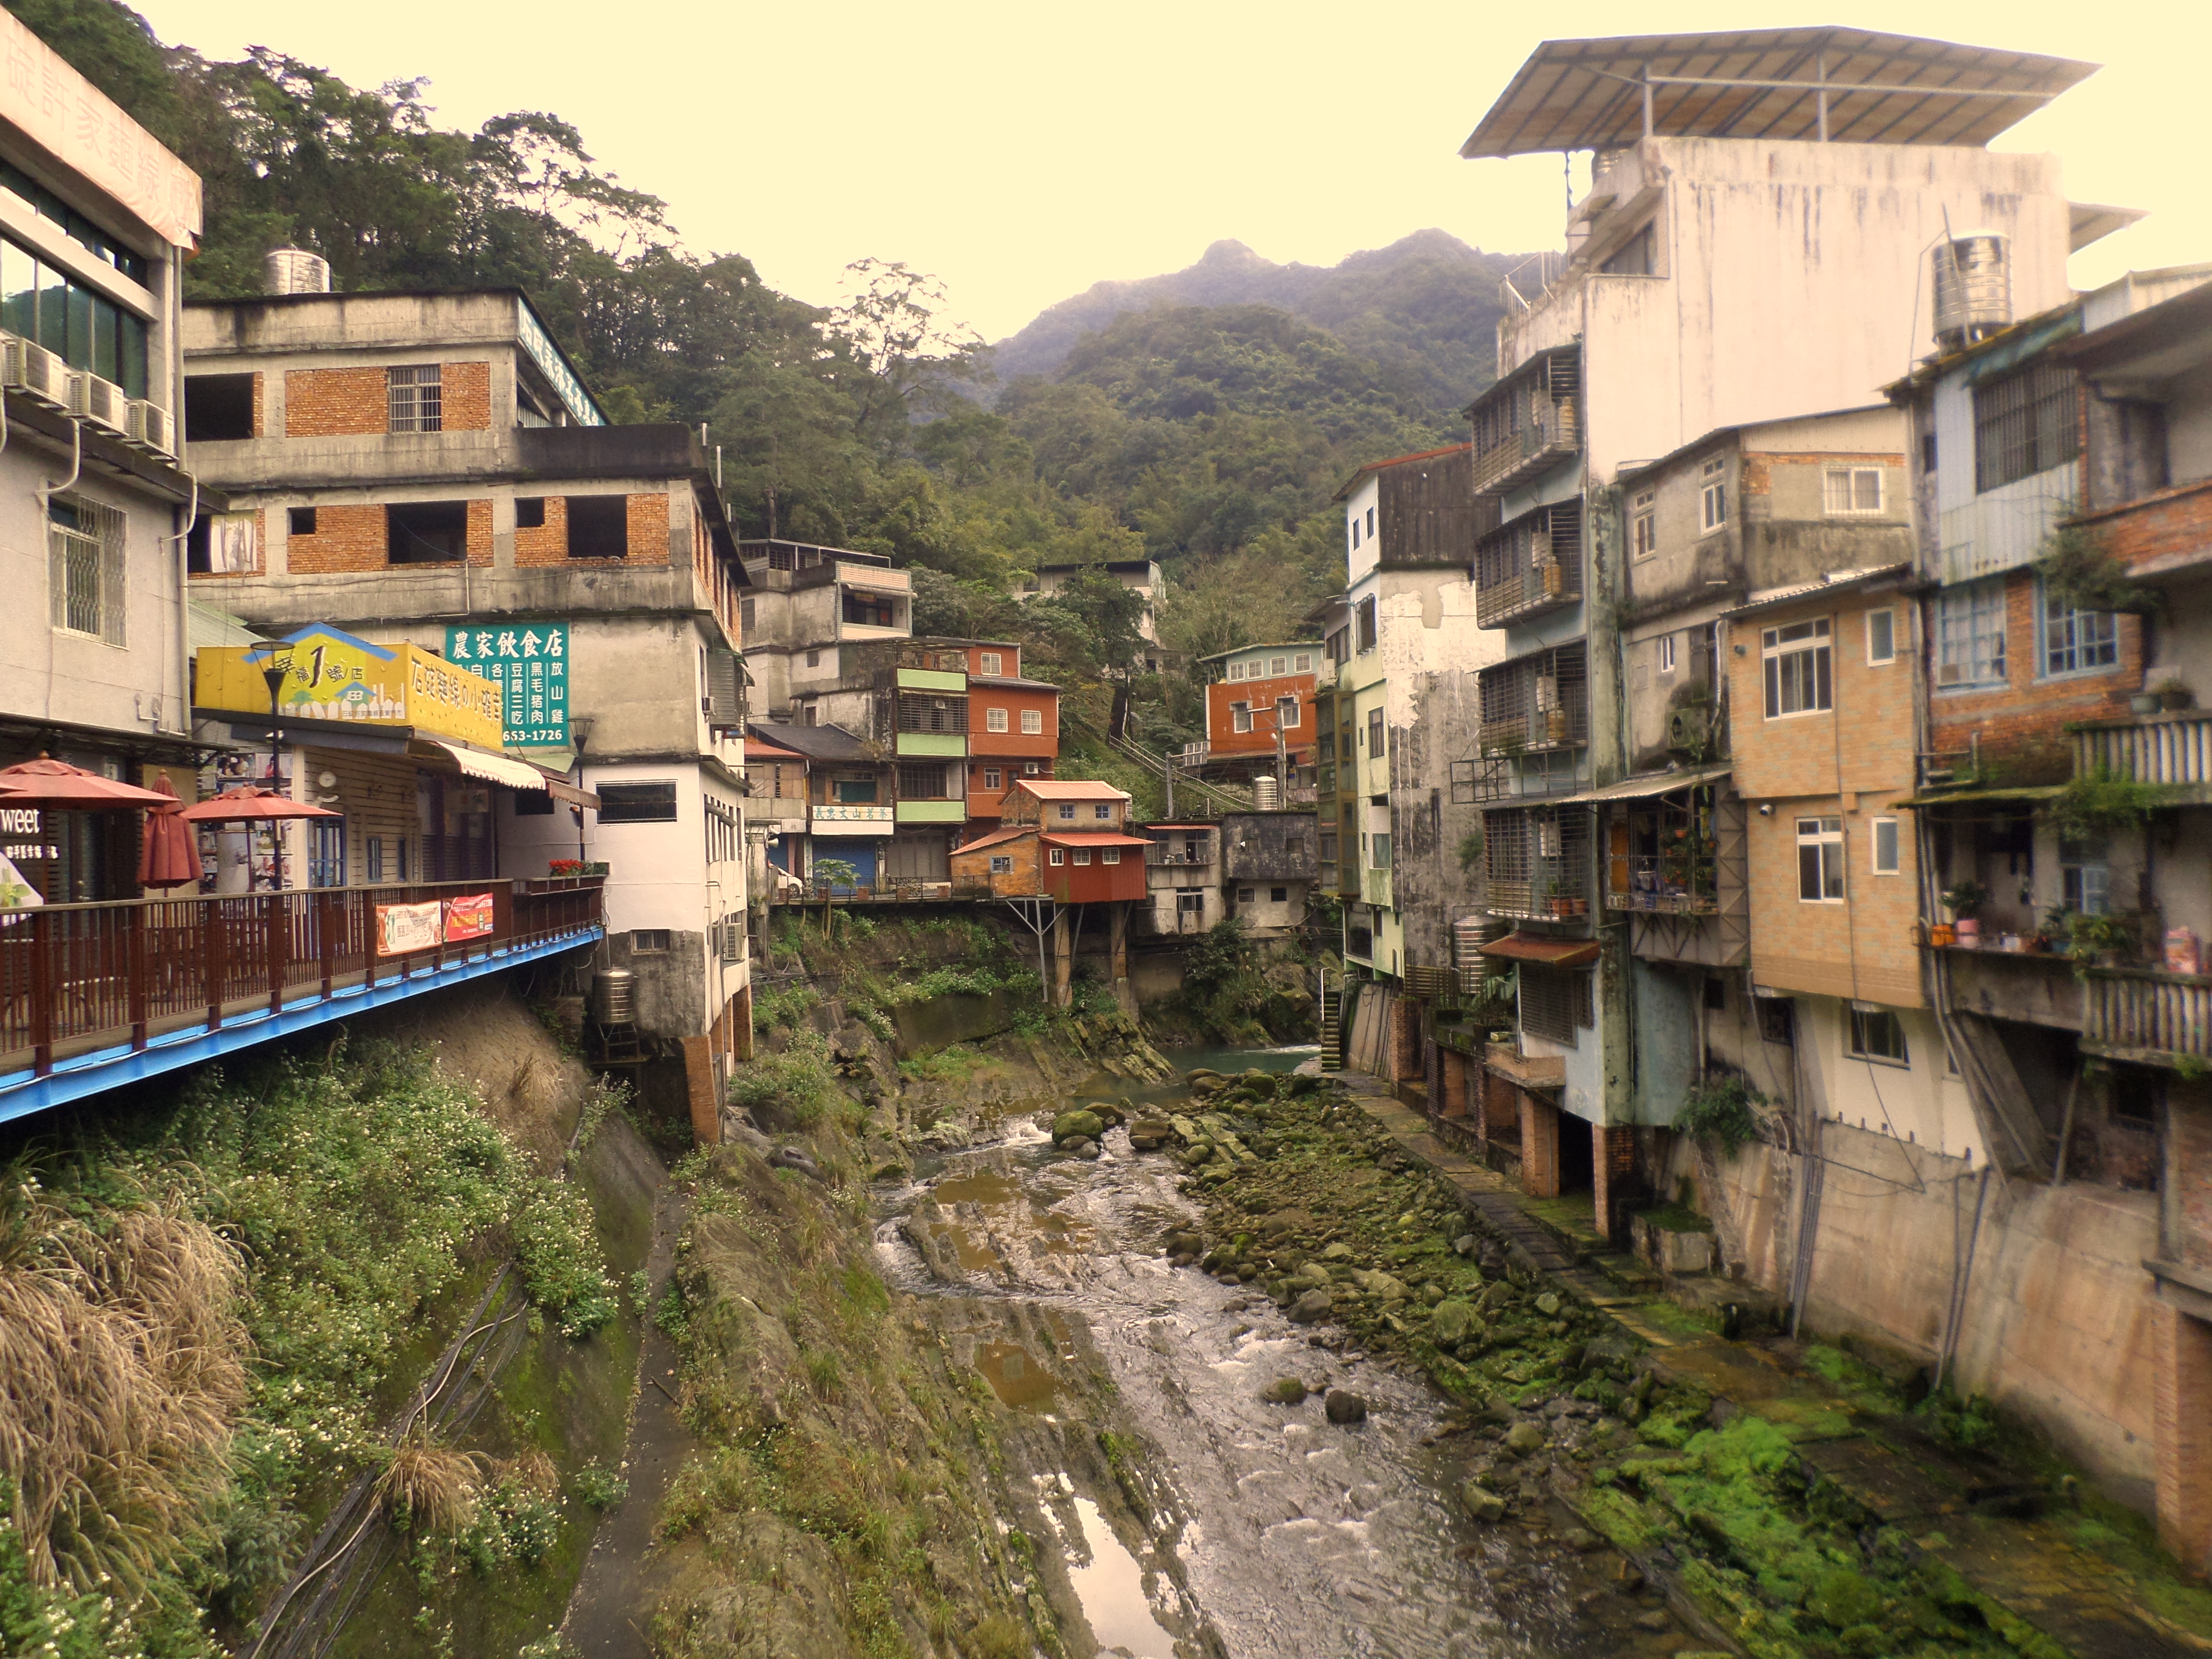 Shihding |
To start the hike from the bus stop, cross the first bridge, turn right and cross the river again. Keep following the narrow road as it goes past an elementary school then heads out of town towards the freeway high above the valley. The hike starts on the left under the freeway (there are no signs indicating the start of the trail).
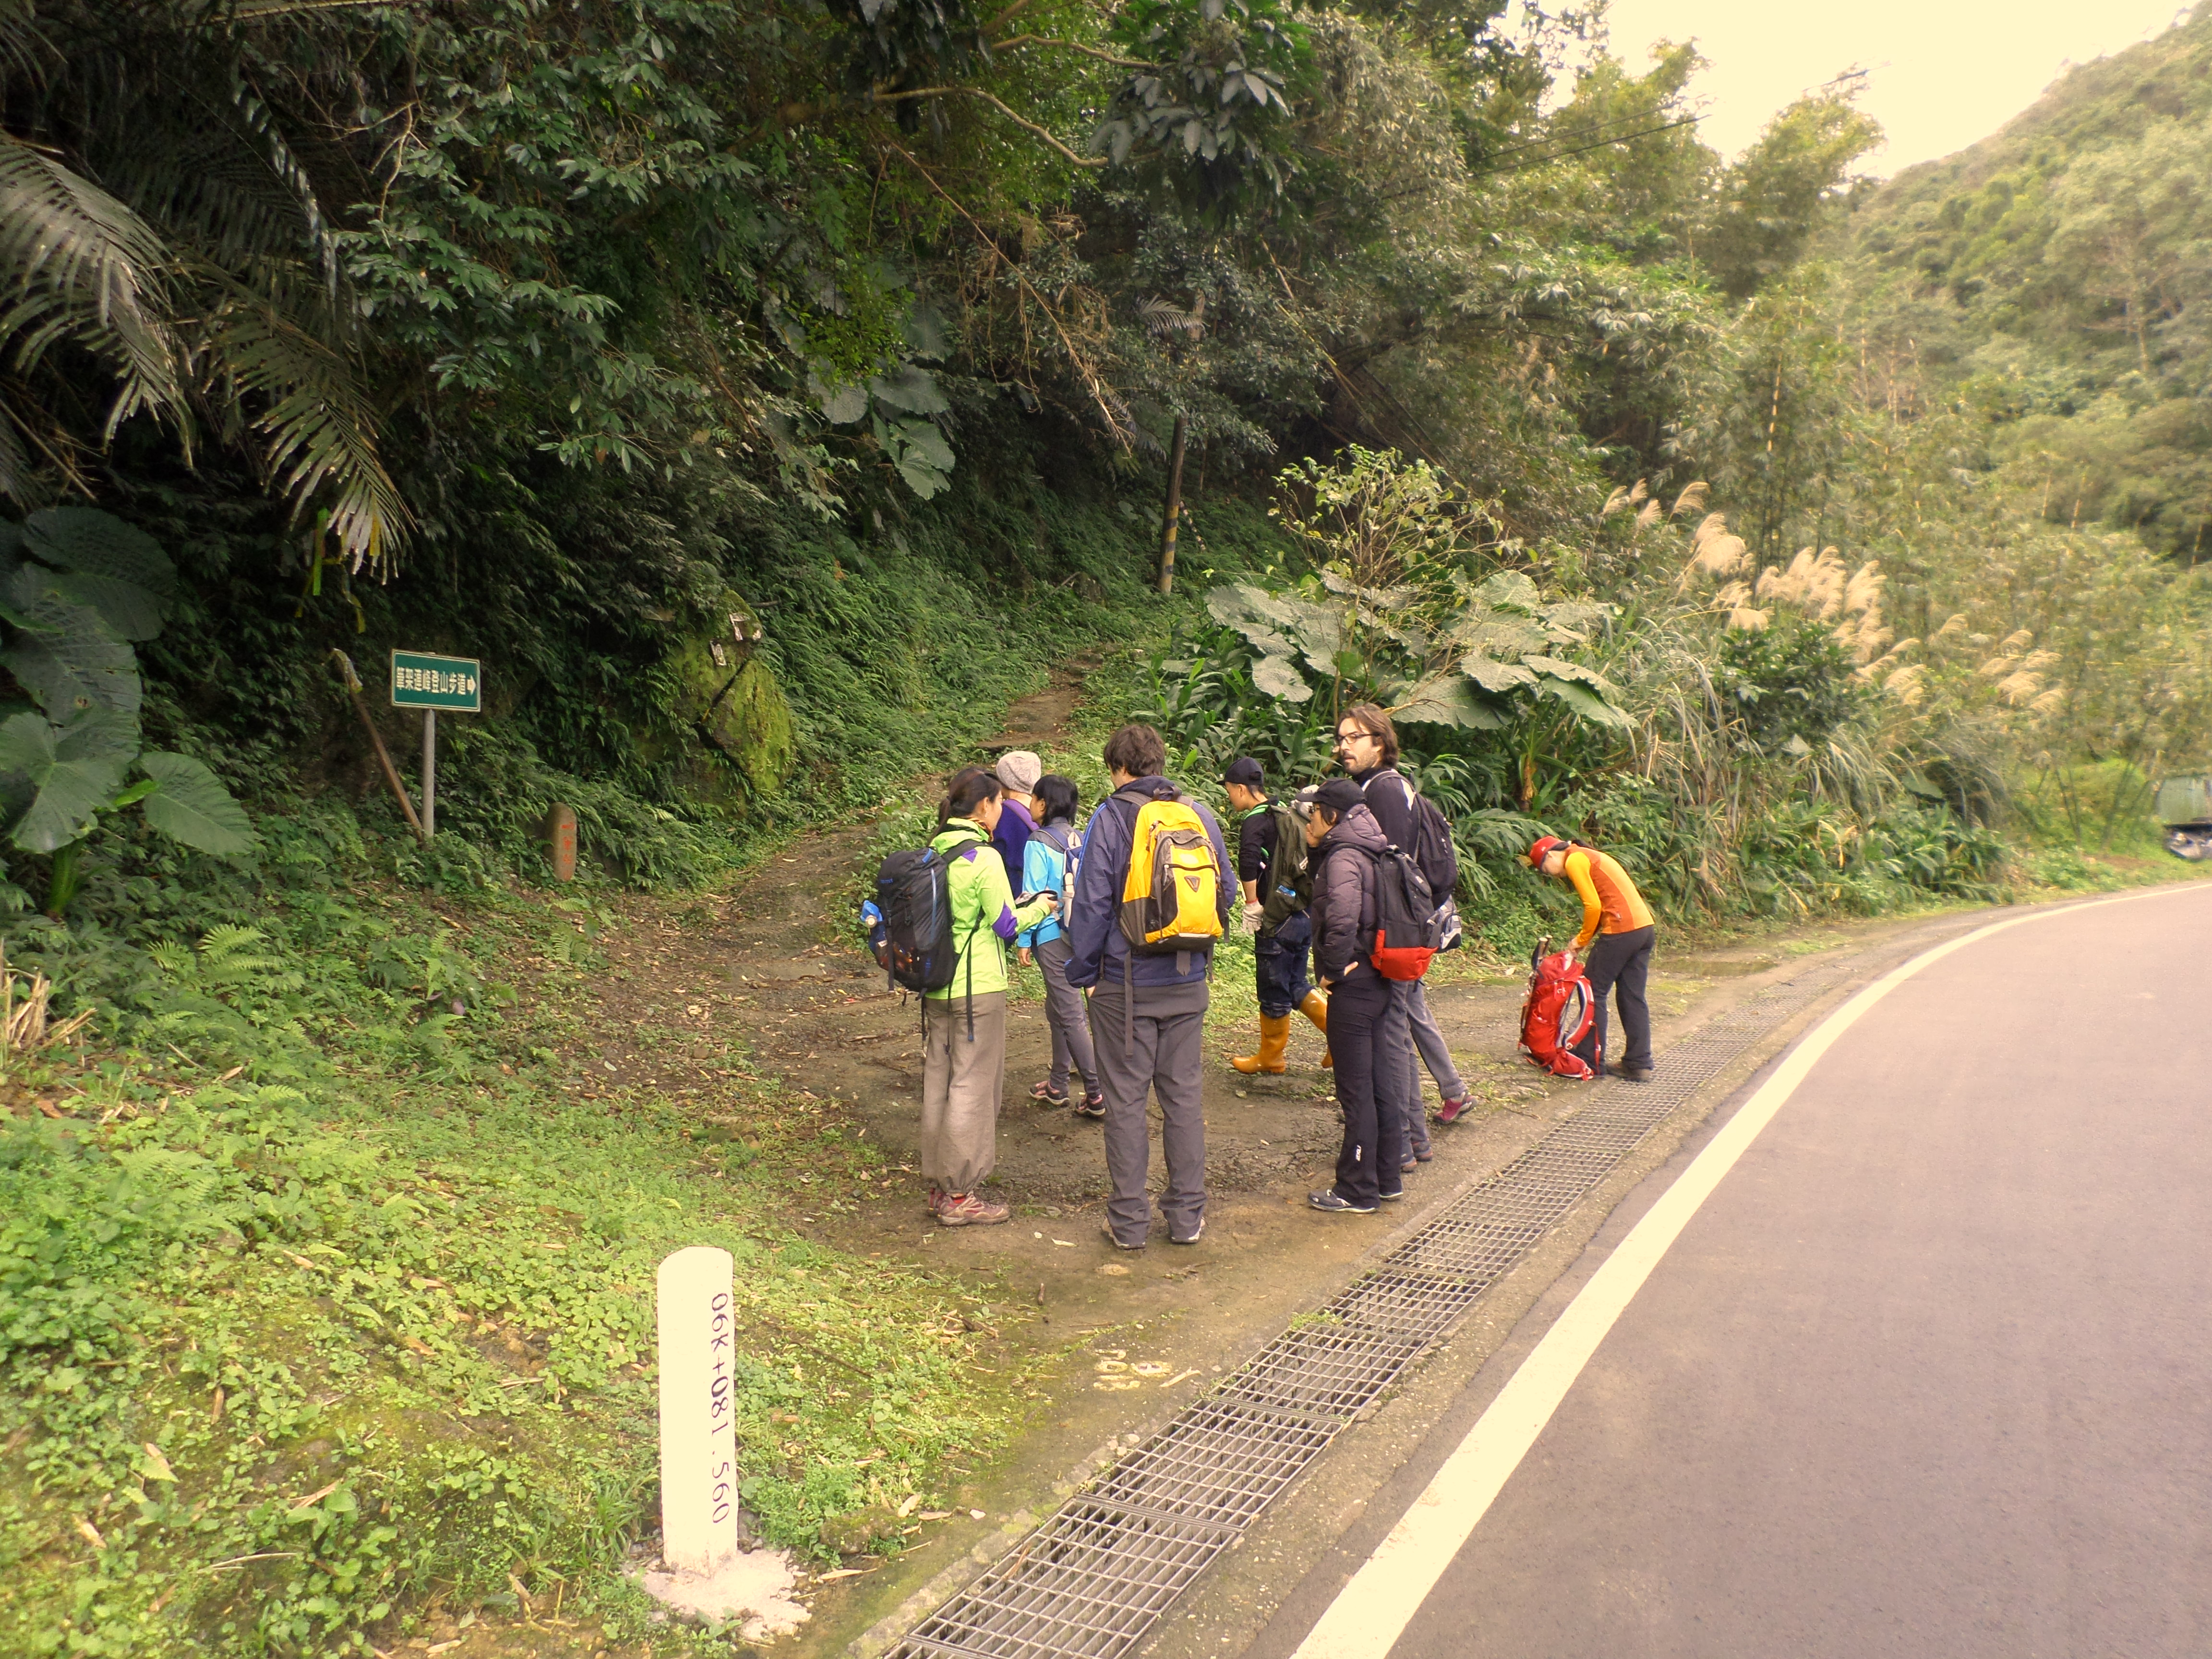
trail starts here
The hike starts as a flat dirt trail near a stream before passing a small Land God shrine.
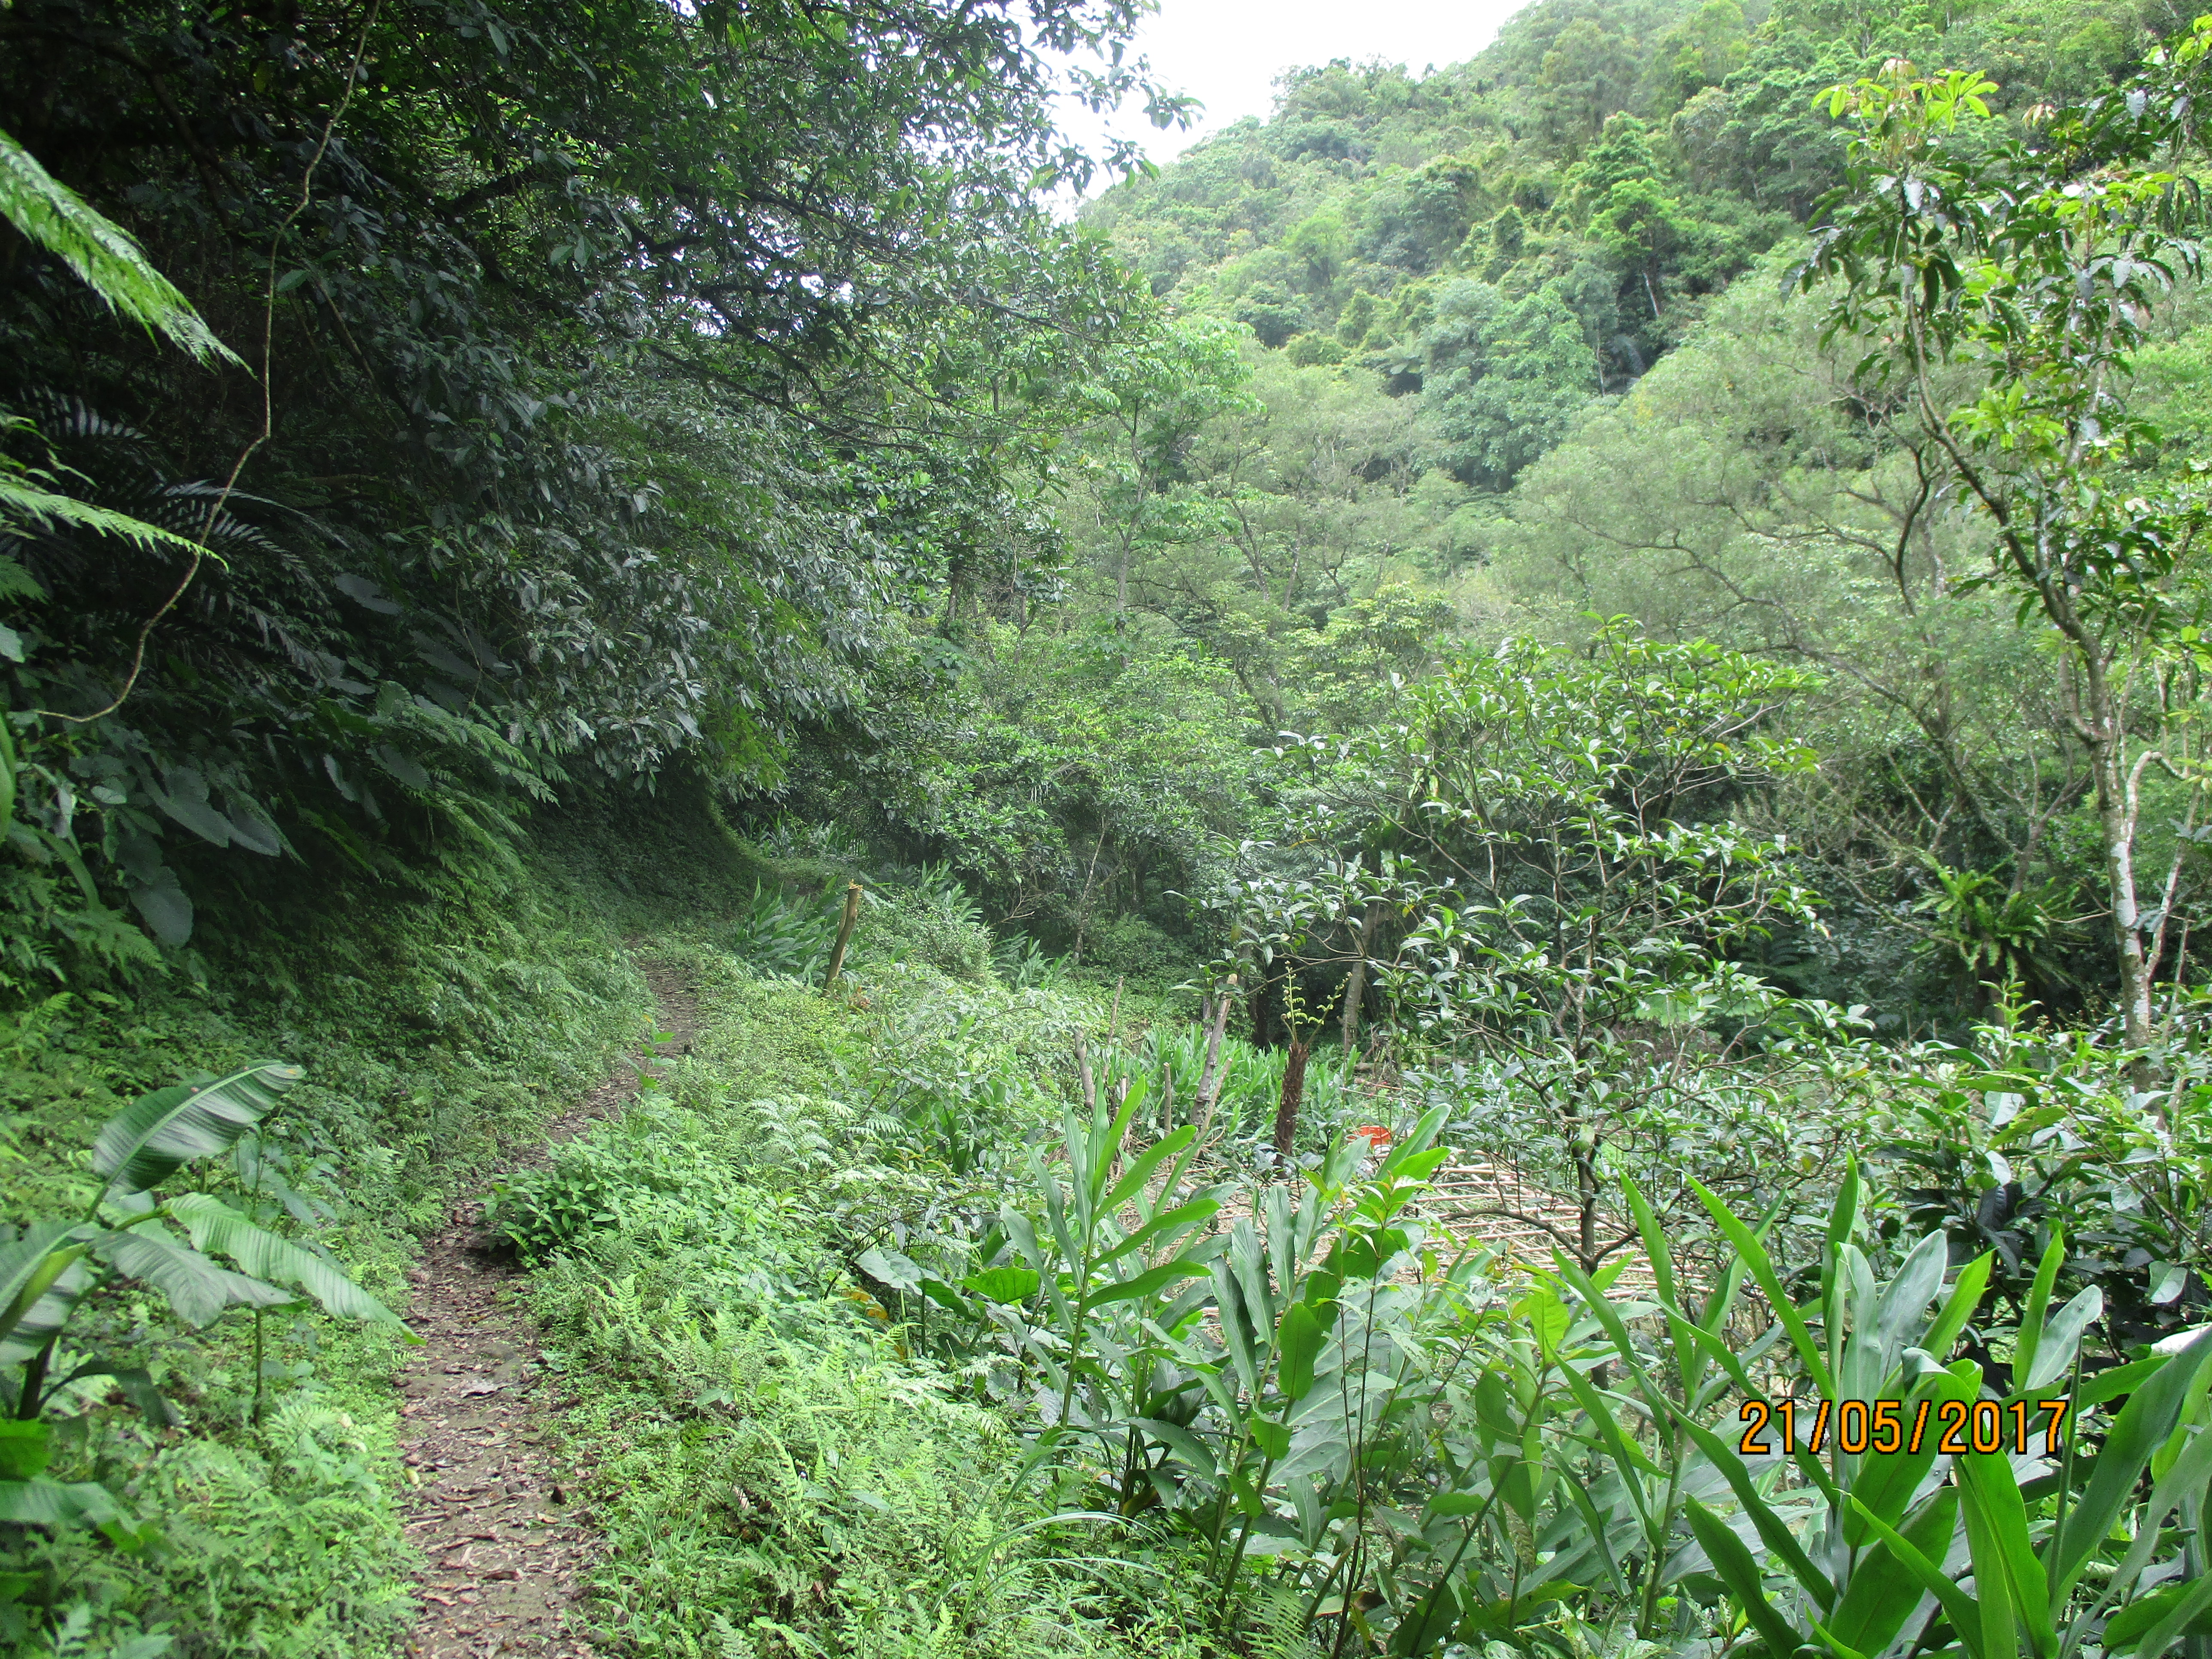
start of the trail along a stream
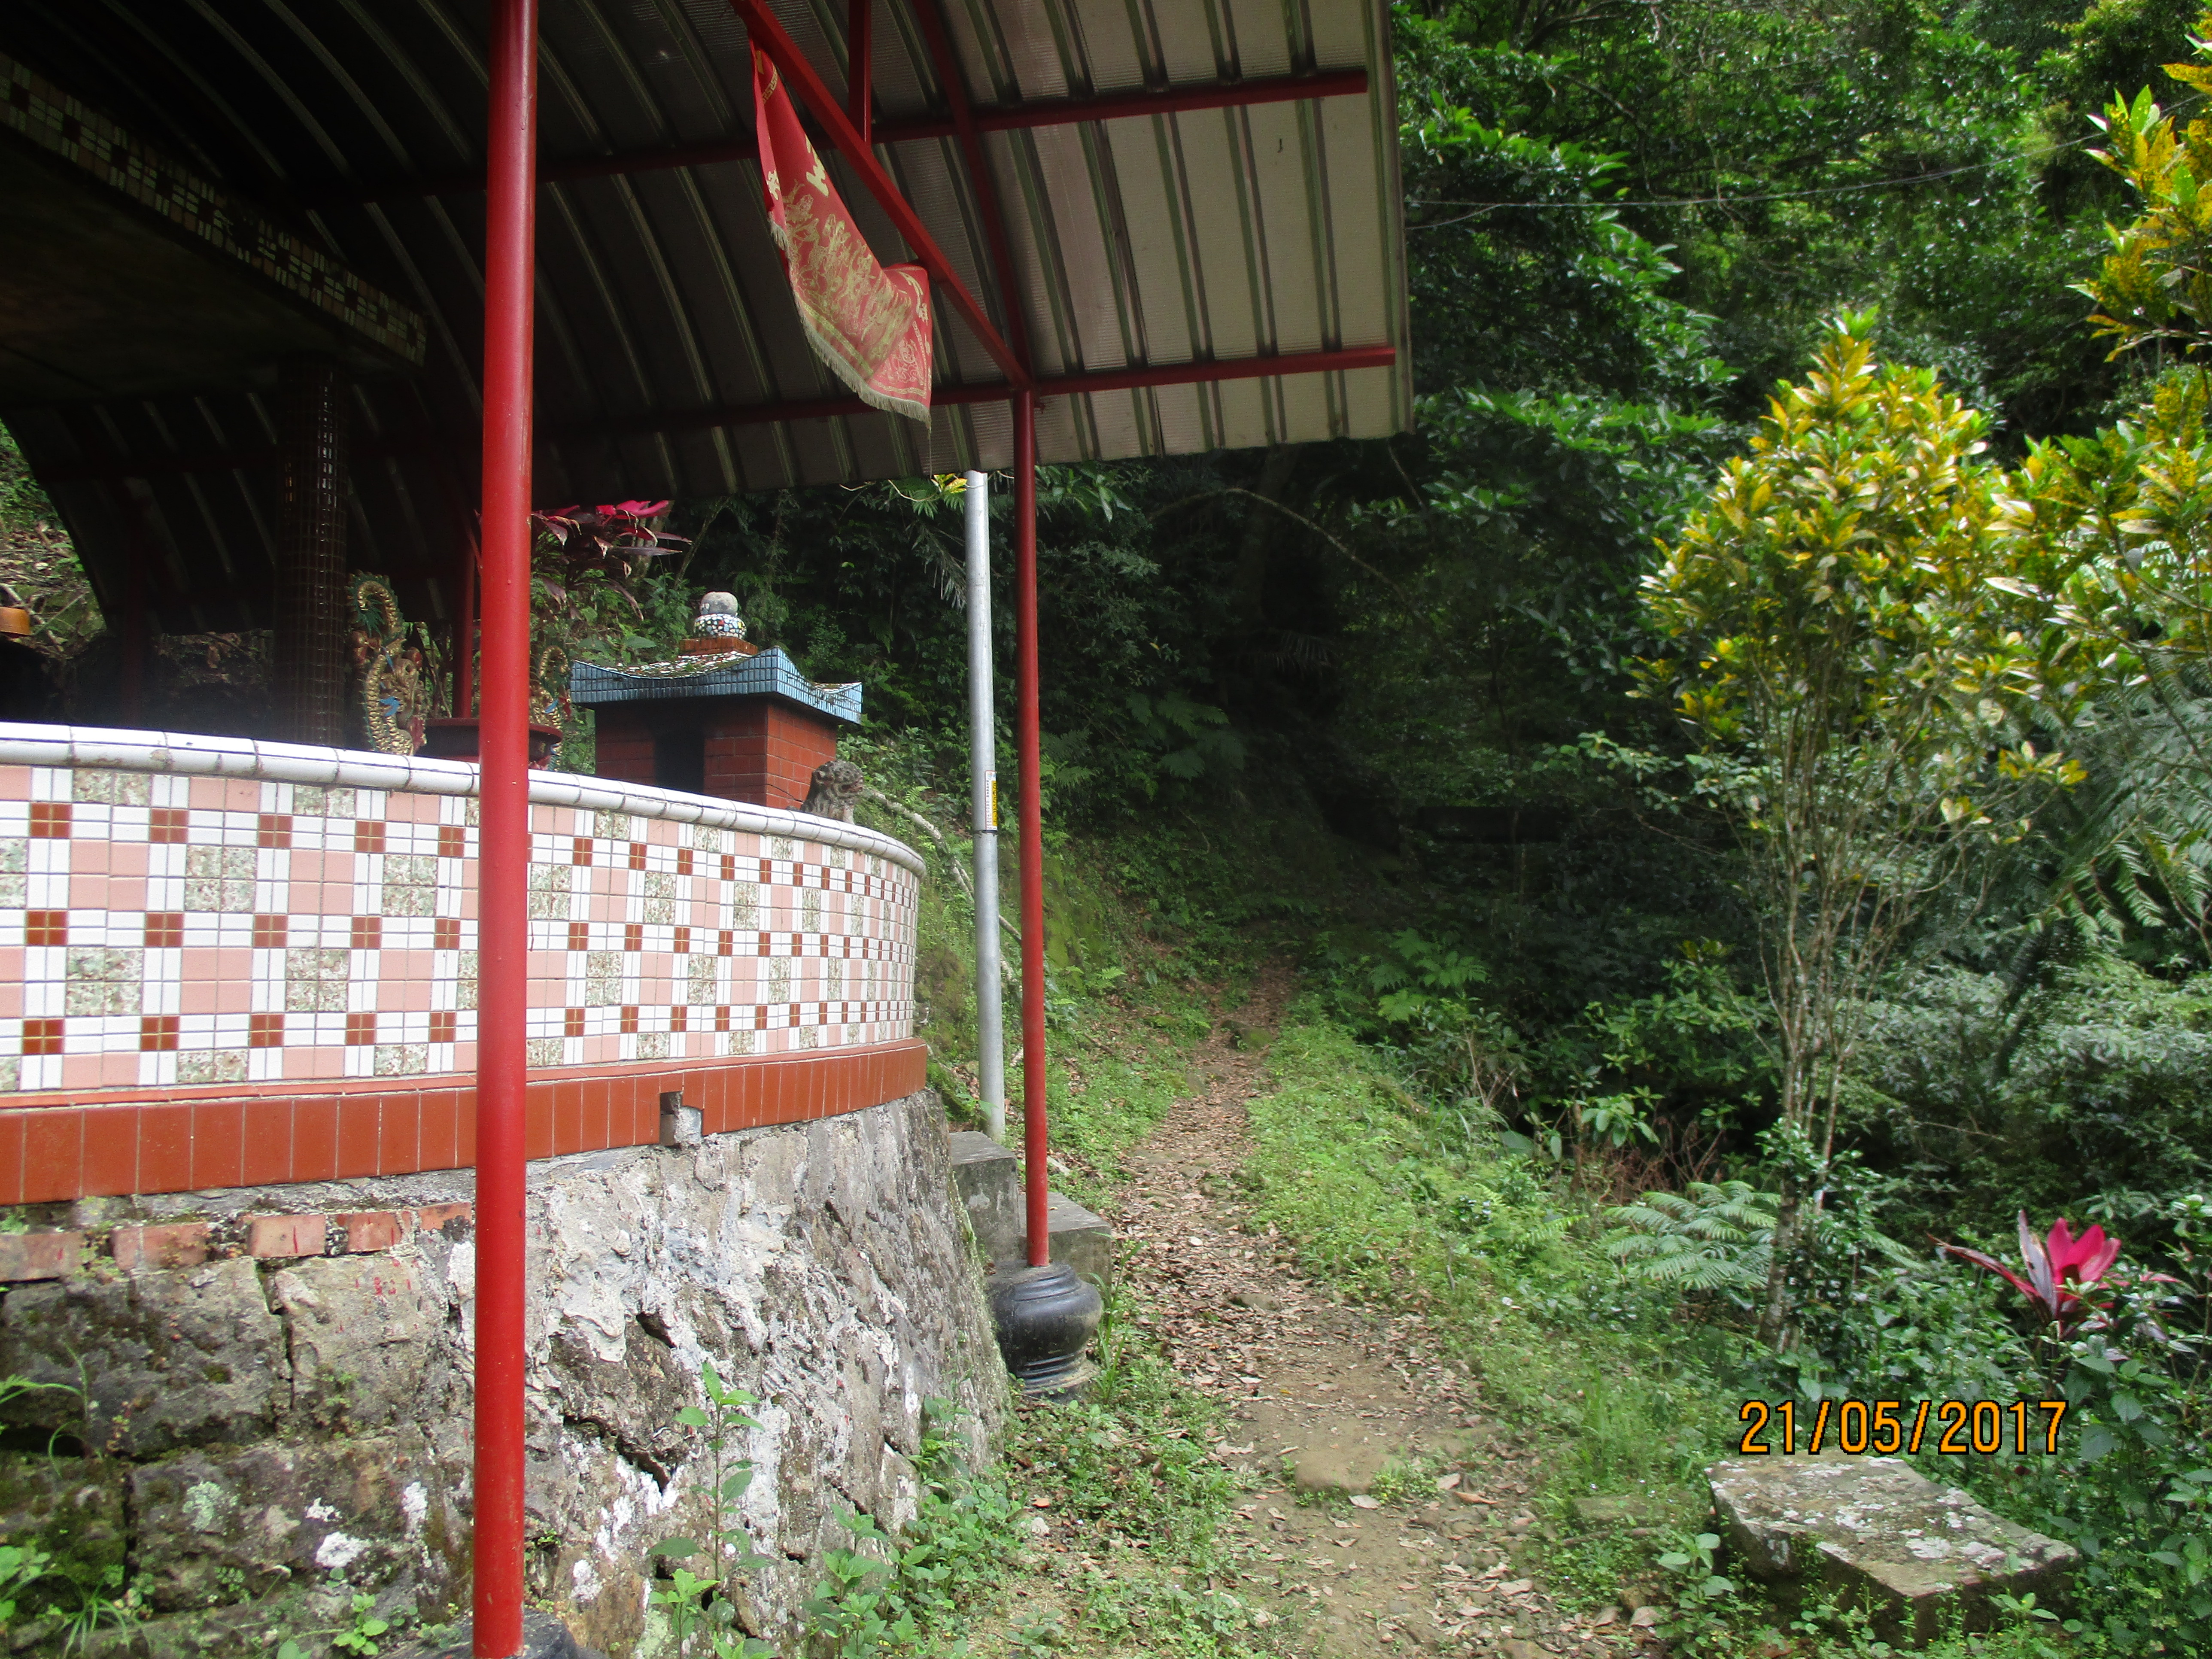
Land God shrine
After the shrine the trail crosses a stone bridge. Turn left after the bridge.

turn left after crossing the bridge
The trail then climbs up past some terraces before arriving at an old house. Pass the house on the right.
keep straight here, continuing to climb up

climbing towards the house
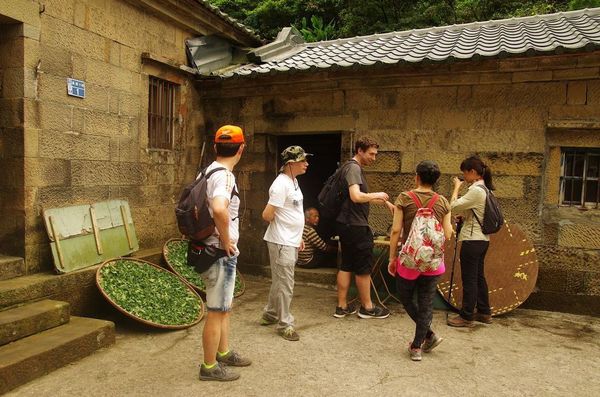
getting tea at the farmhouse
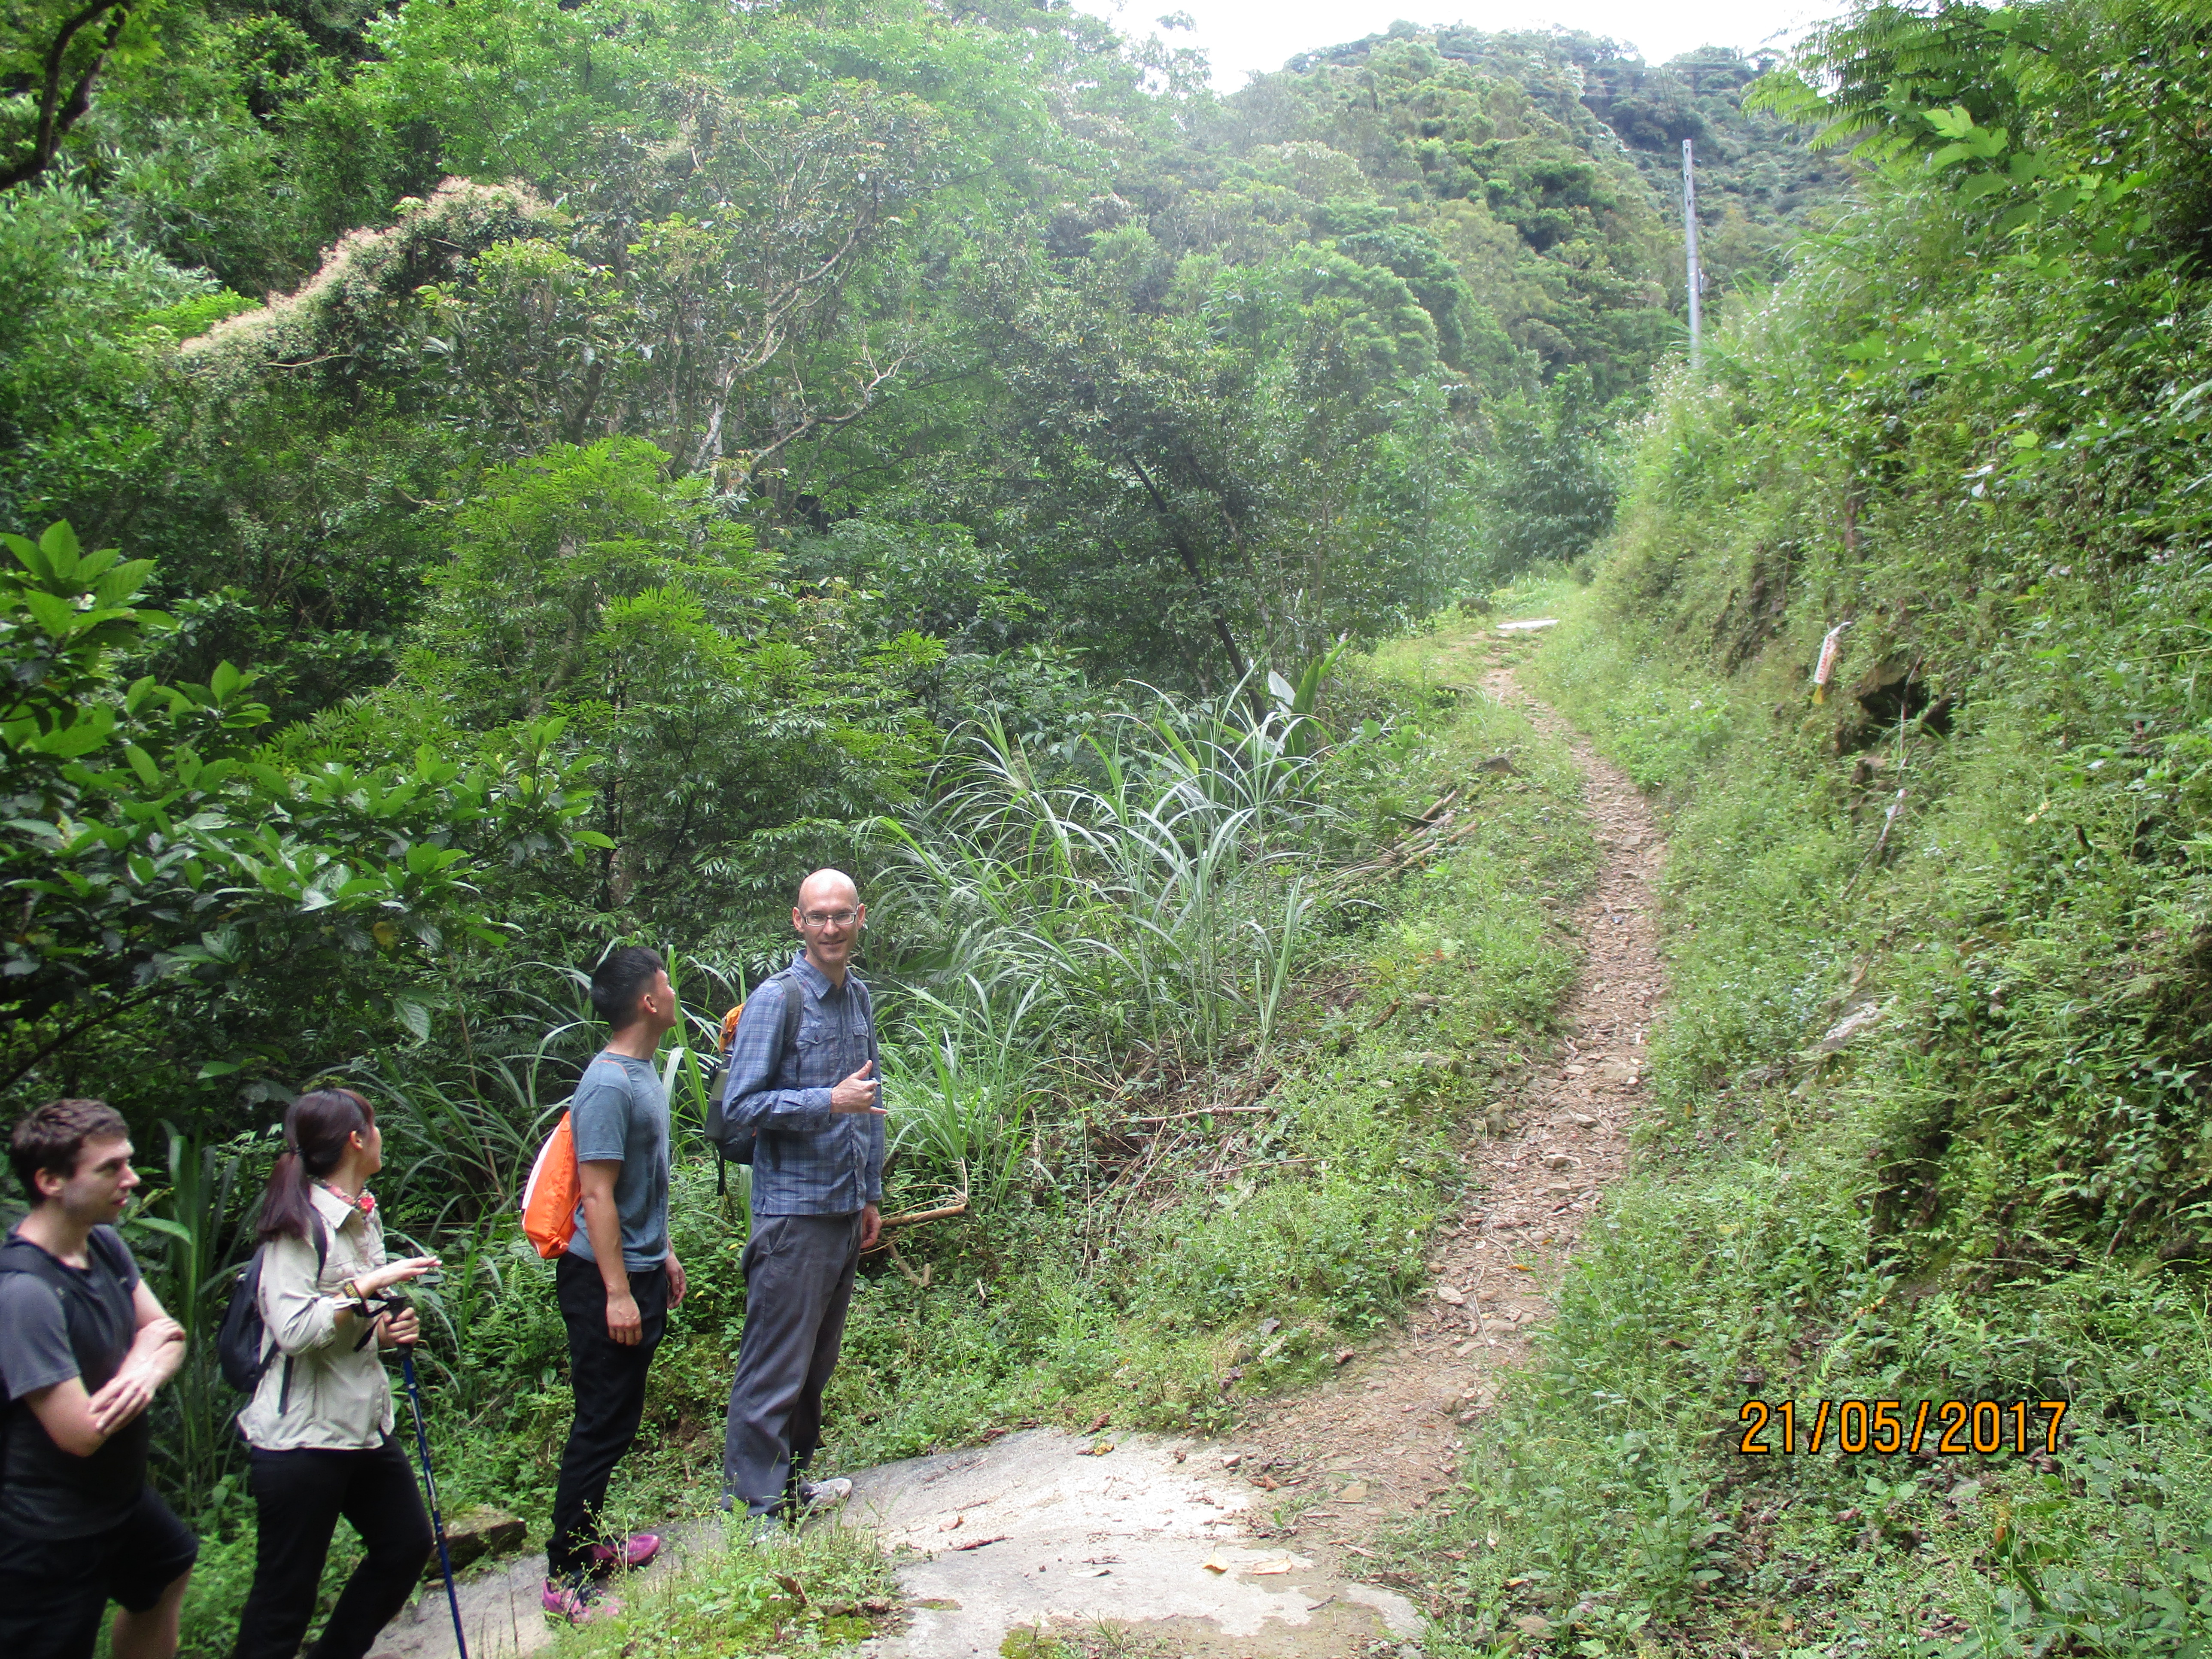
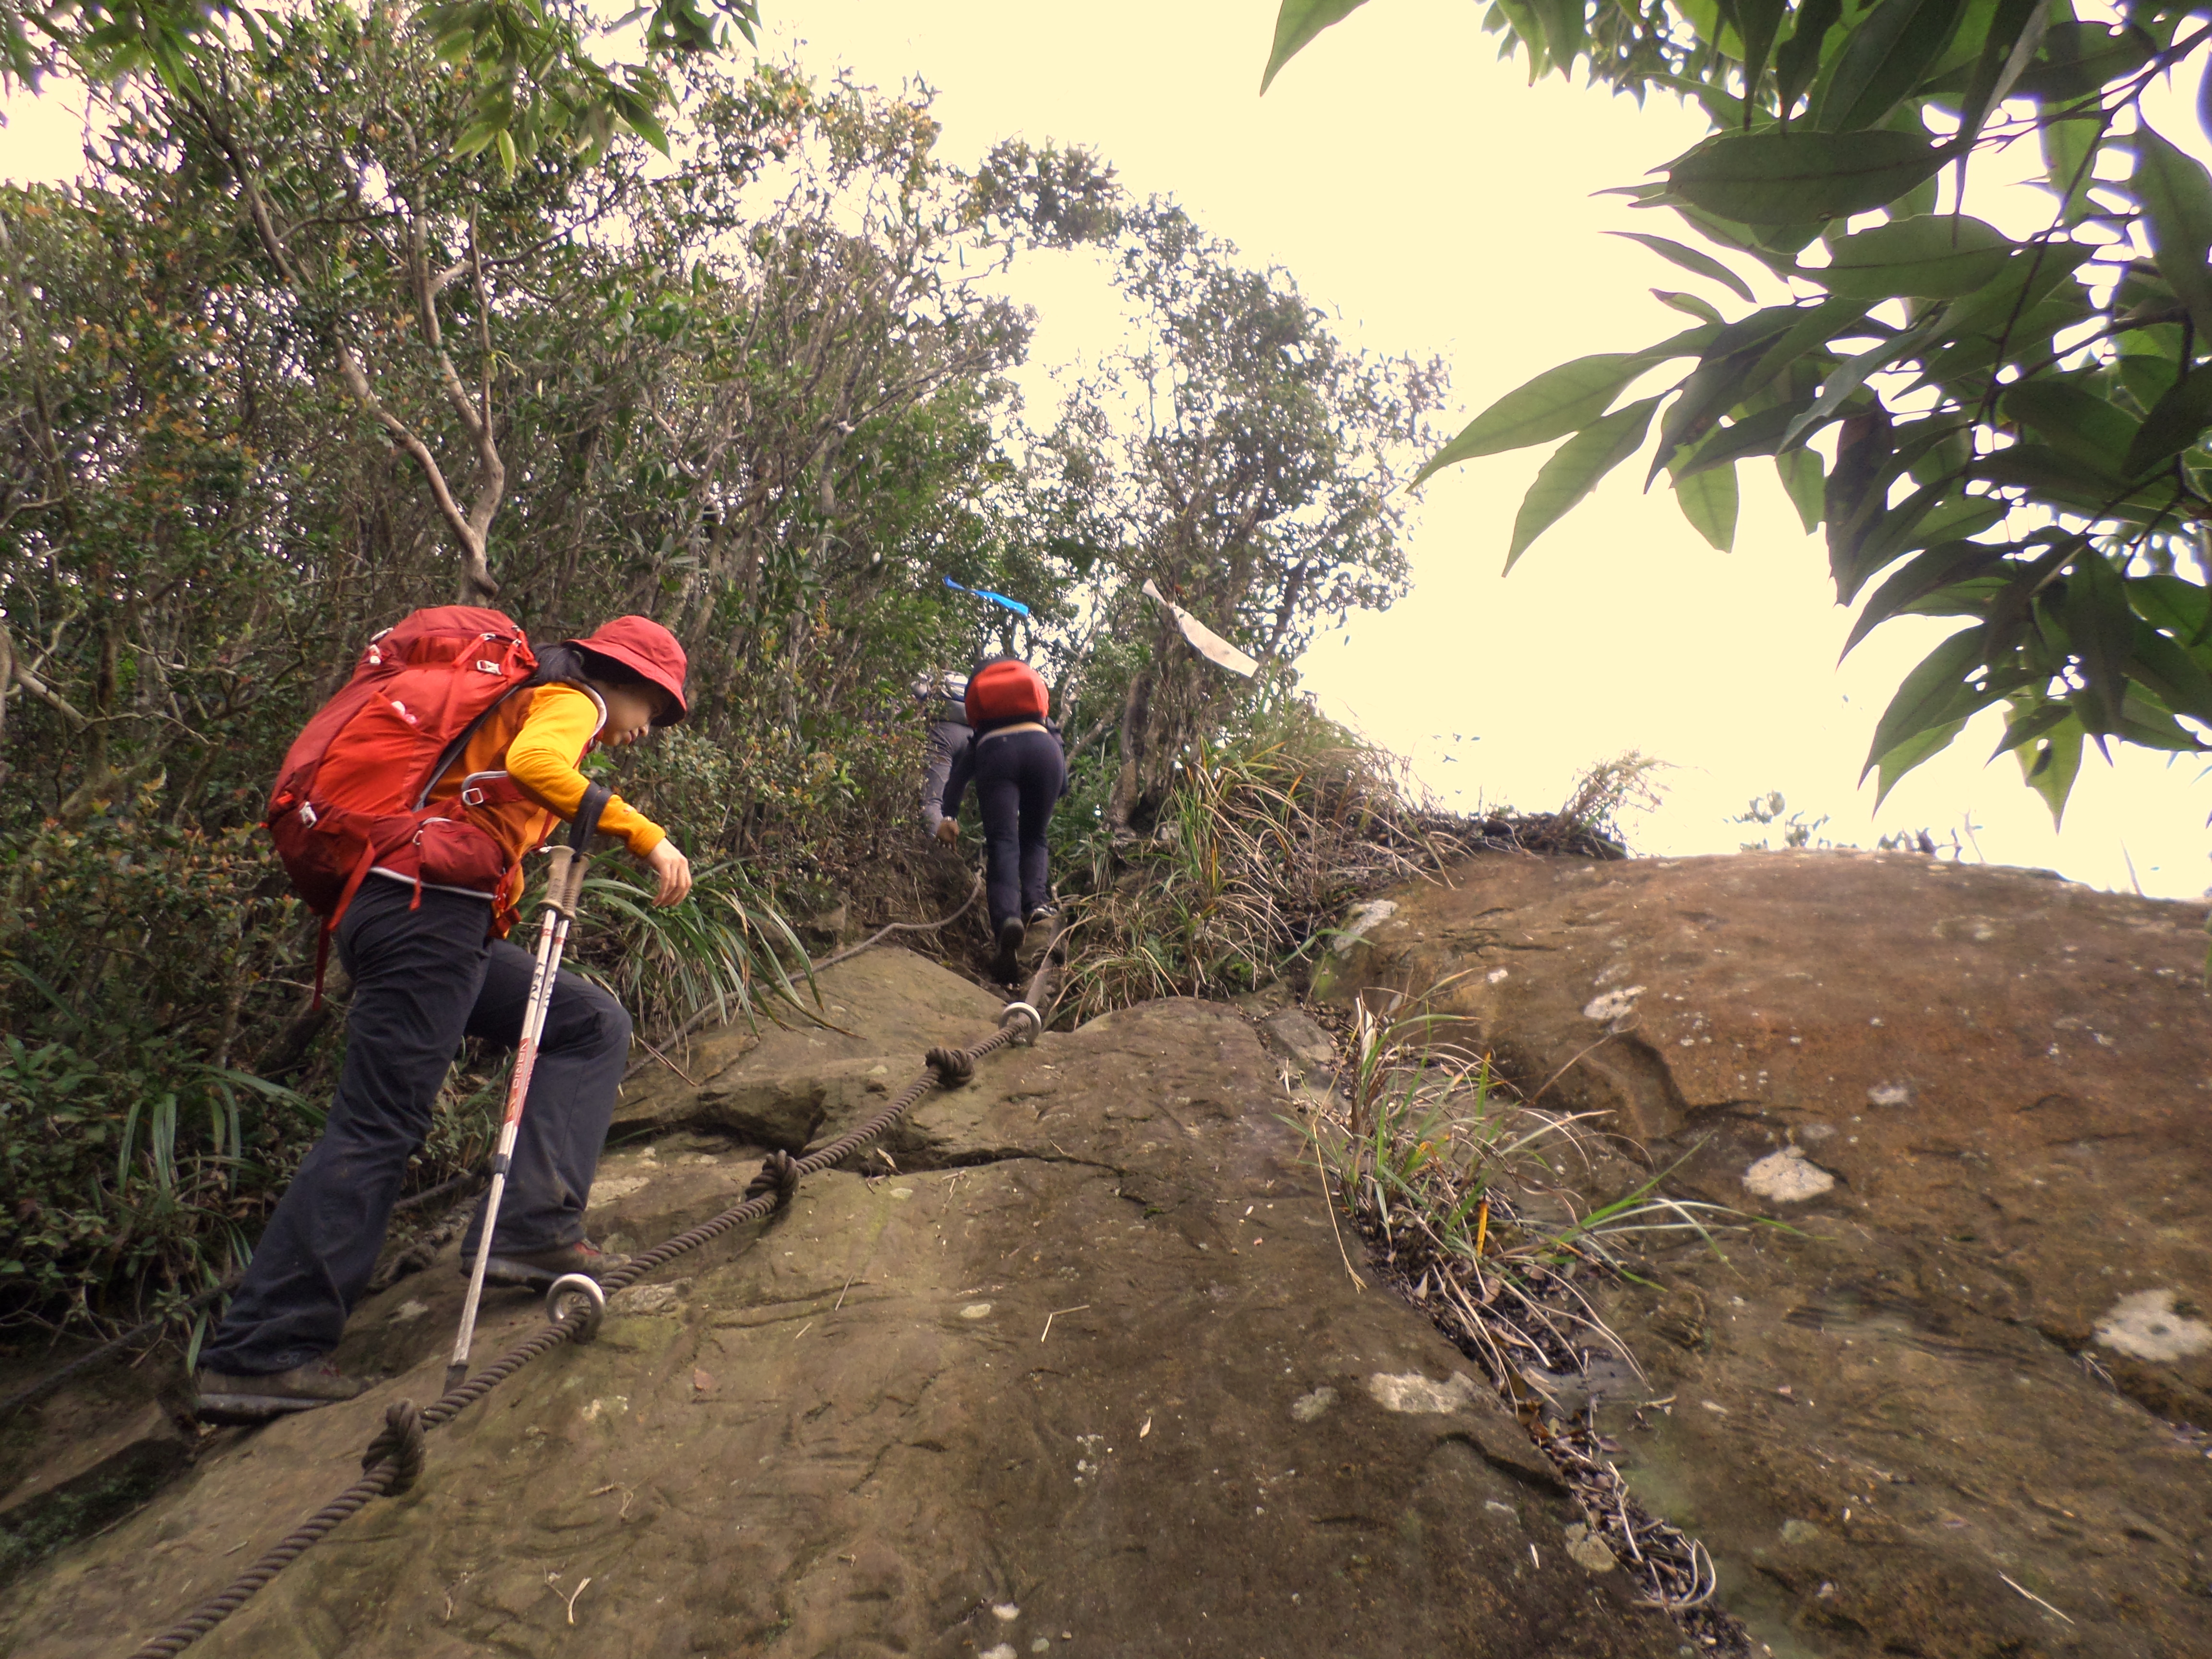
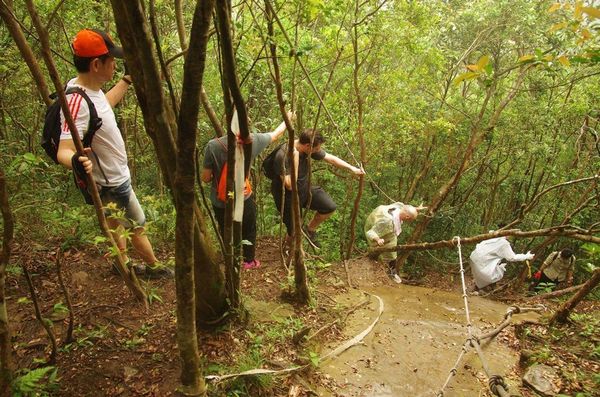
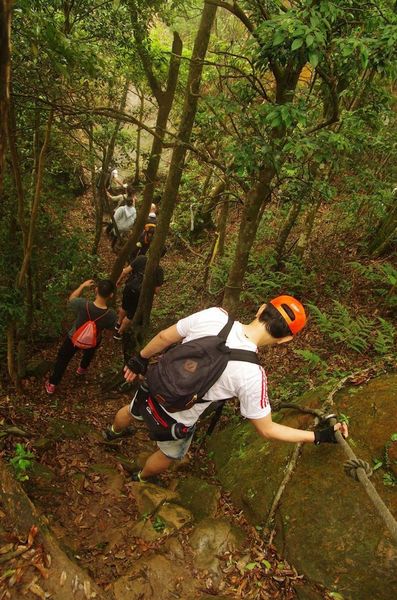
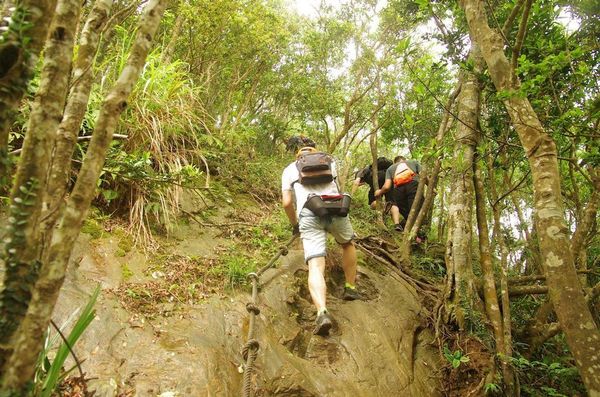
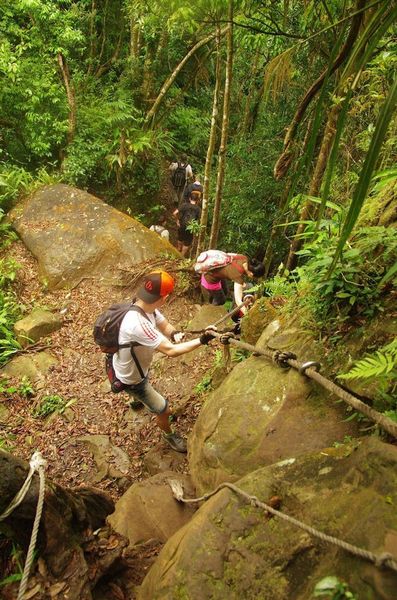
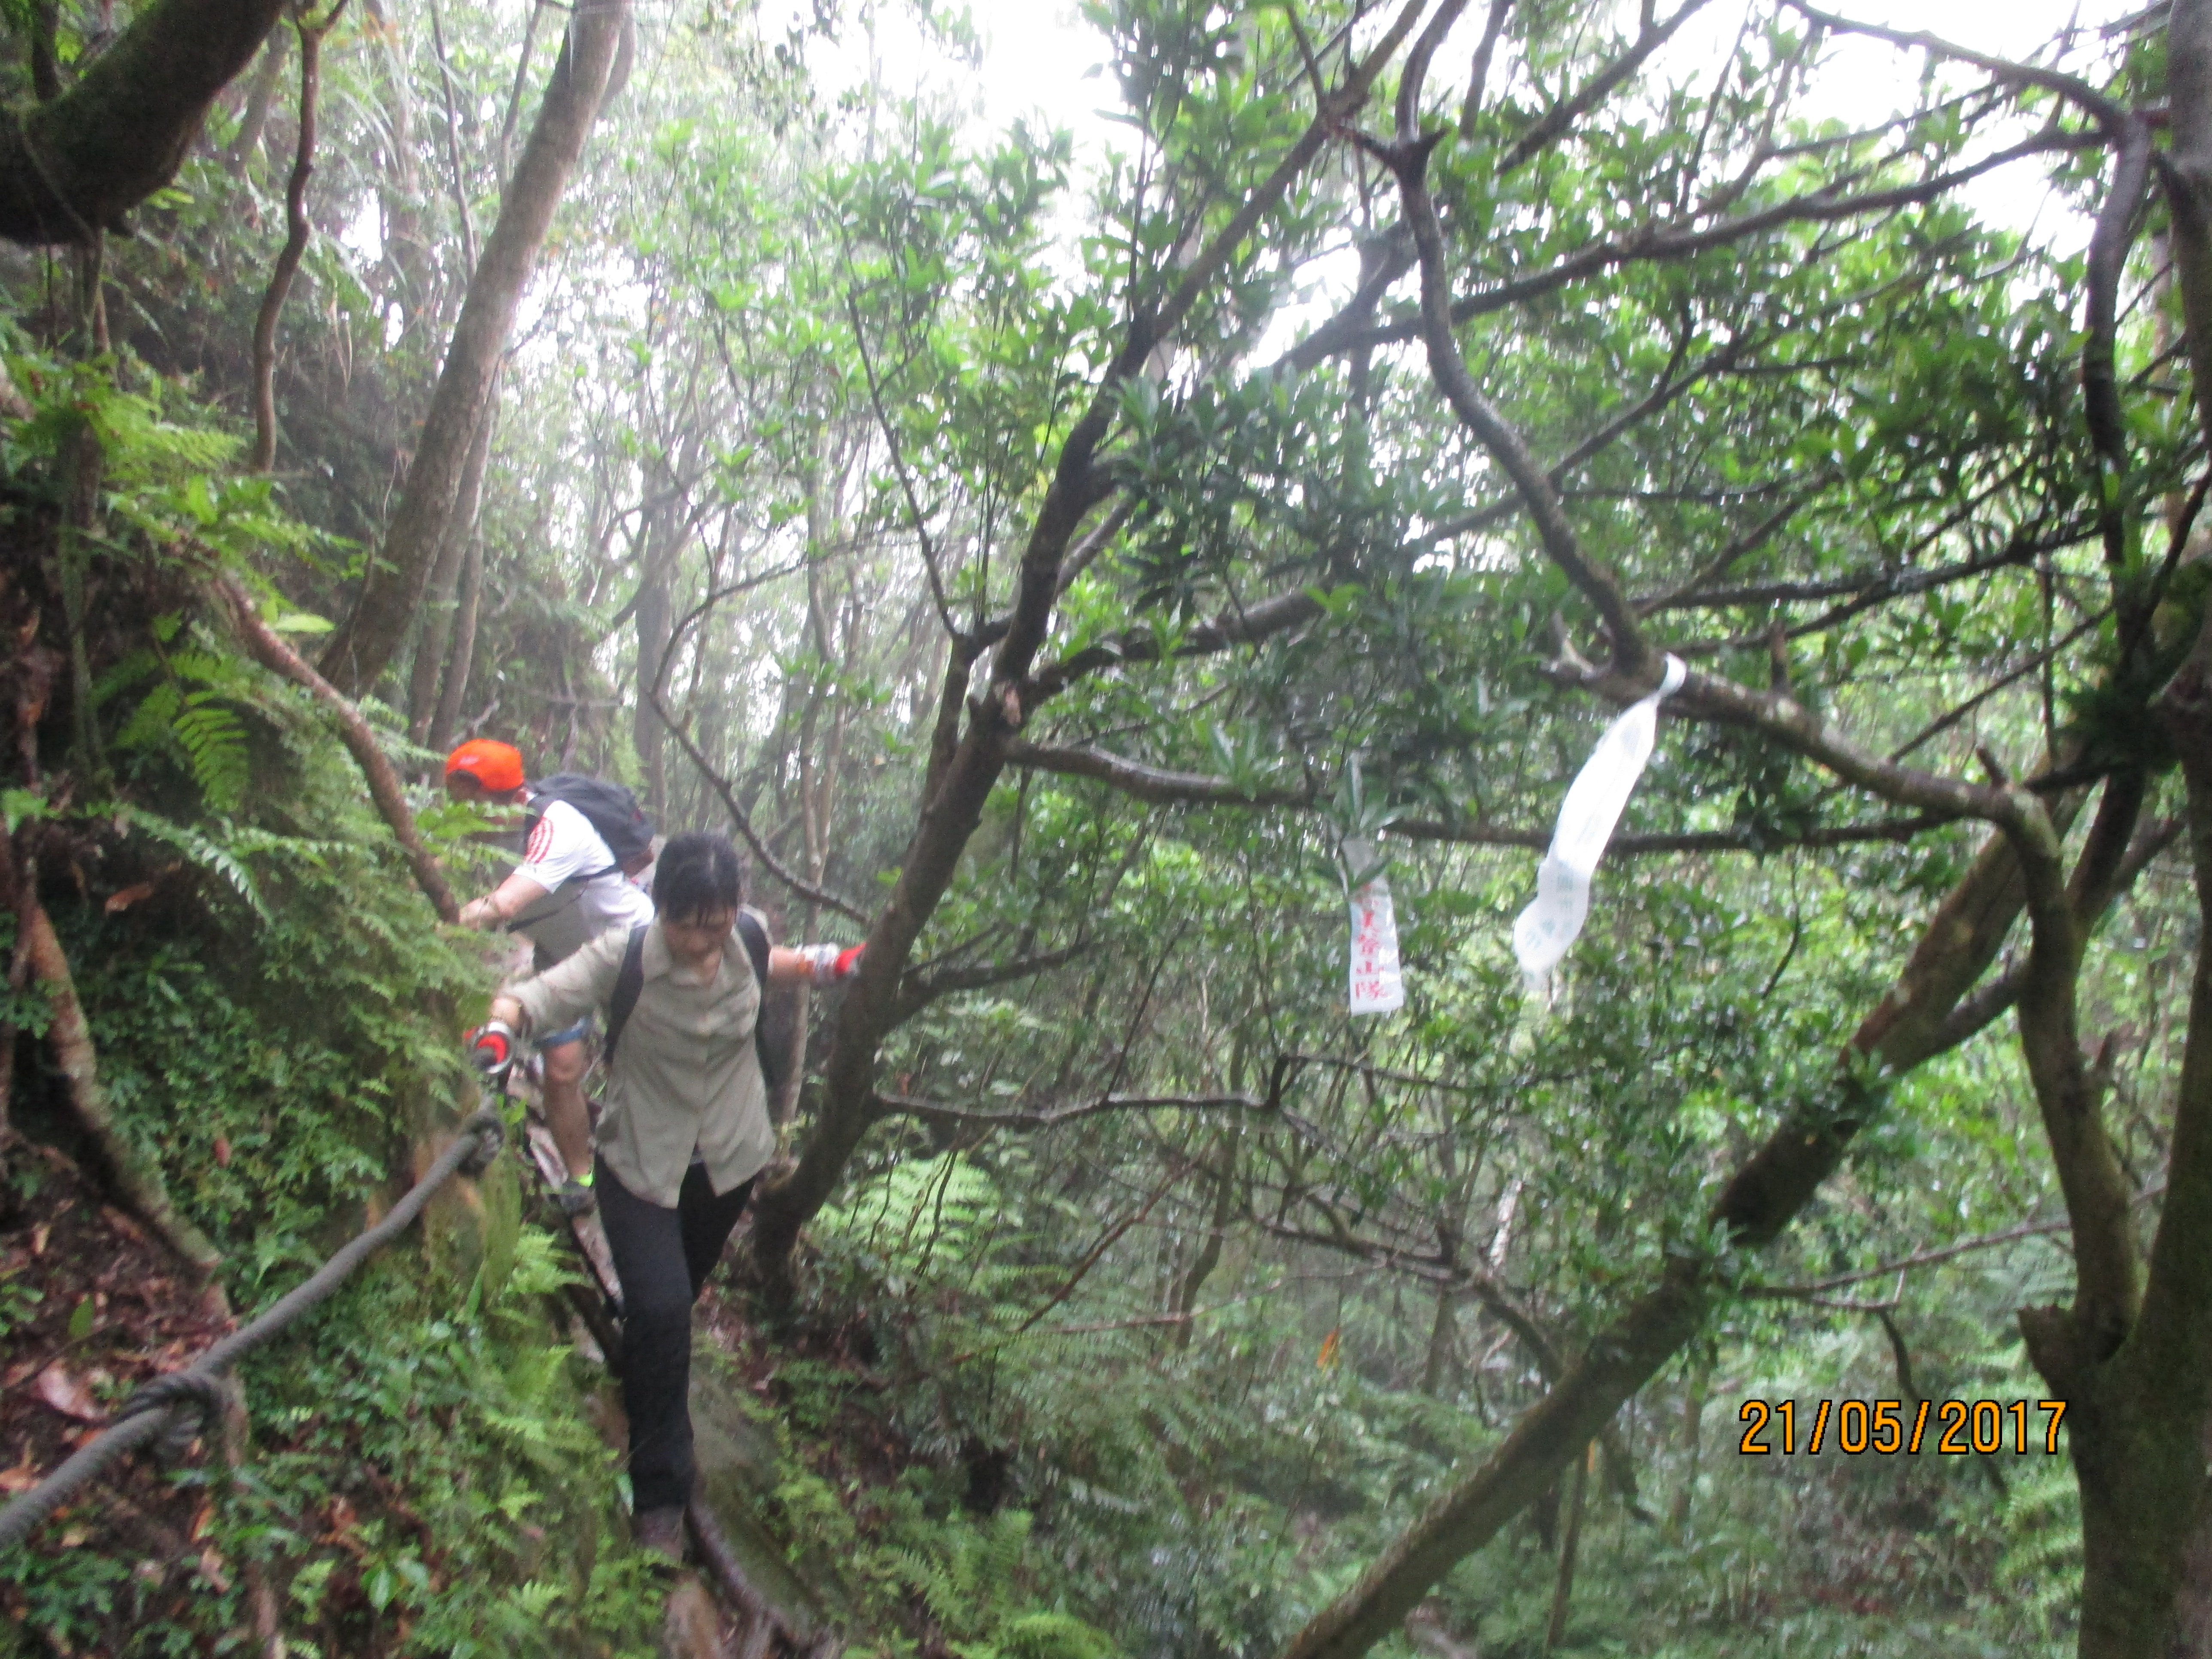
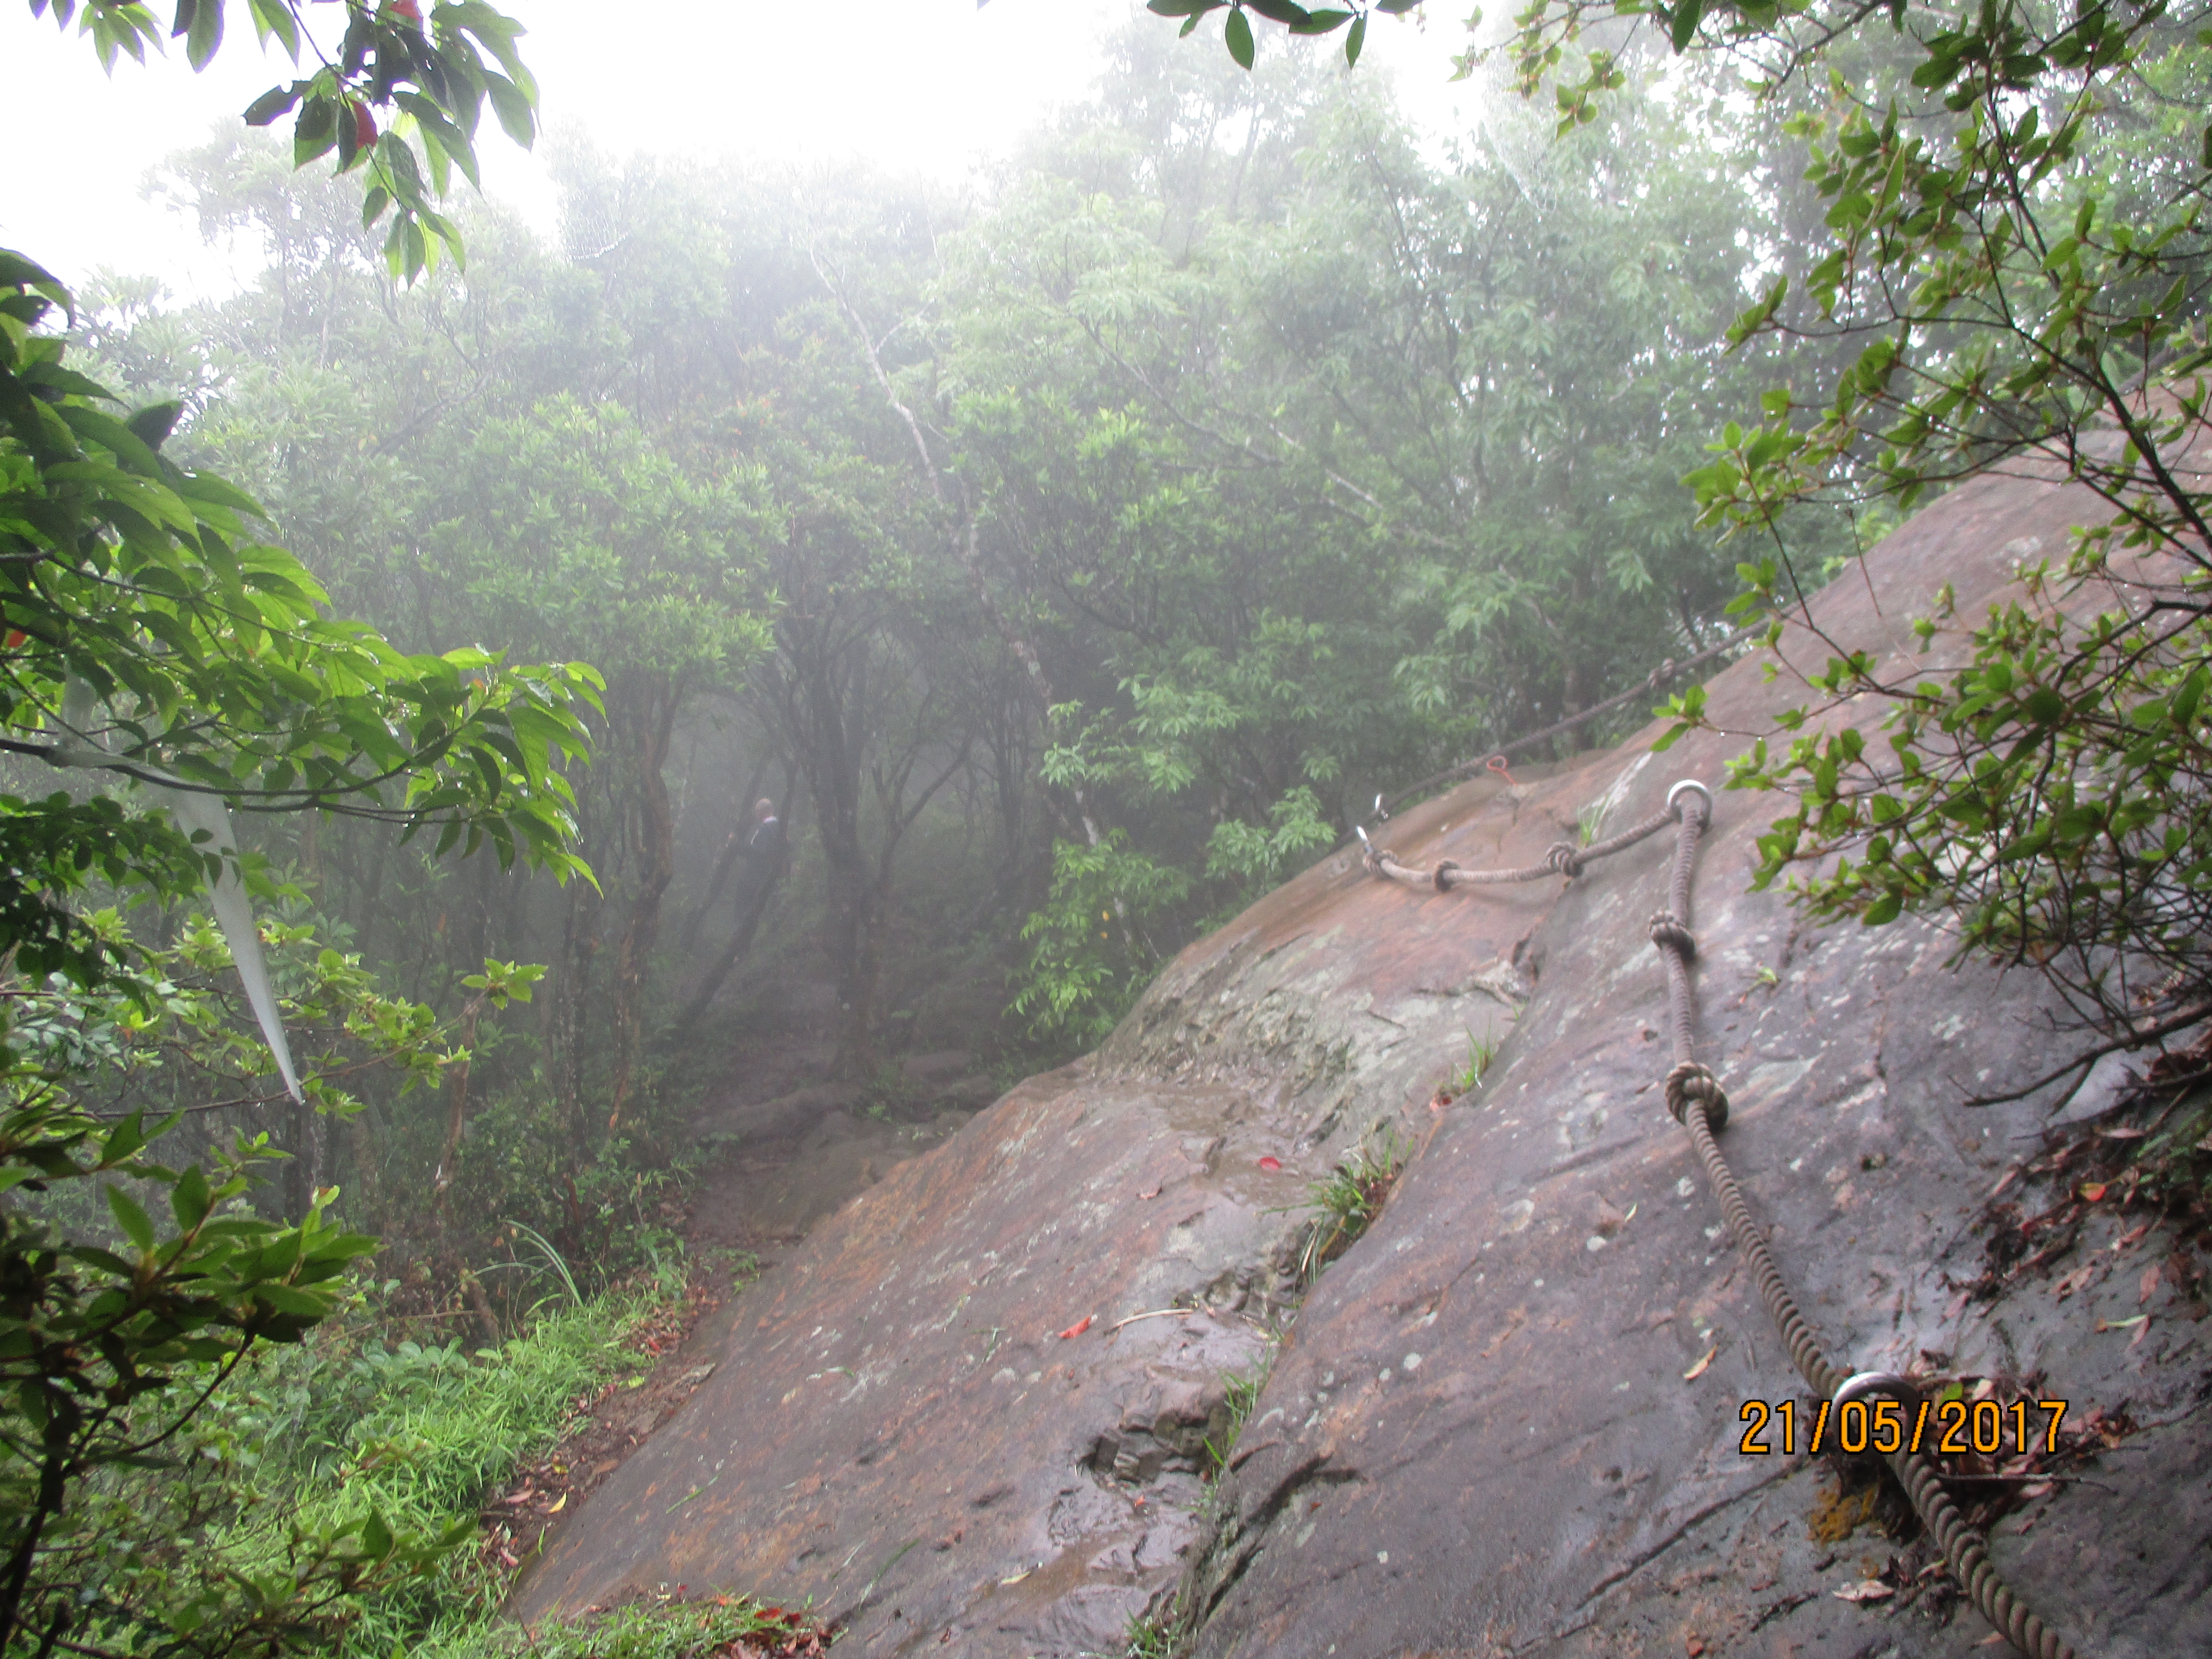
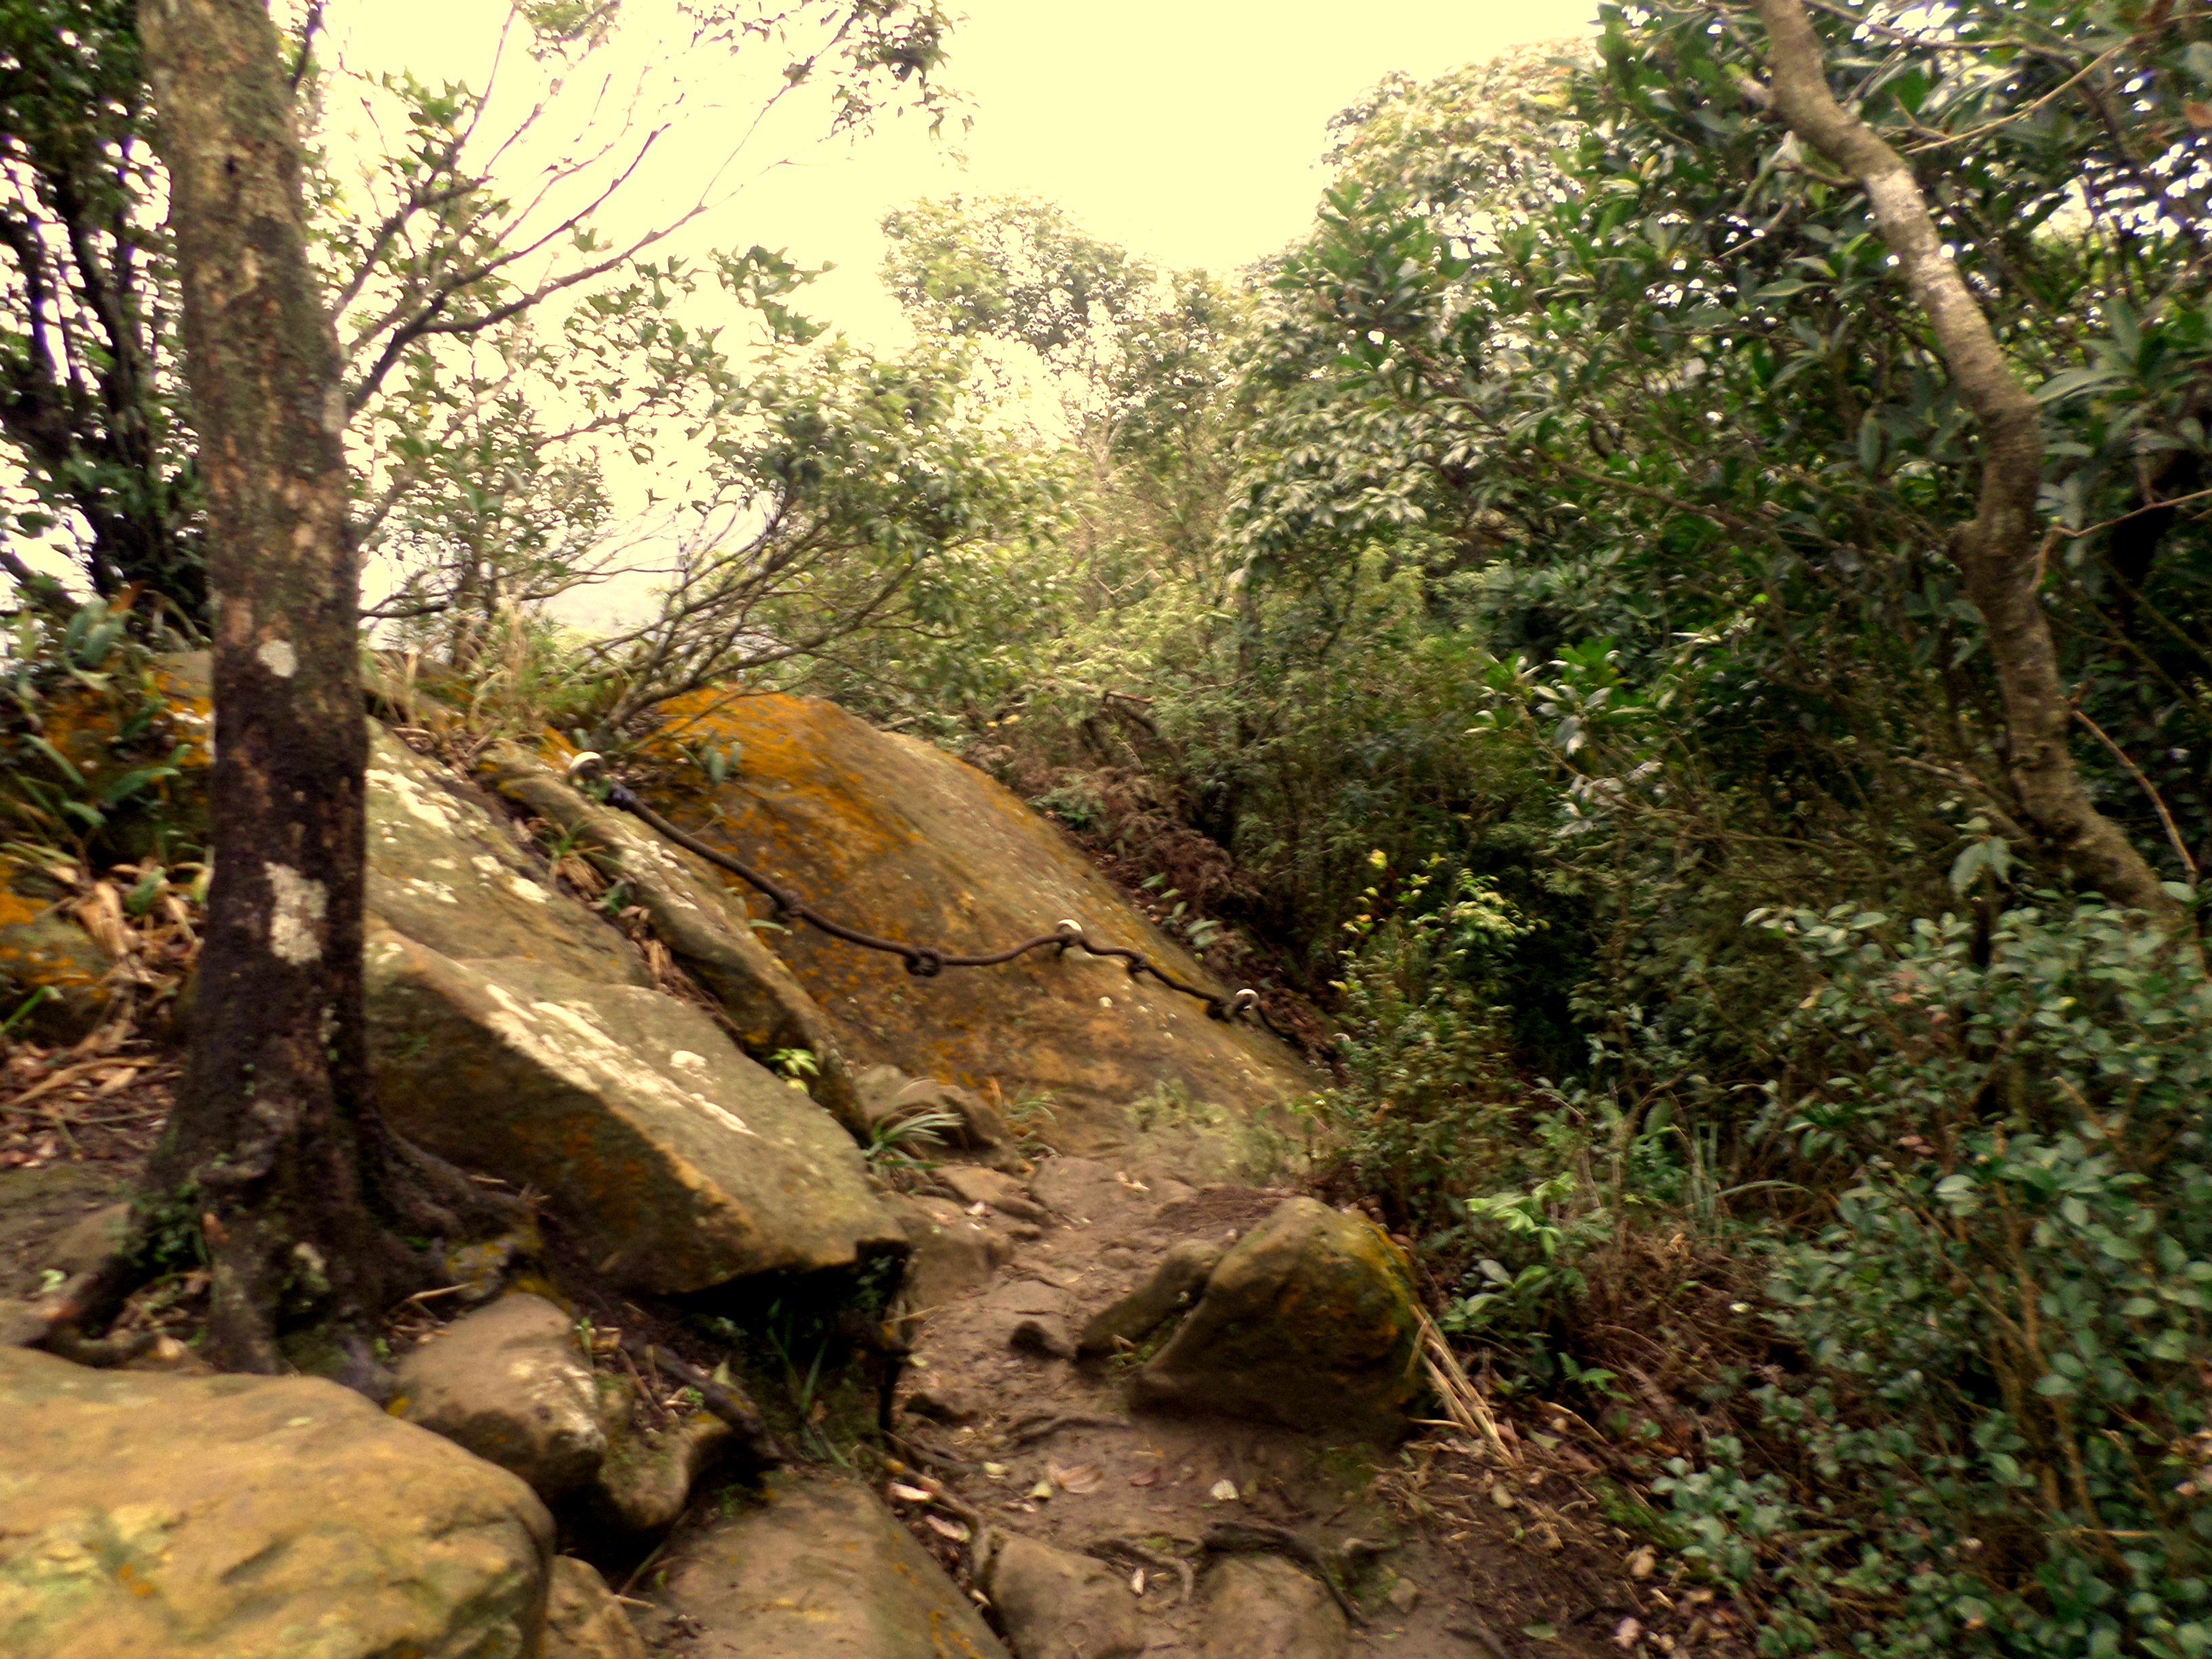
After the house the trail climbs very steeply, with the aid of ropes, to the top of the ridge. It takes about 25 minutes to climb to the top.
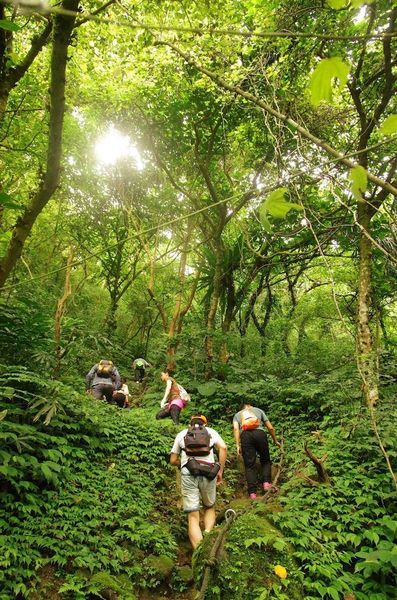
climbing to the top of the ridge
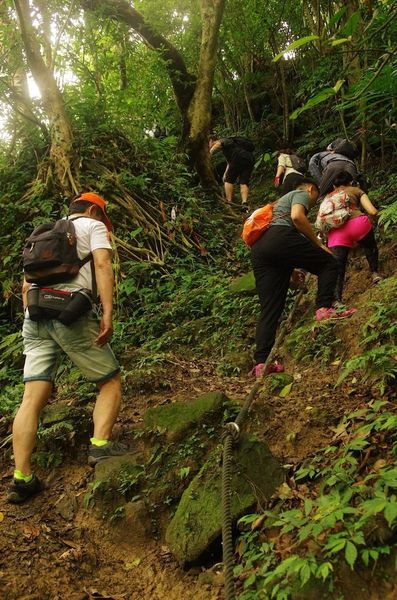
climbing to the top of the ridge
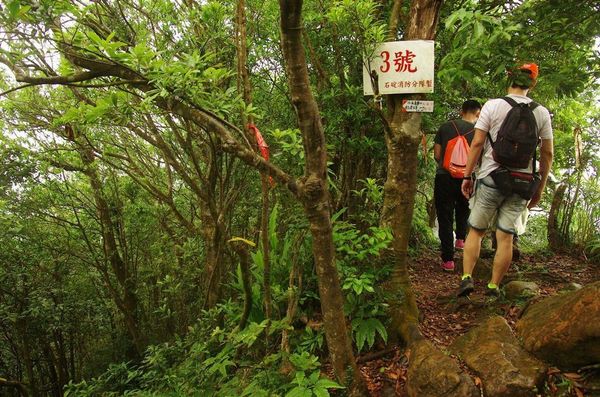
At the top of the ridge turn right. Trail marker No. is here. There are 10 trail markers along the ridge, though No. 10 is easily missed.
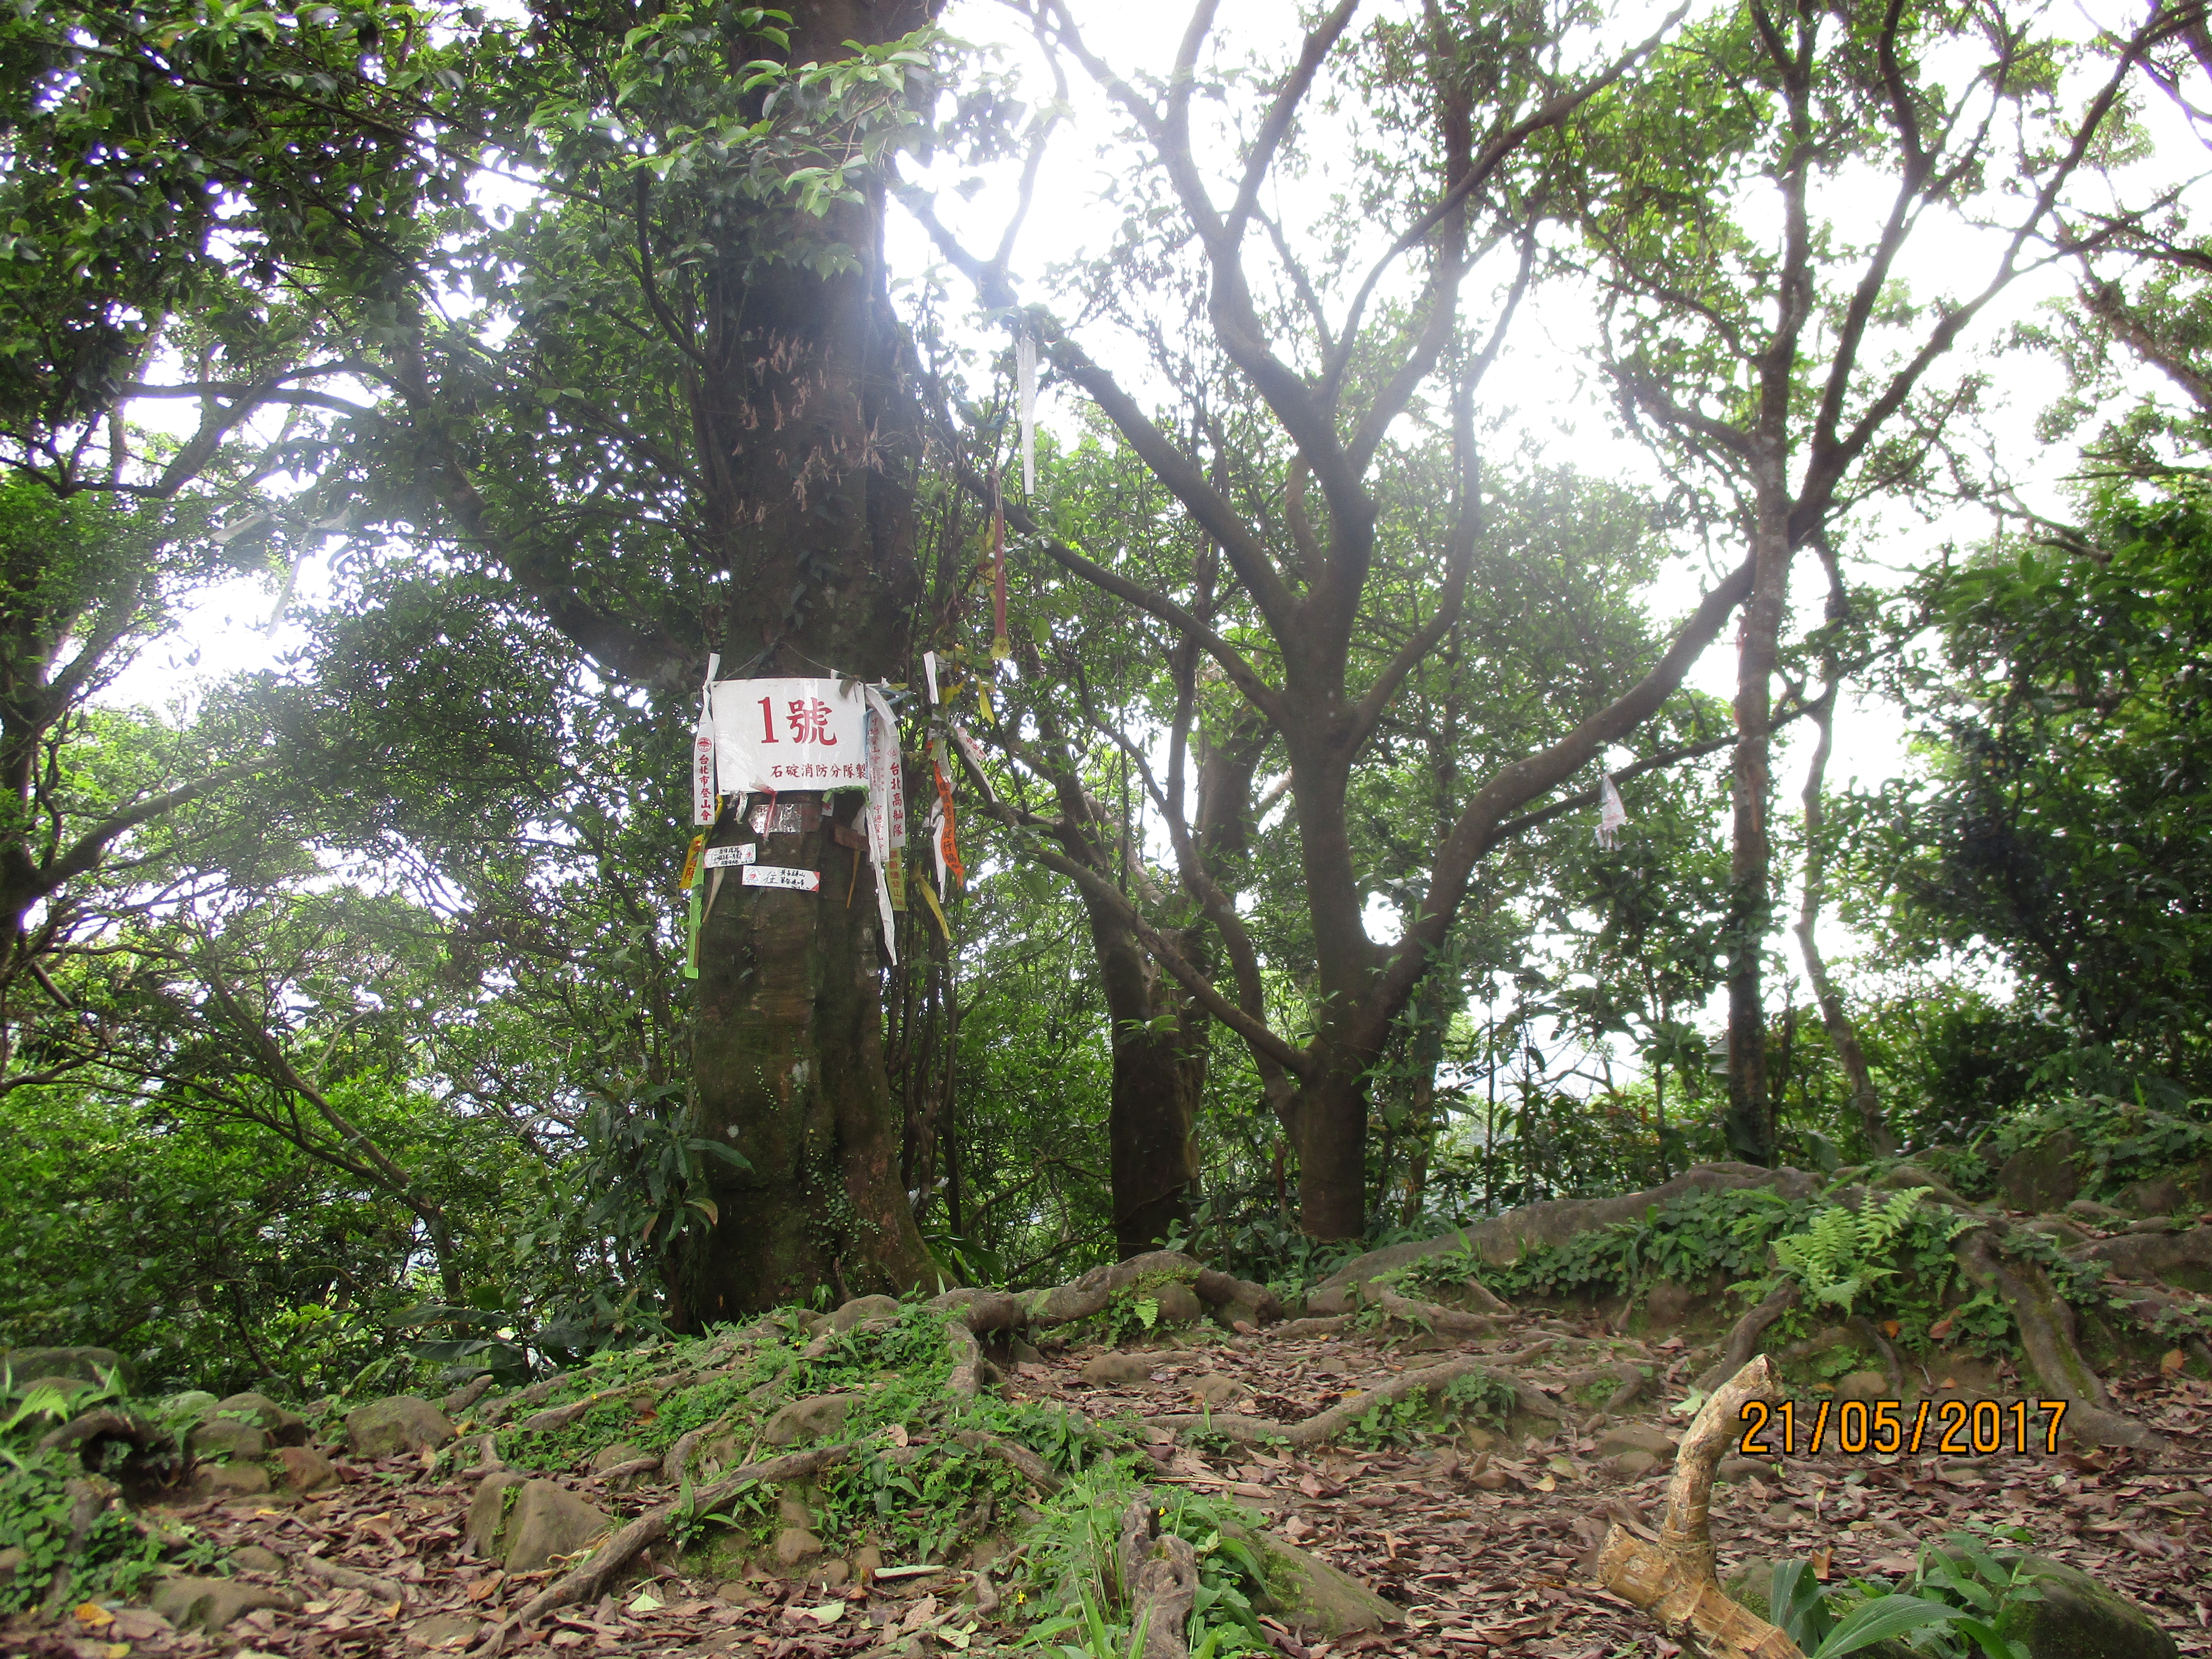
top of the ridge, trail marker No. 1, turn right here
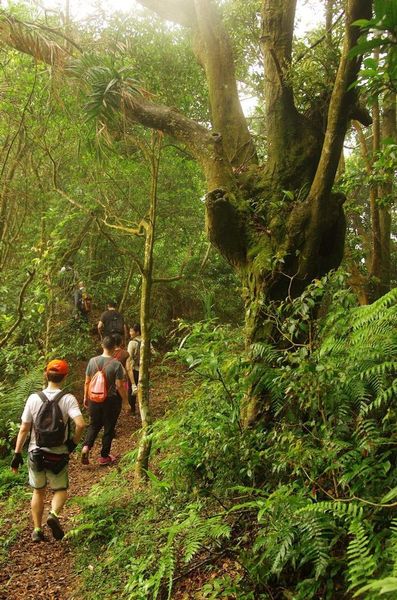
From here keep following the trail along the top of the ridge and ignore any trails going down. The section along the ridge starts easy enough.
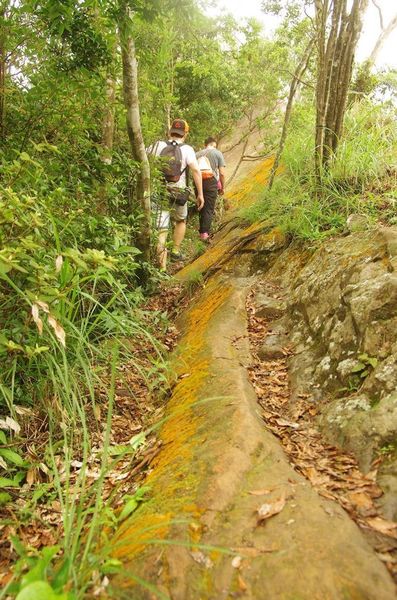
hiking along the ridge

hiking along the ridge
After marker No. 2 the trail crosses over a mini-peak.
mini-peak
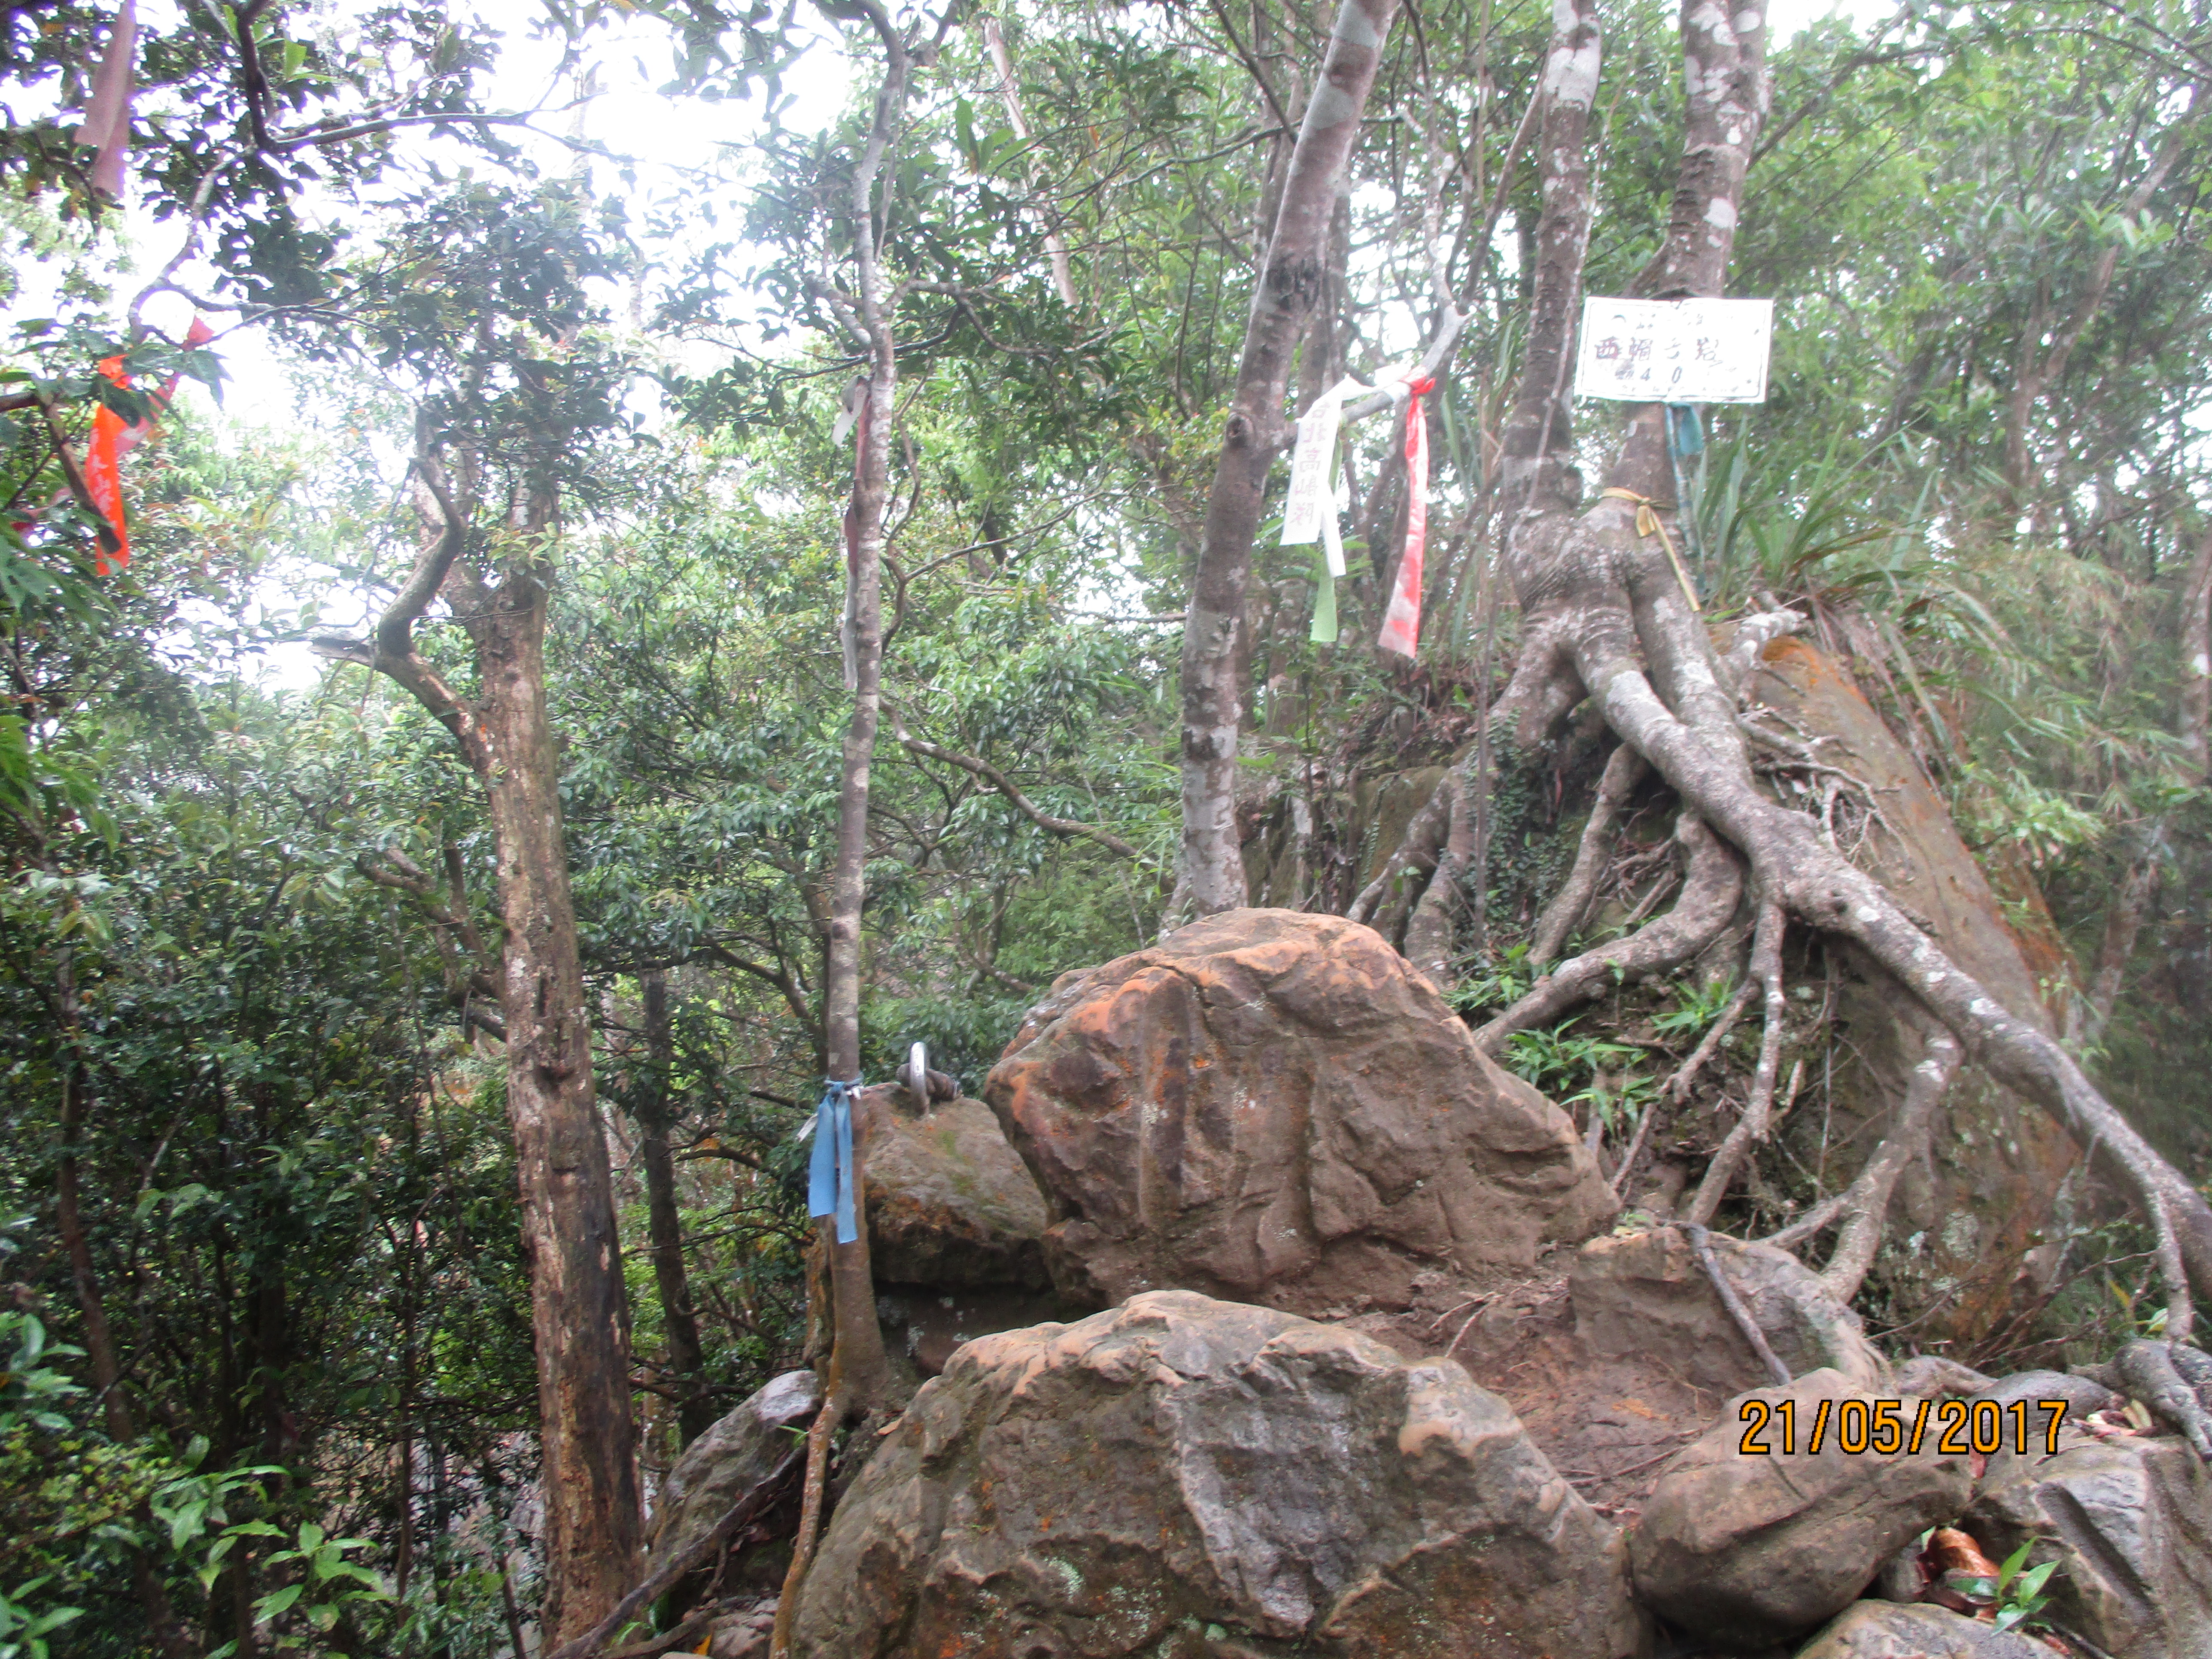
The trail passes over a sharp ridge of rock with ropes and past an electrical tower and trail marker No. 3 where there are good views of the valley and freeway down below. There are sheer drop offs on the side of the trail.
climbing up the ridge
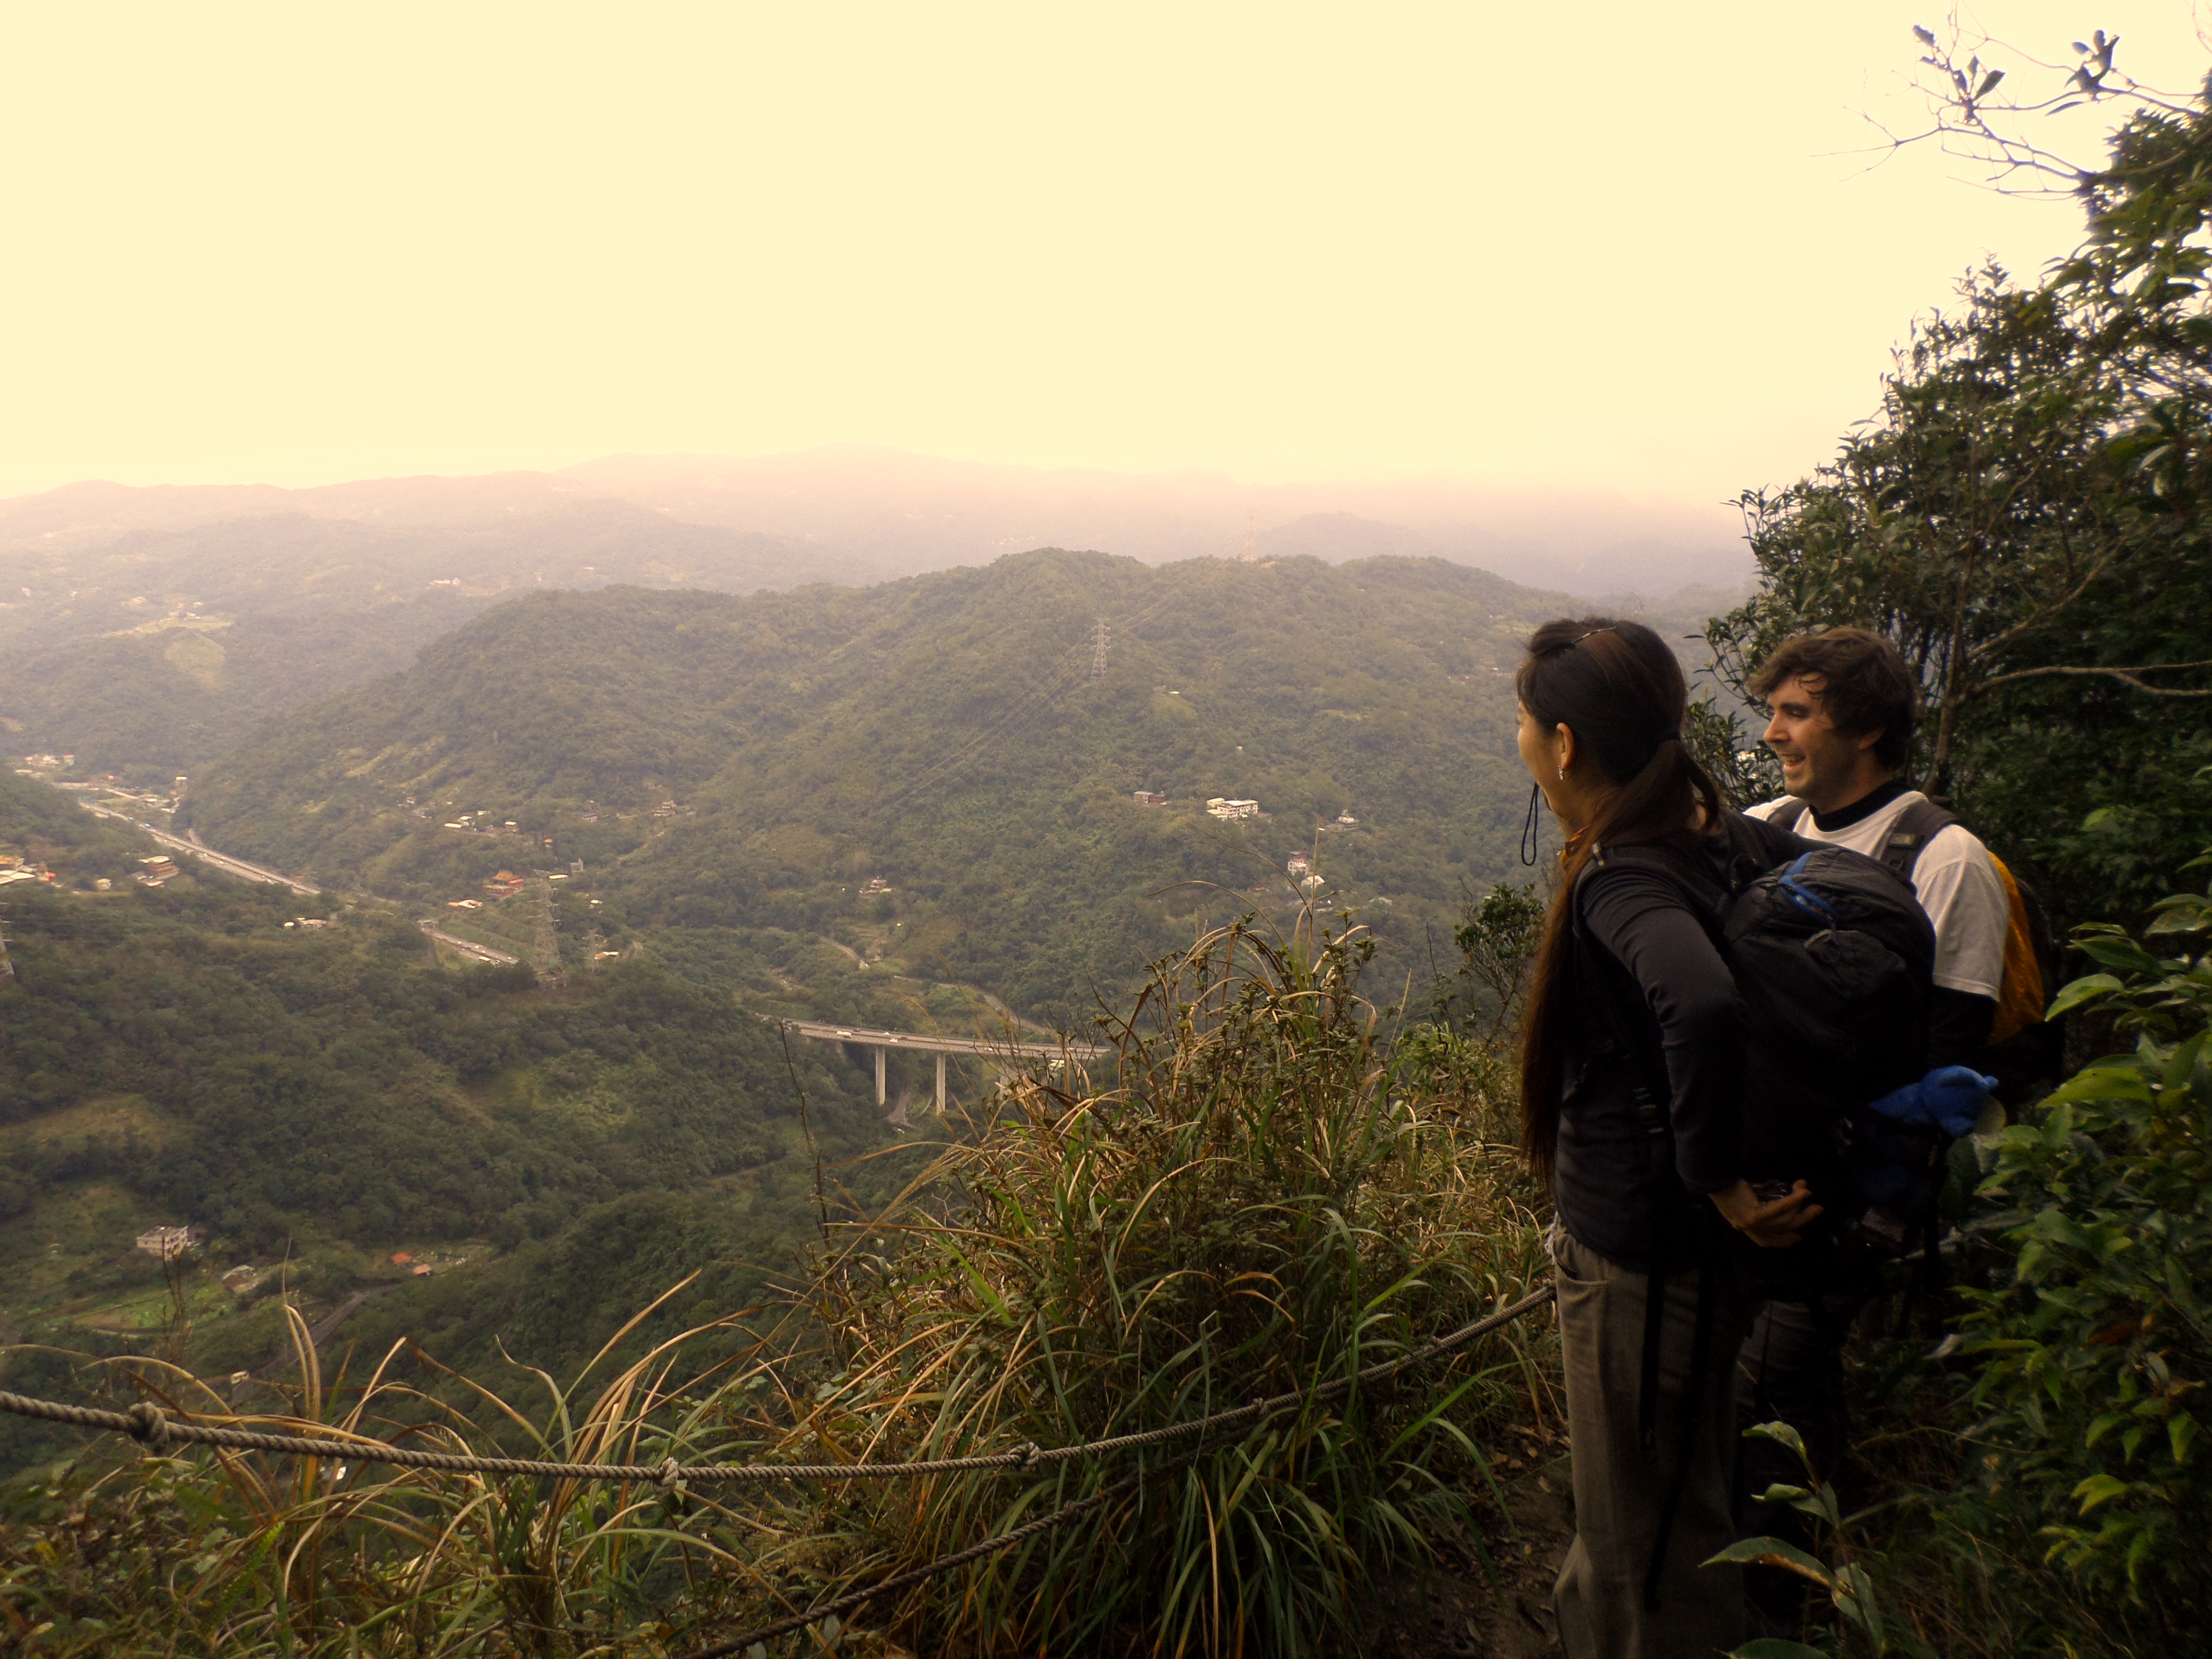
view from the top
passing some rocks
marker No. 3 at the electrical tower
After No. 3 the trail descends then climbs again.
short steep descent
descending with ropes
climbing again
Then it’s down and back up again. Next you’ll arrive at the peak of Chizitou Mountain where there are benches that you can rest on. Trail marker No. 5 is on the peak.

climbing to the peak

rest area on the peak
After the rest area, the trail continues along the ridge then descends with the help of ropes and ladders.
leaving the rest area
descending from the peak

narrow trail along the ledge
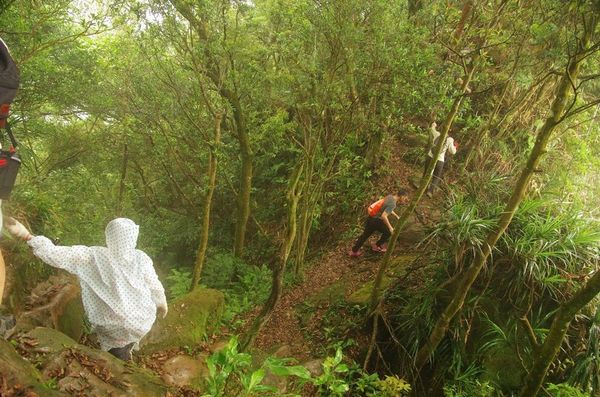
down and back up
The trail makes a U-turn at marker No. 7. Don’t take what appears to be a trail going straight.
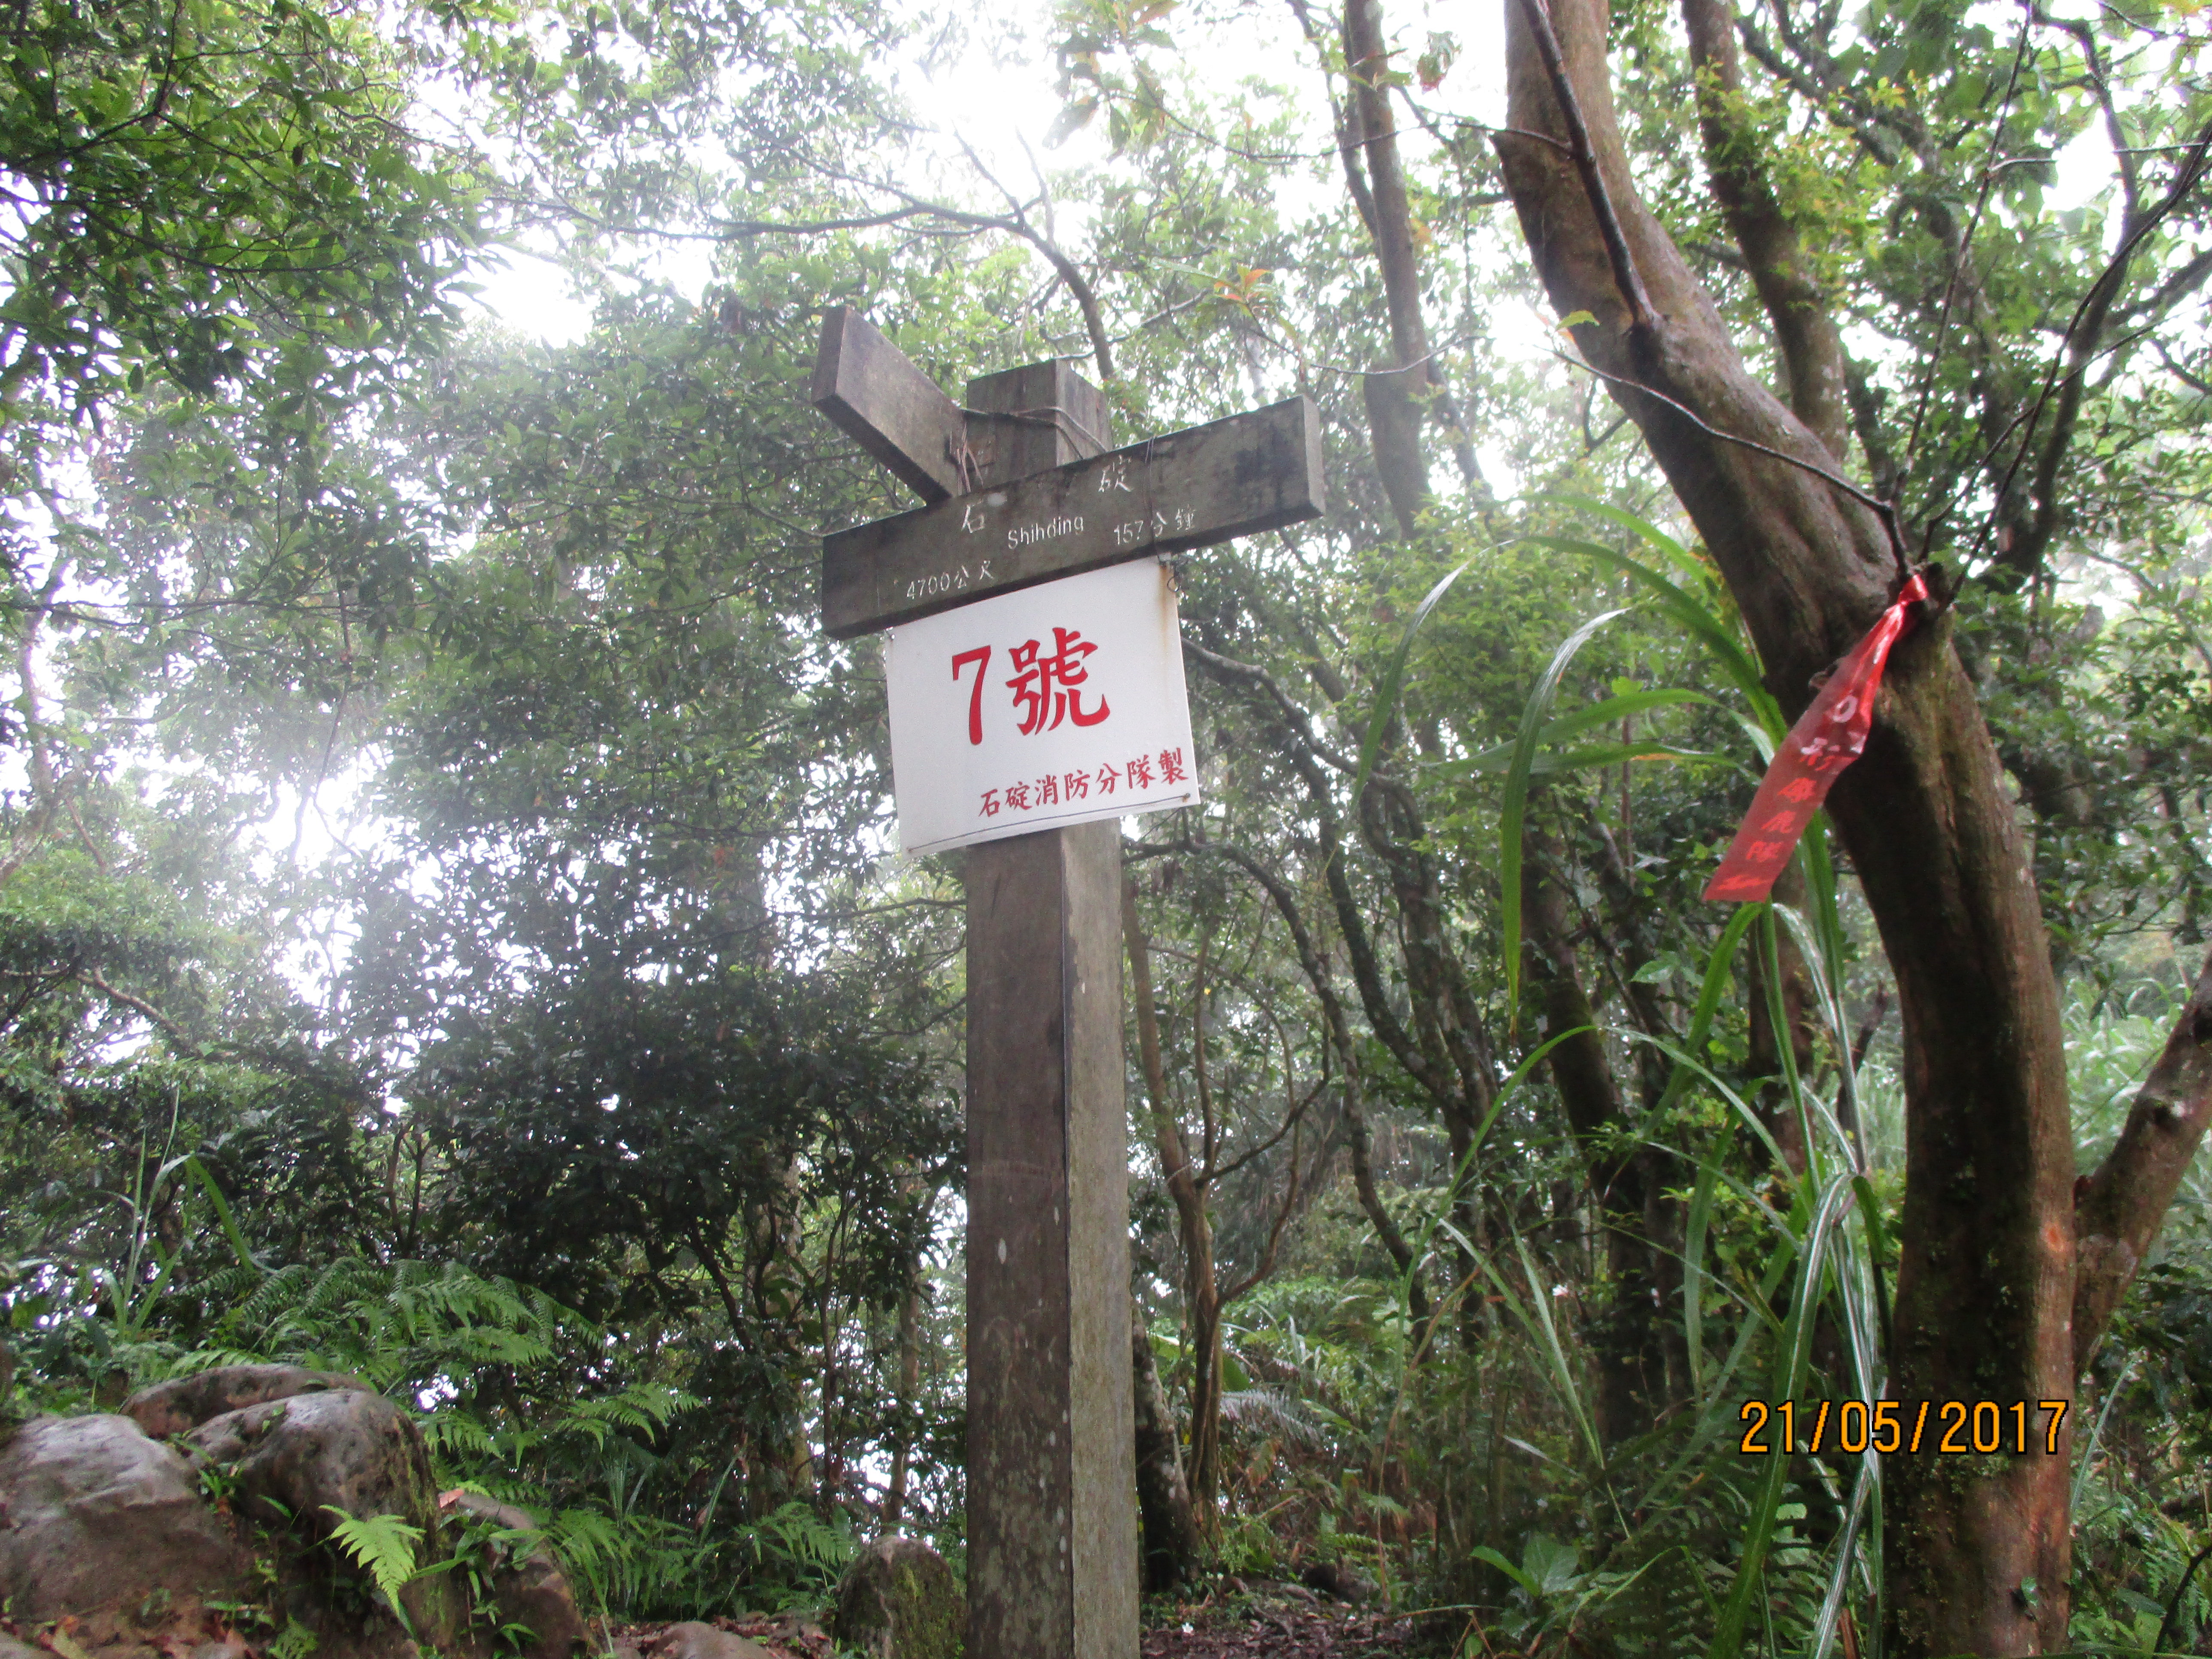
marker No. 7, make a U-turn here
The trail then clings to the edge of the cliff.
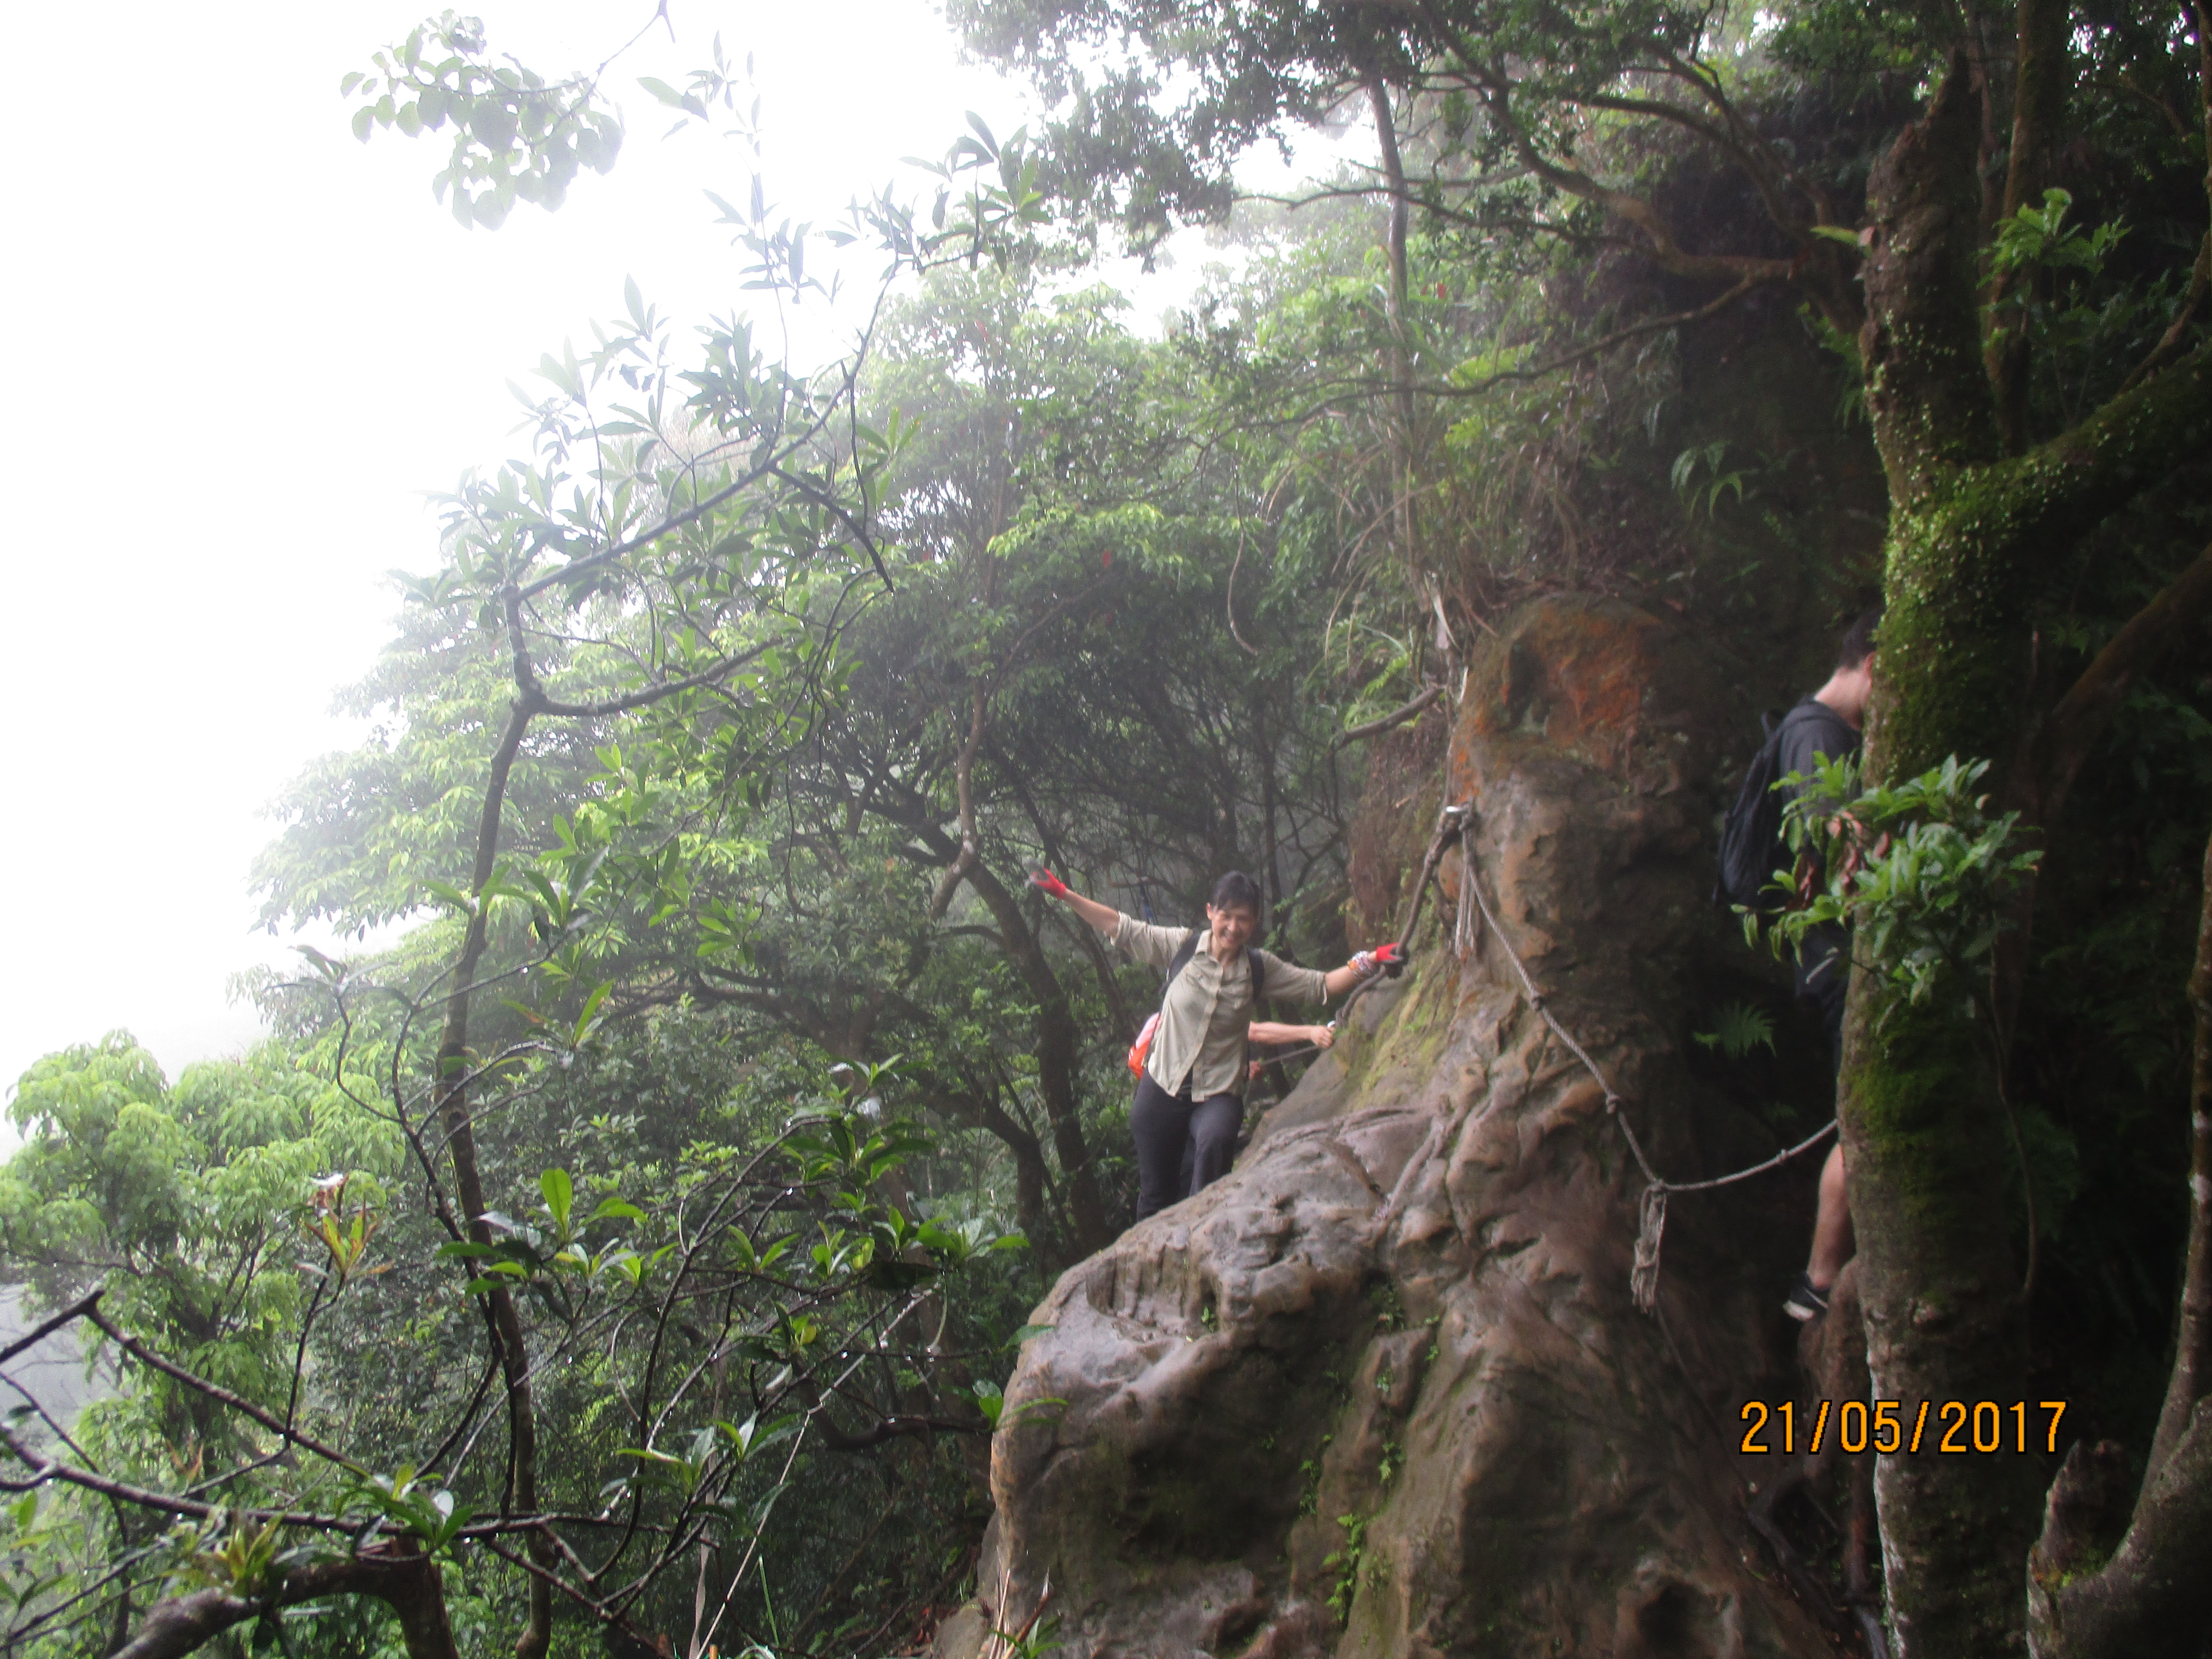
rocky trail along the cliff
another rocky section
After this is the peak of Mt. Bijia with marker No. 8.
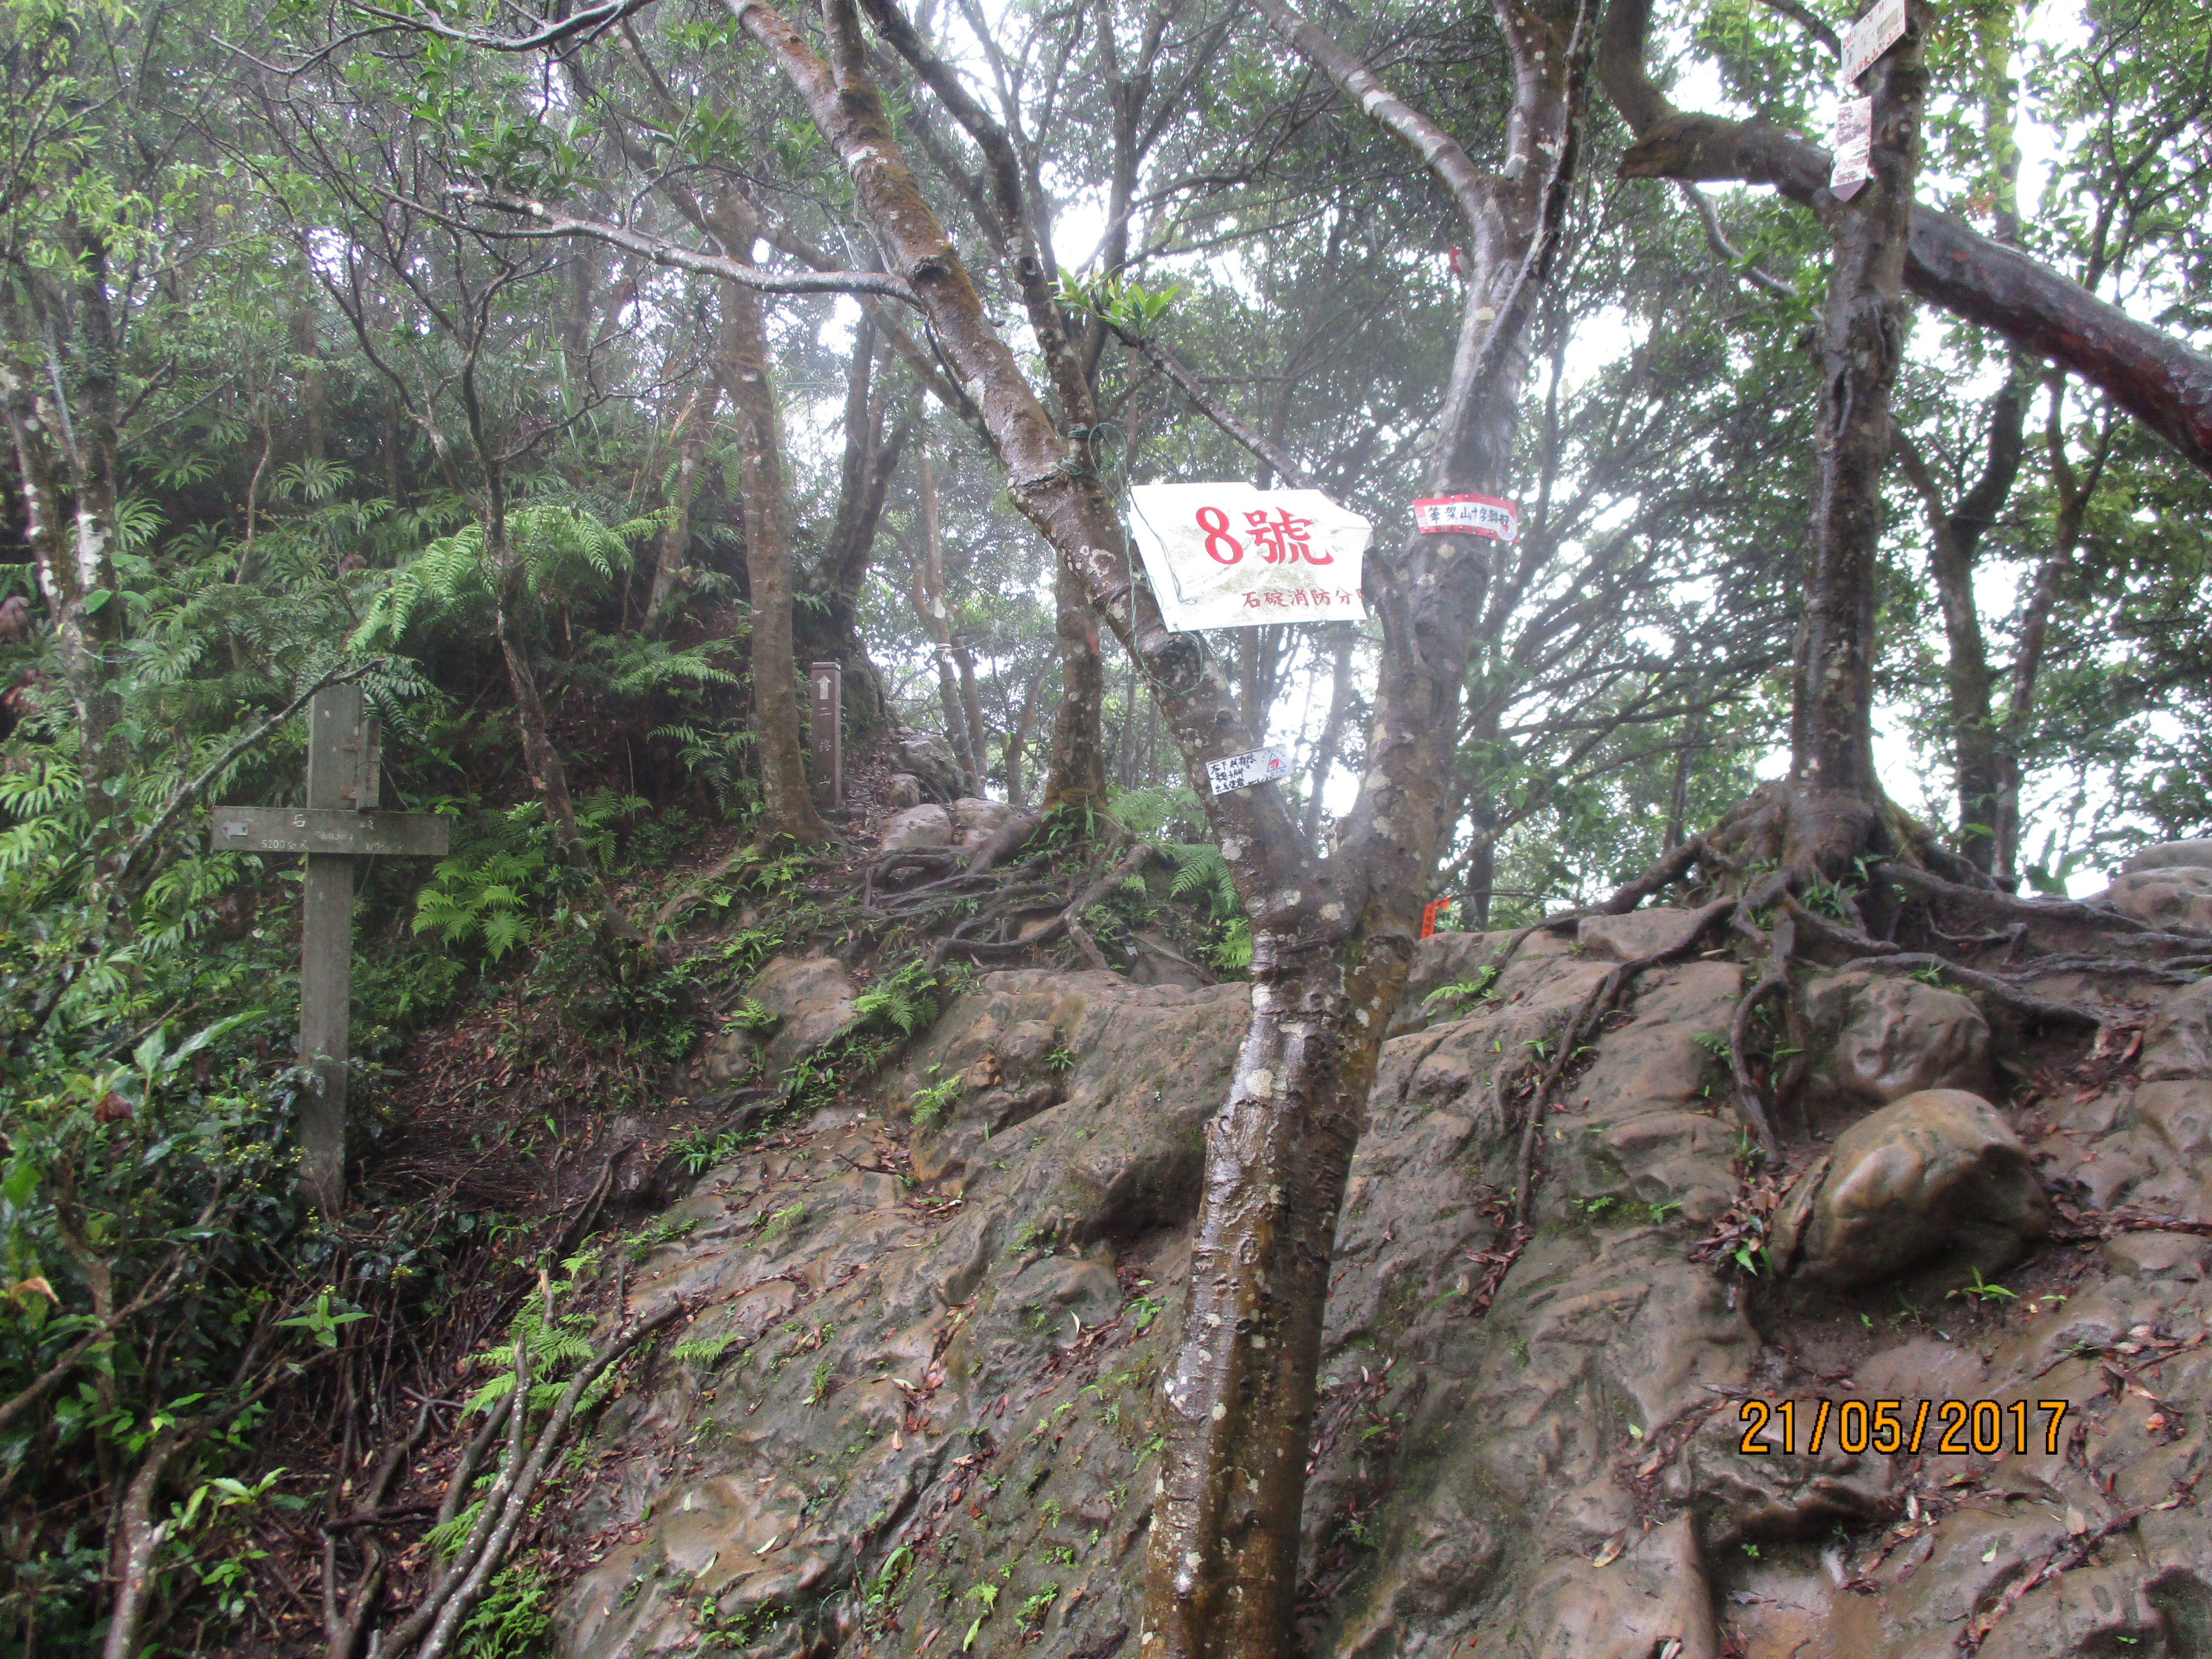
Mt. Bijia peak, marker No. 8
After the peak the trail descends using stone steps cut into the side of the rock face, with a rope to help you make your way down.

descending from Mt. Bijia peak
Continue along ridge with more going up and down until marker No. 9 where there are a couple of benches.
continuing along the ridge
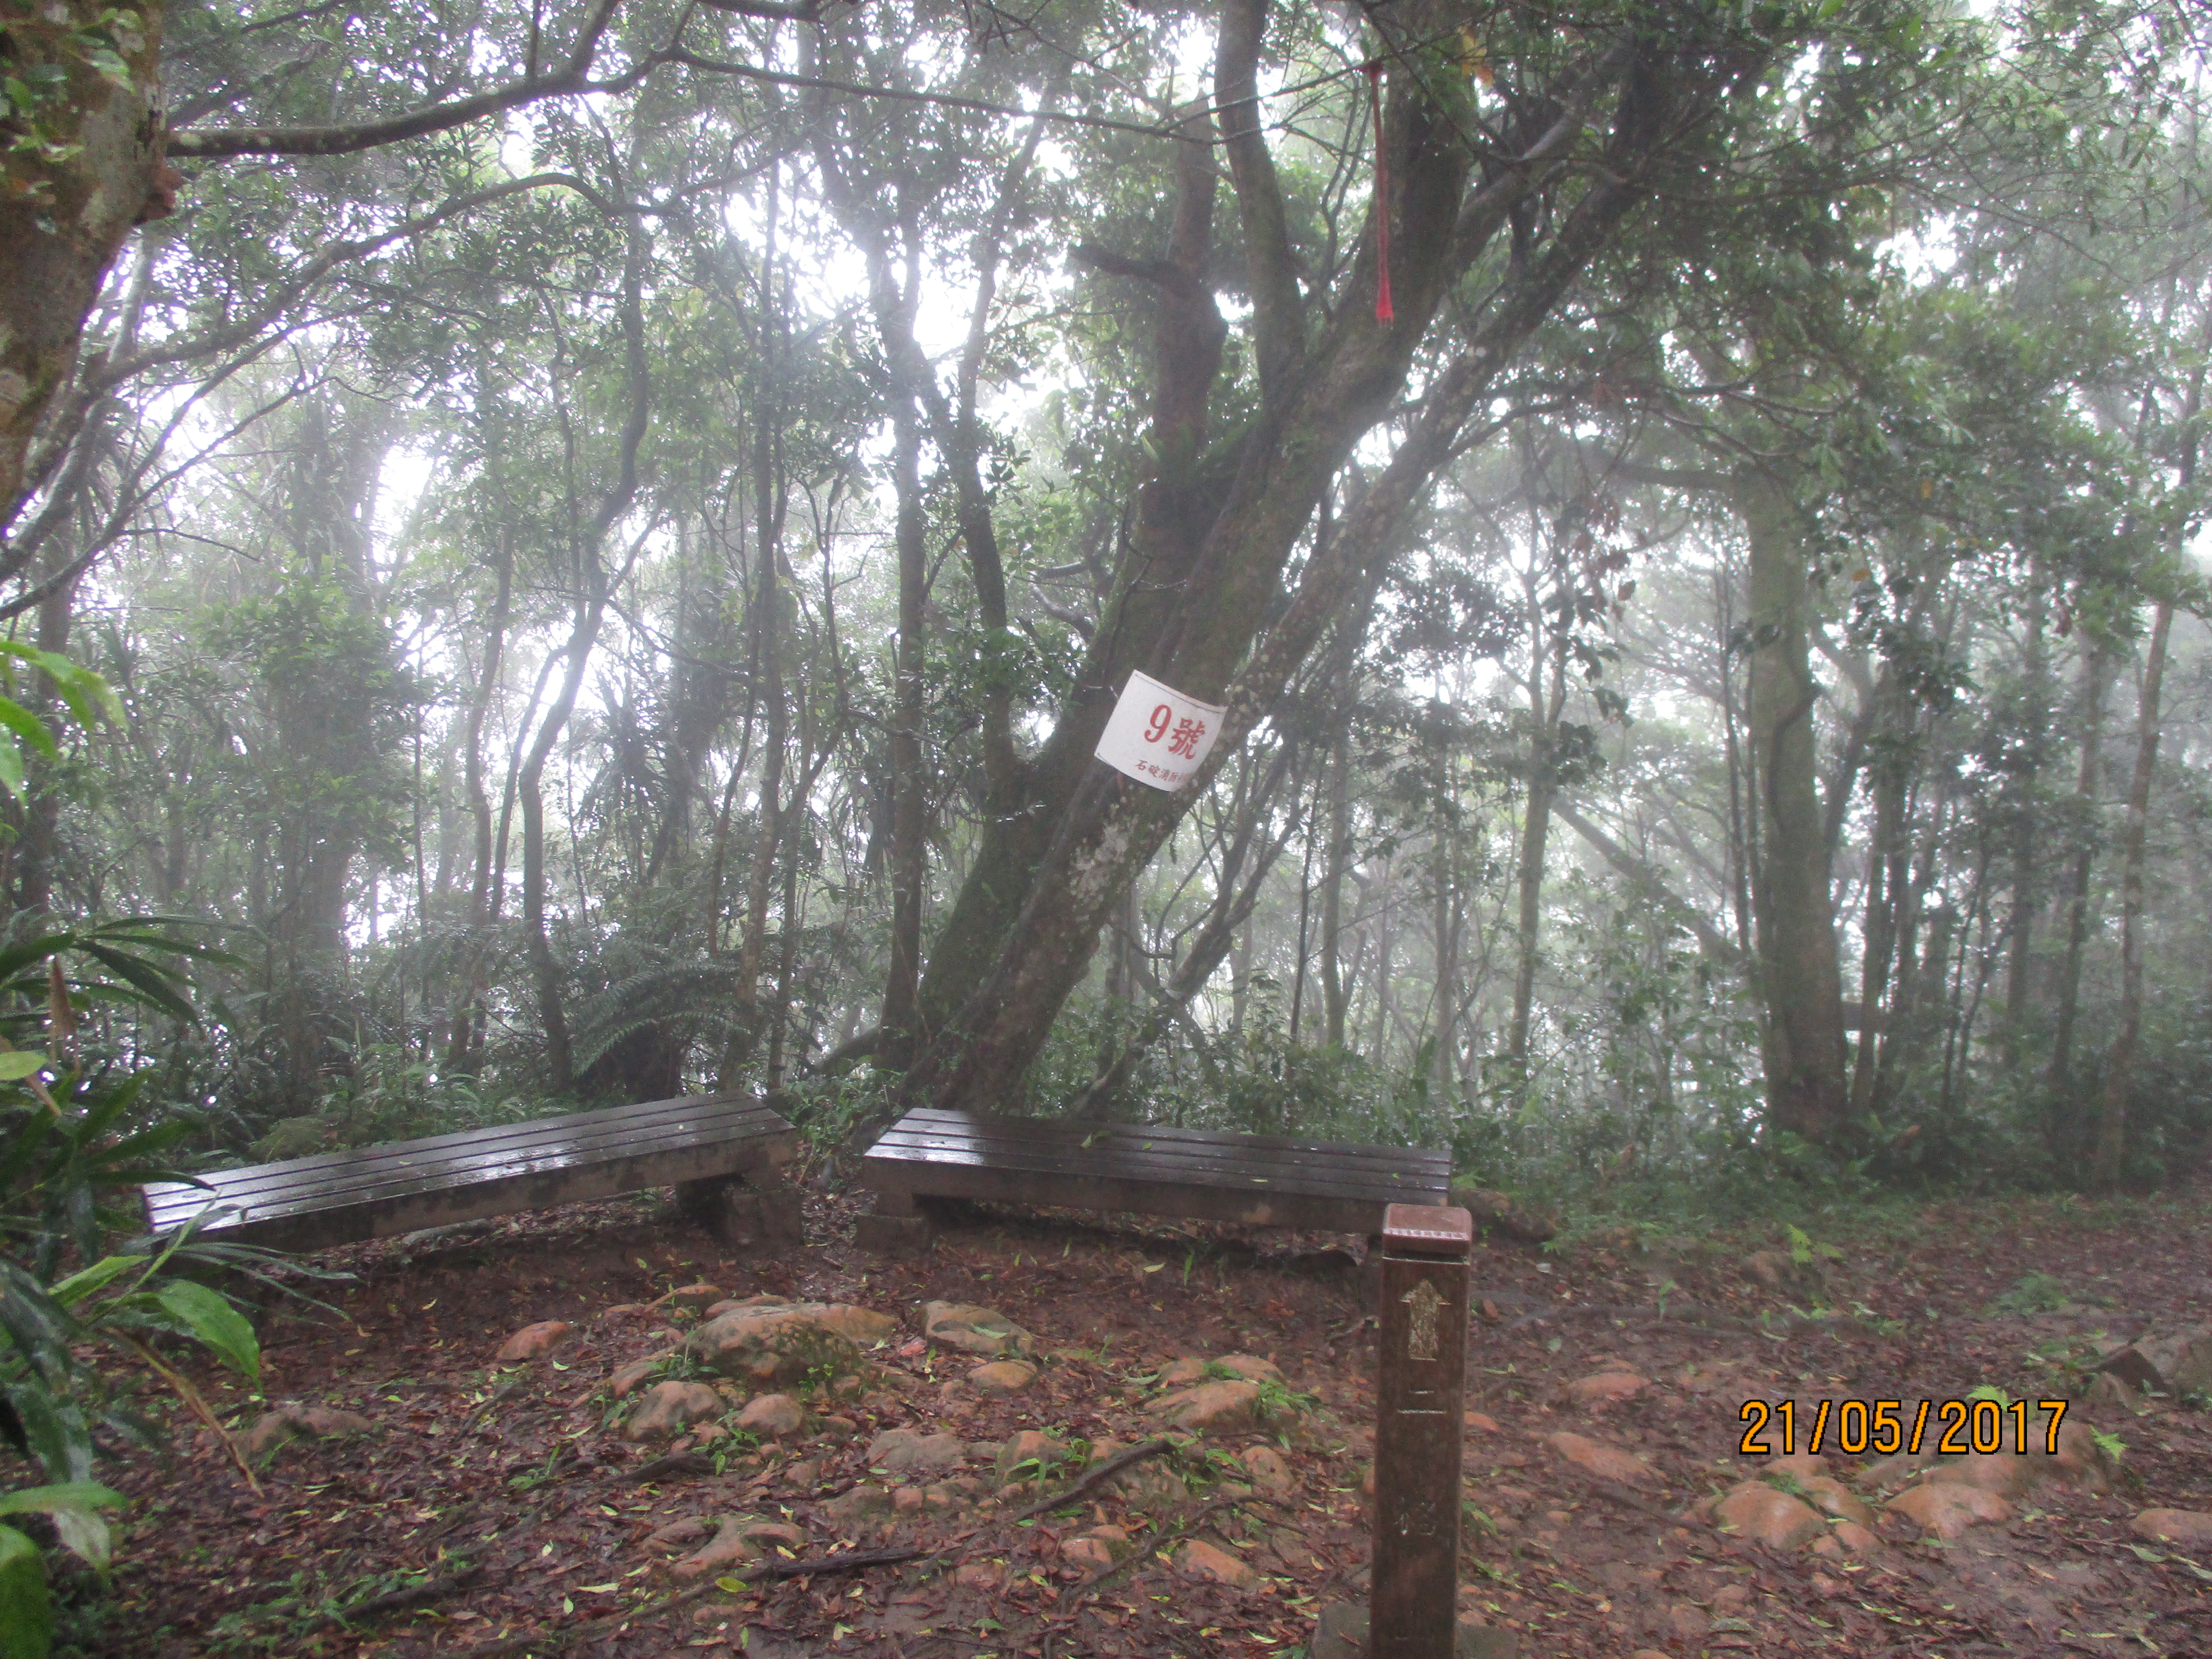
benches at marker No. 9
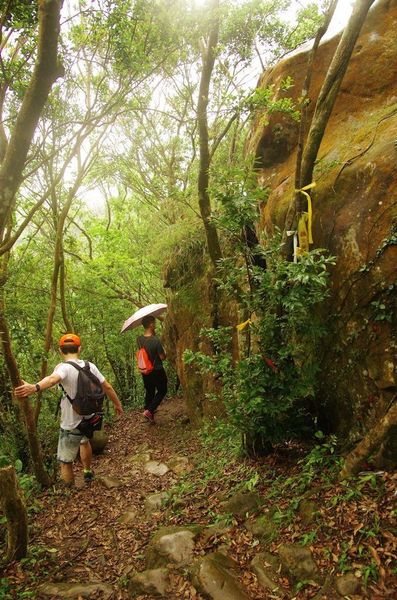
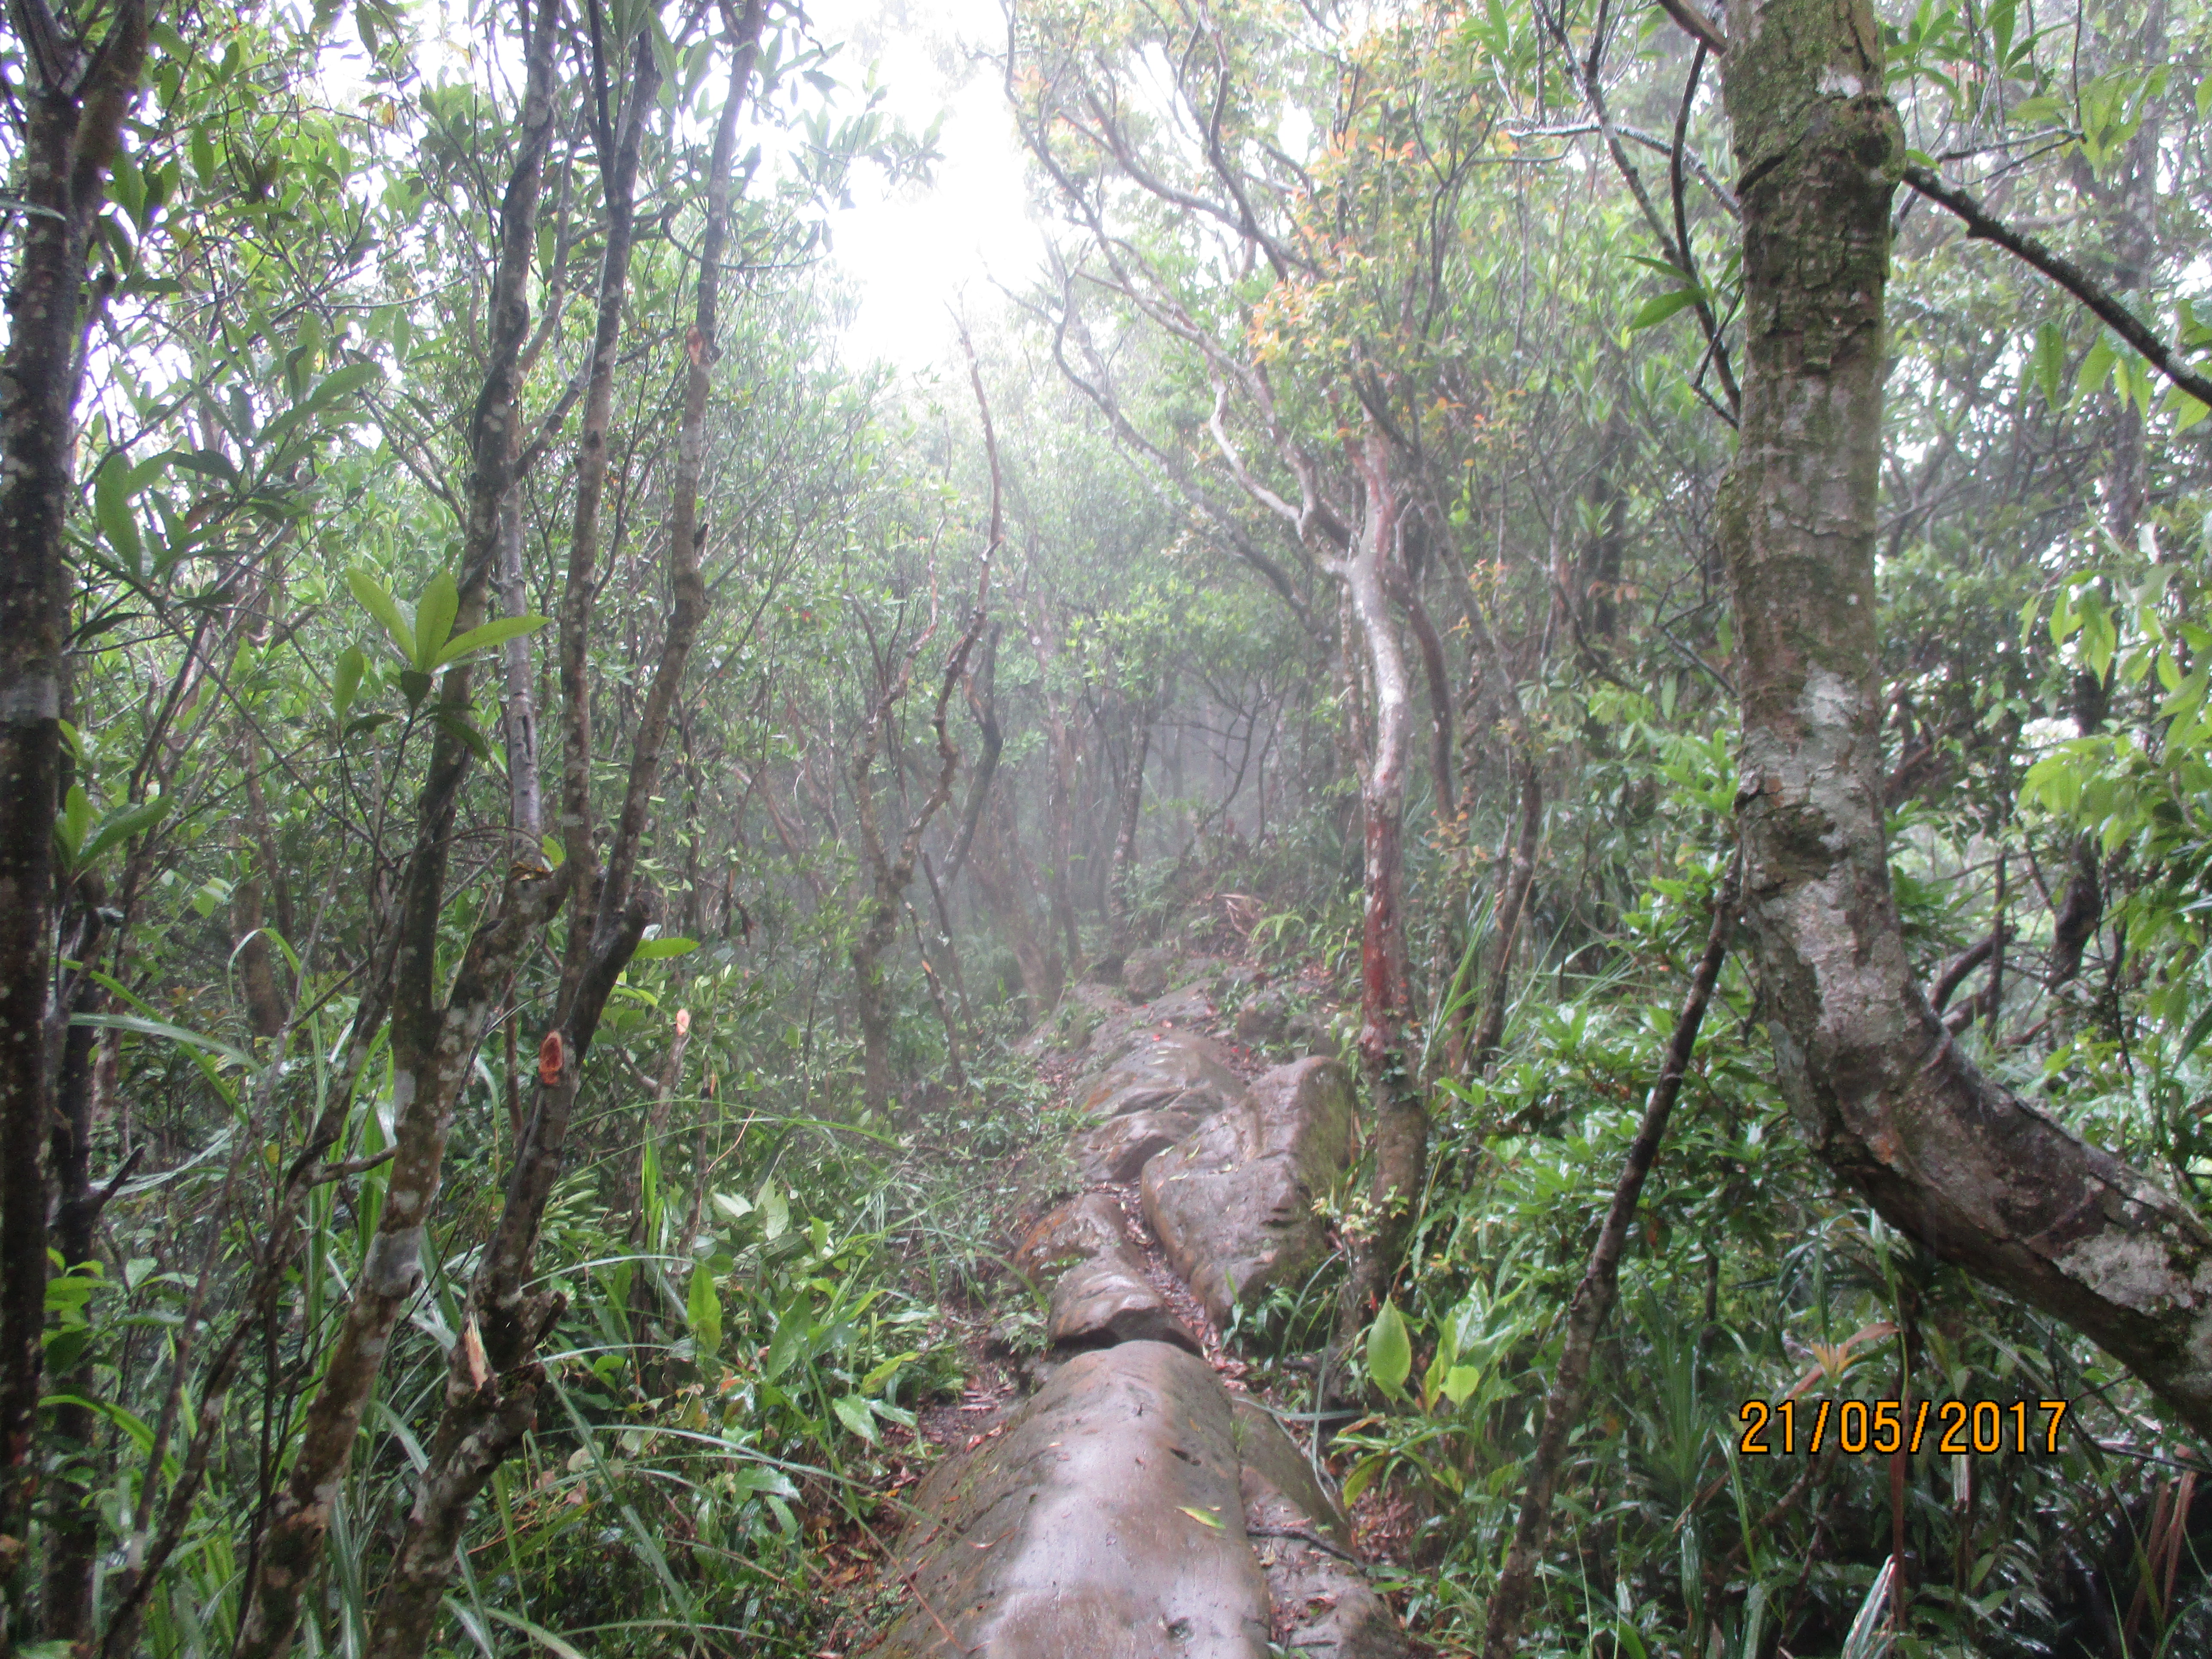
The trail continues to follow the top of the ridge, over rocks sometimes with ropes and good views from the edge of the cliff. The trail descends again, passing an outcropping, before emerging one last time on the edge of the ridge. Climb up the rope to the top of rock face here to get a good view.
climbing to the last exposed ridge
last exposed ridge
After this last rock face the trail soon ends at a rest area that connects with a trail coming from Maokong.

rest area at the end of the trail
If Mt. Bijia hasn’t made you tired enough, it takes about 3 hours to hike from here to Maokong. The trail fairly easy. Otherwise turn left at the rest area and follow the road downhill for about 3.5 km until it reaches the highway going from Xindian to Pinglin.
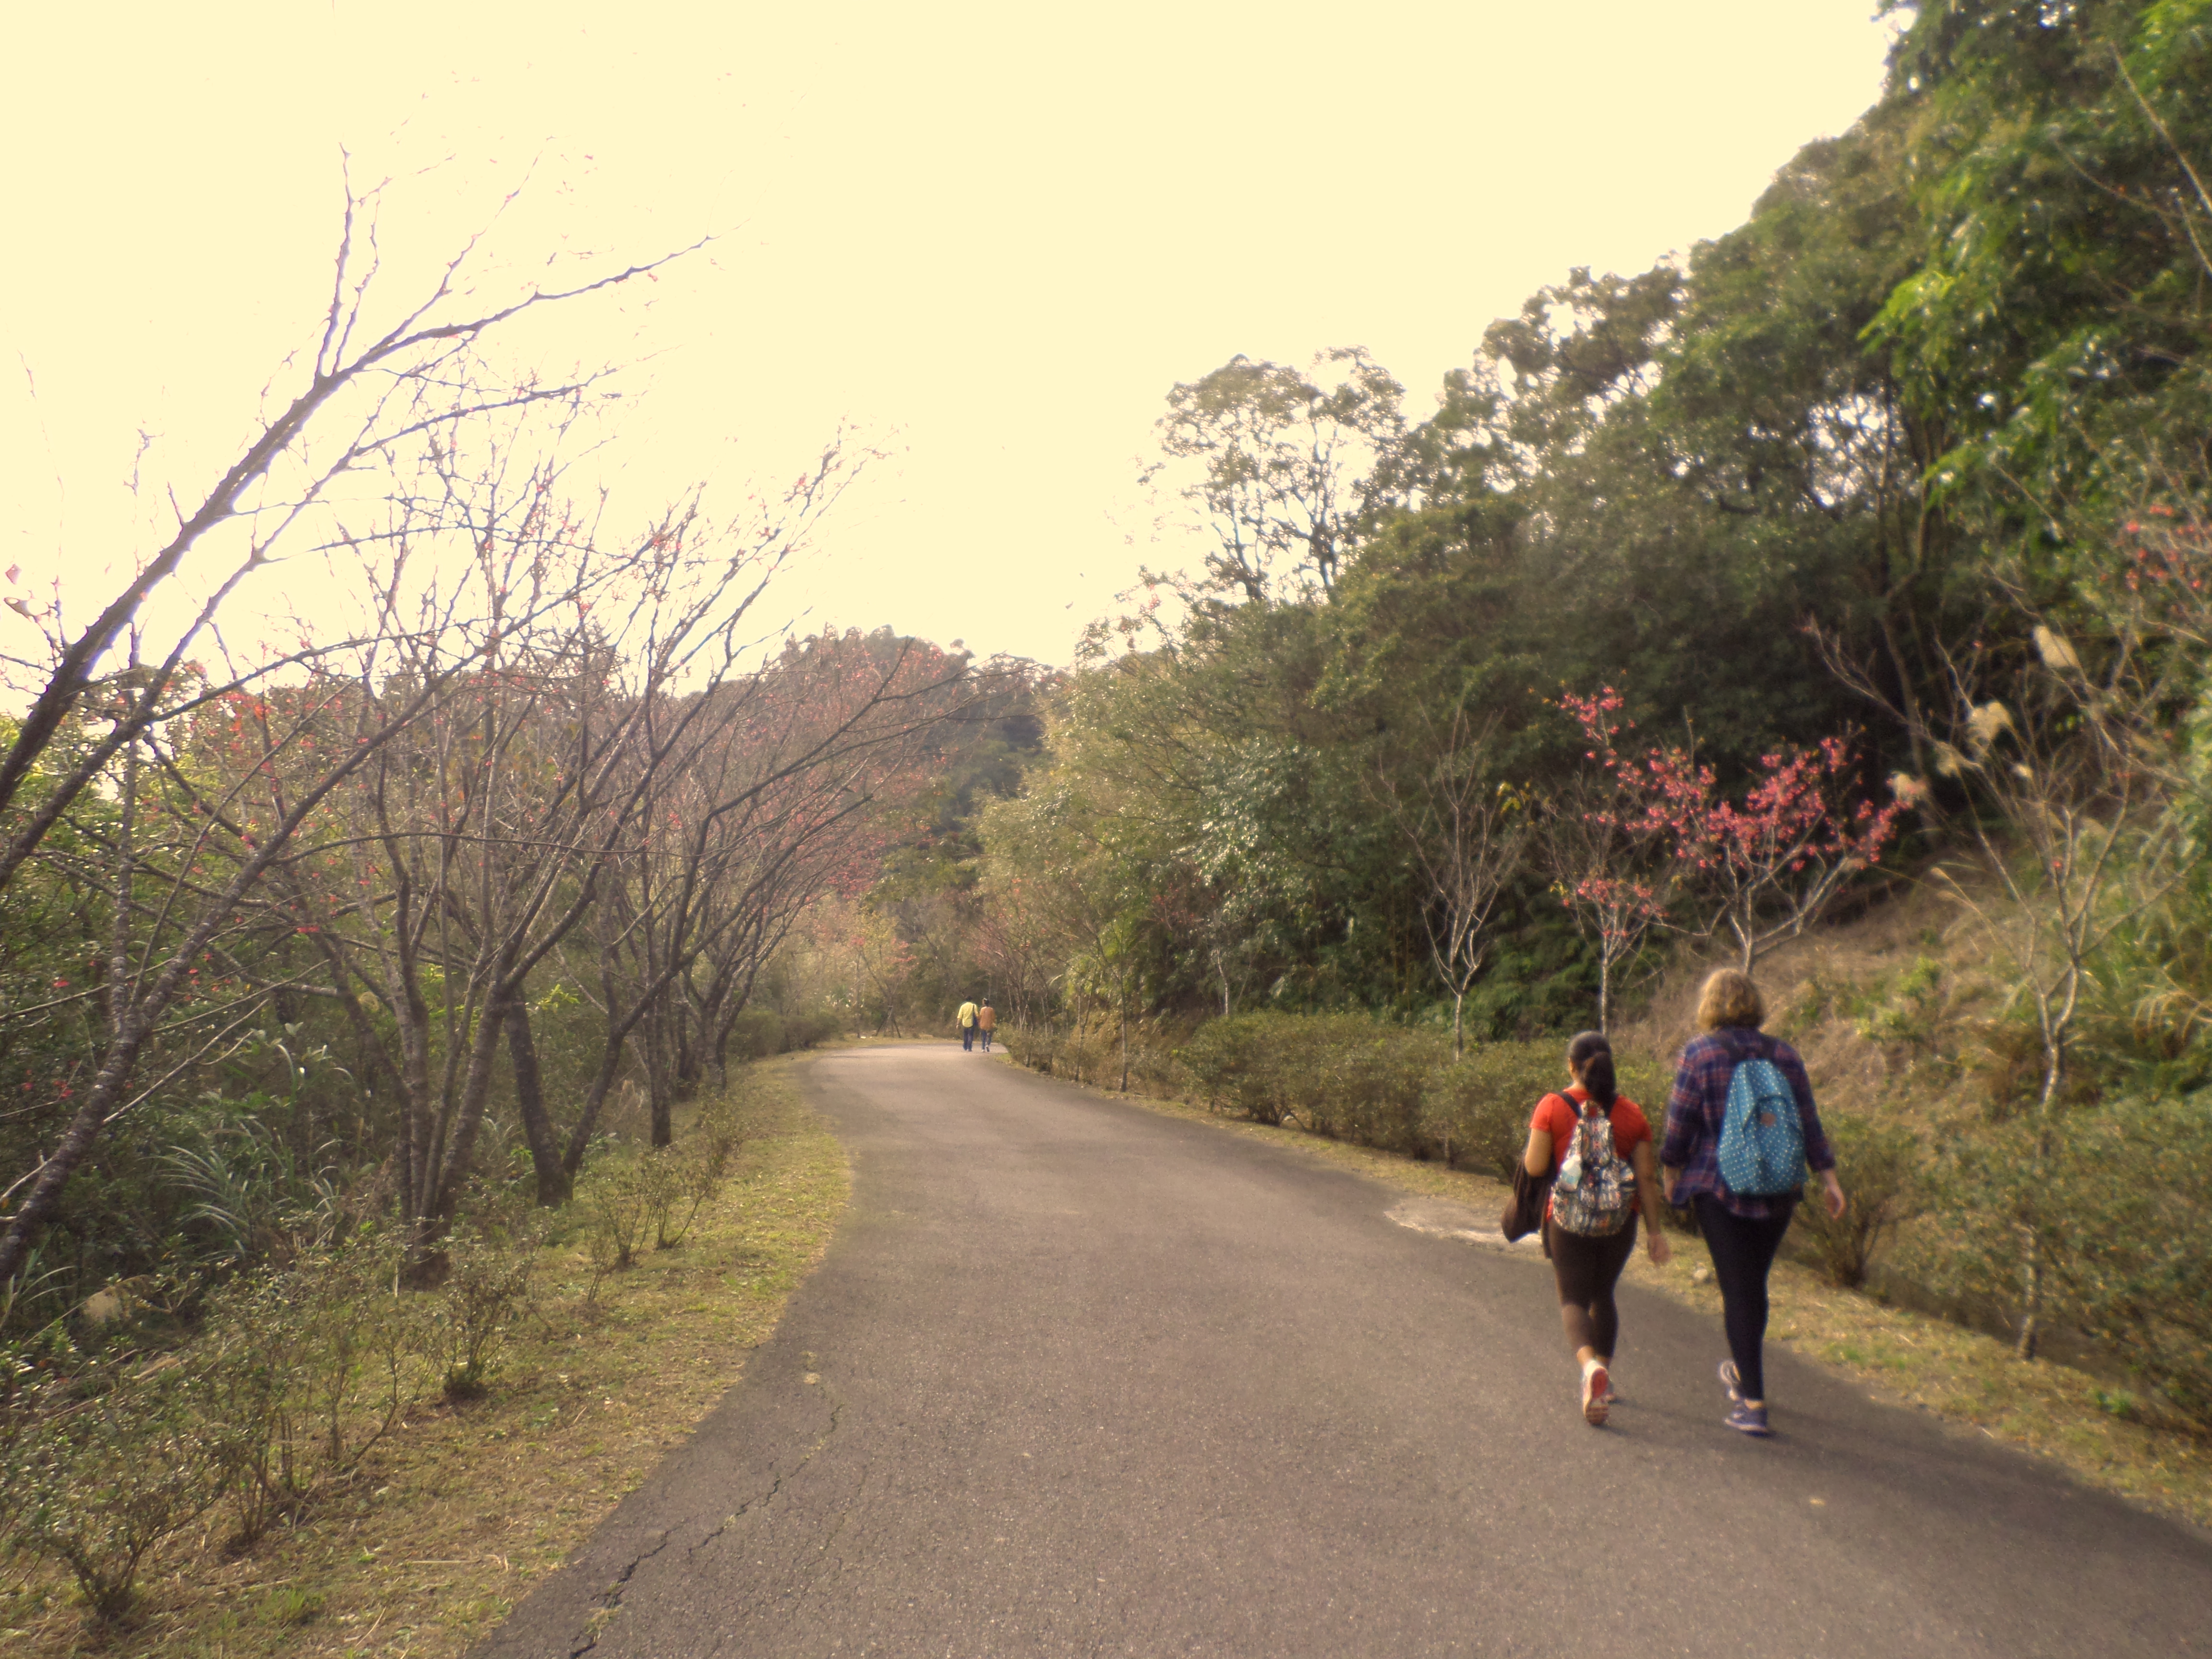
walking down Erge Rd
Turn left at the intersection and you’ll find a stop for the G12 bus. If you have a long time to wait for the bus there are several outdoor cafes (and washrooms) just past the bus stop. Check times listed at the stop for when the next bus comes. Note that the times shown are for when the bus leaves Pinglin, not when it gets to this stop. It takes about 25 minutes for the bus to get here from Pinglin.
Link for G12 bus schedule: http://sindianbus.com.tw/modules/tadnews/page.php?nsn=
Map of the Hike

Fantastic hike.I did get lost on my way to the top but the extra kilometers were well worth it.
Definitely a knife edge walk. You need to be careful. I was witness to a rescue of a hiker that some how fell off the path and was only stopped from plummeting due to the thick vegetation.